ARTFUL MATHS
  • Home
  • Resources
    • Mathematical Art Lessons
    • Classroom Display Ideas
  • Origami
    • Origami Clubs
    • Origami in Lessons
    • Origami Gallery
  • Puzzle Games
  • Blog
  • About
  • Contact Me

Tetrahedron Wall Art

25/6/2018

4 Comments

 
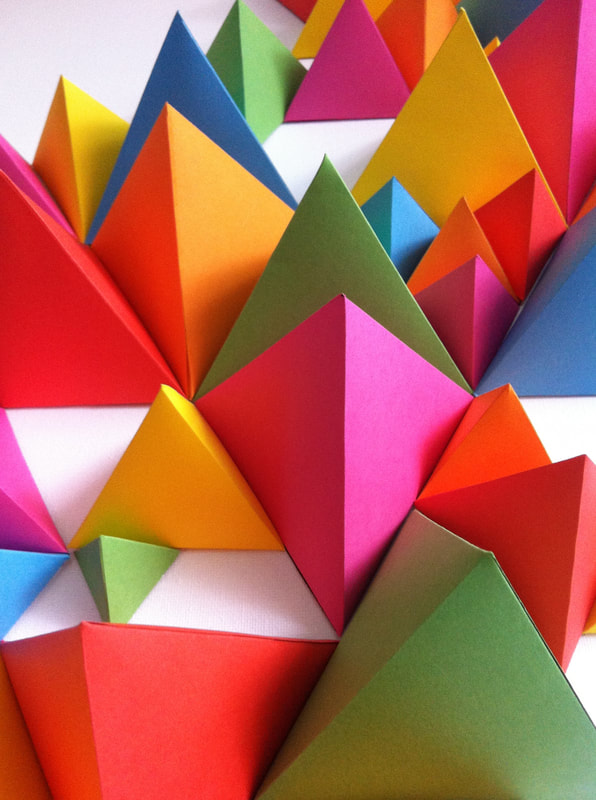
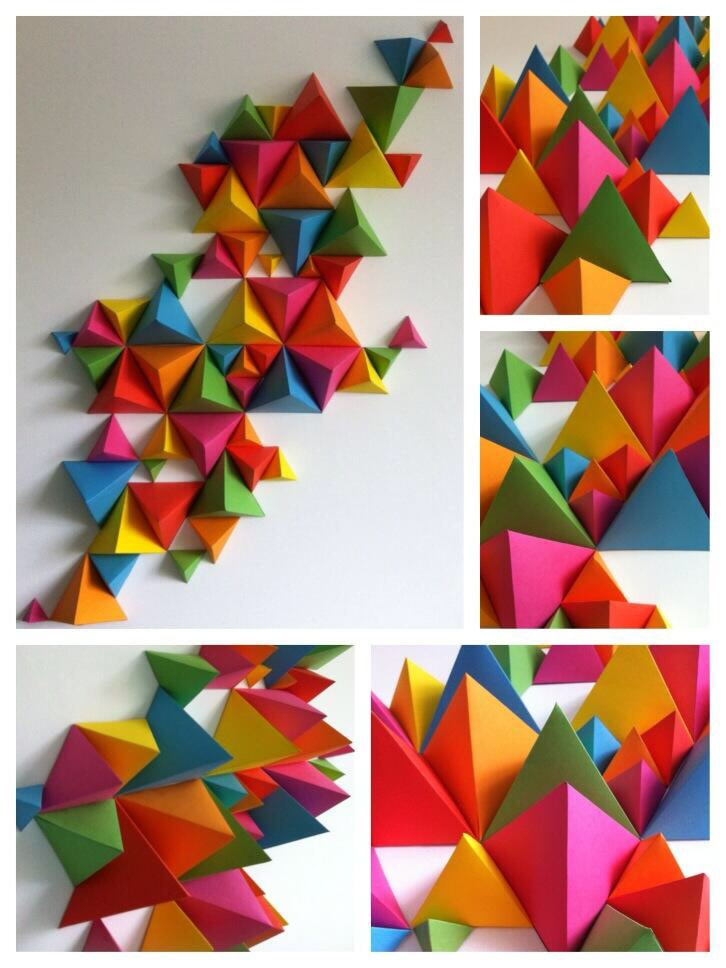
When I left my first teaching school (the one I’m back working at again now) I decided to make a piece of art as a leaving gift for my colleagues in the maths team. I’d seen an image on Pinterest of a mural made from different coloured paper tetrahedra, and wanted to try it for myself. However, being a maths teacher, I was intrigued by the possibilities of tessellating smaller tetrahedra within the gaps left by bigger tetrahedra....
Picture
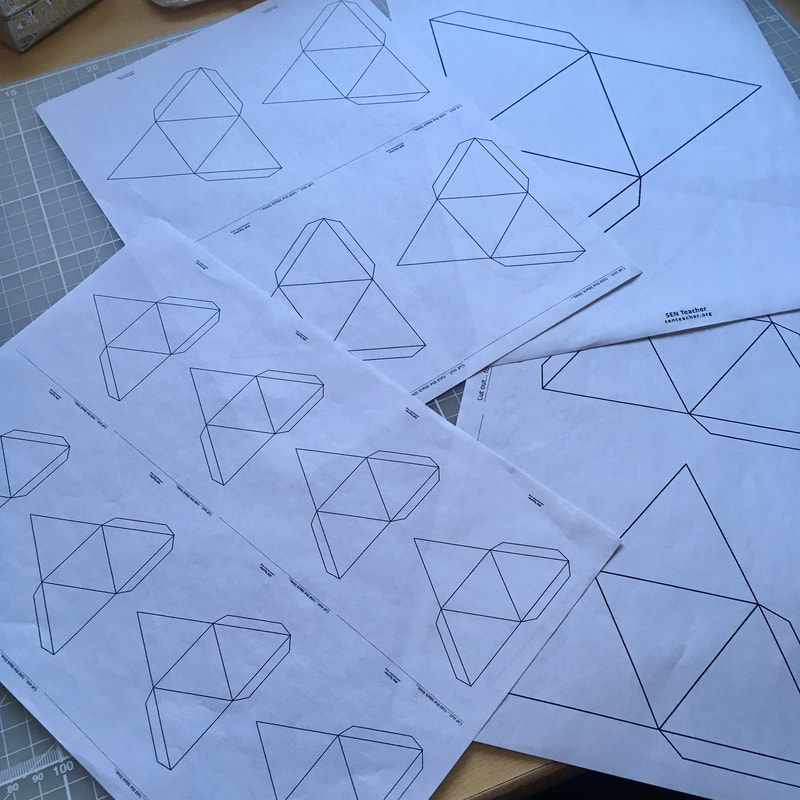
Now I know that A-sized paper has some pretty cool properties, so, using the photocopier I reduced an A4 tetrahedron net down through the various A-sizes - and, yes, I made some lovely discoveries (which made perfect sense once I started thinking about it)!

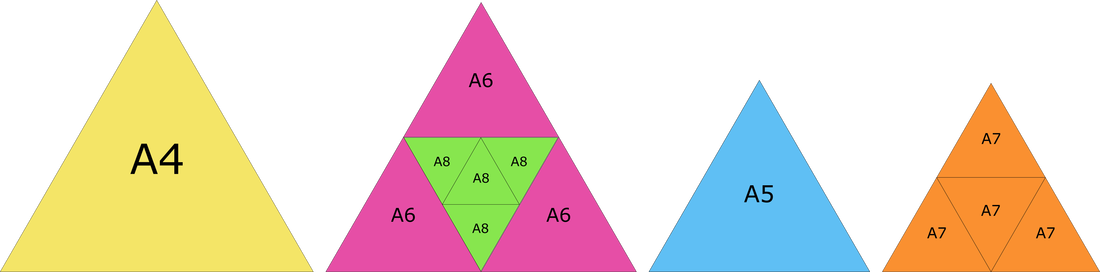
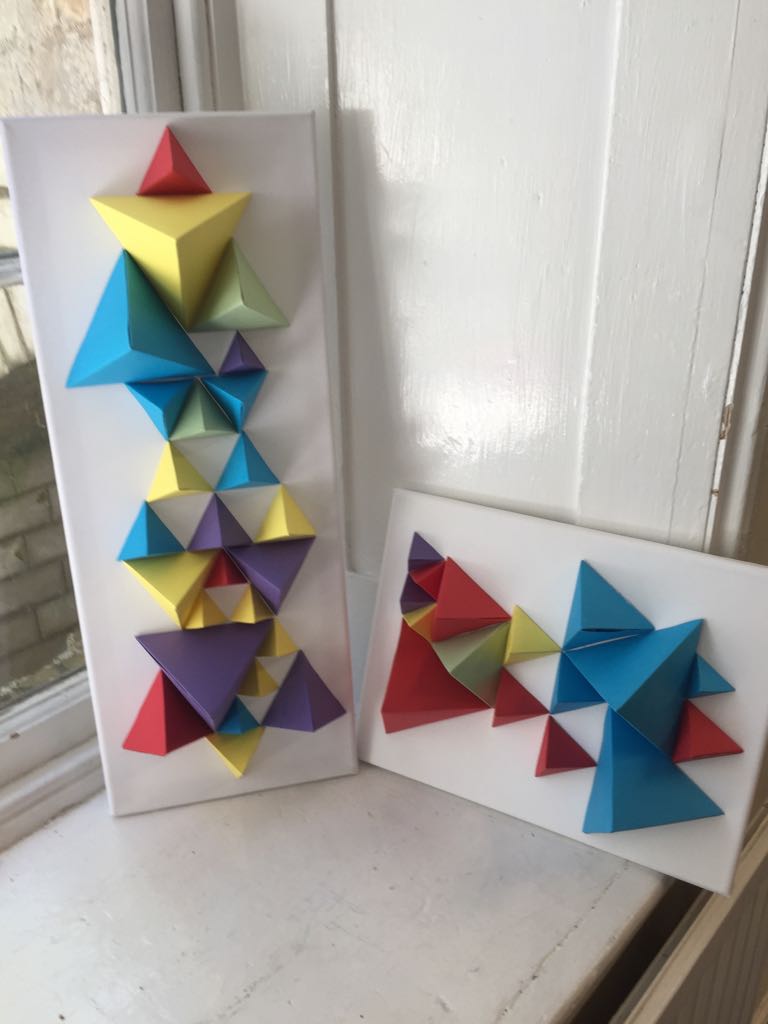
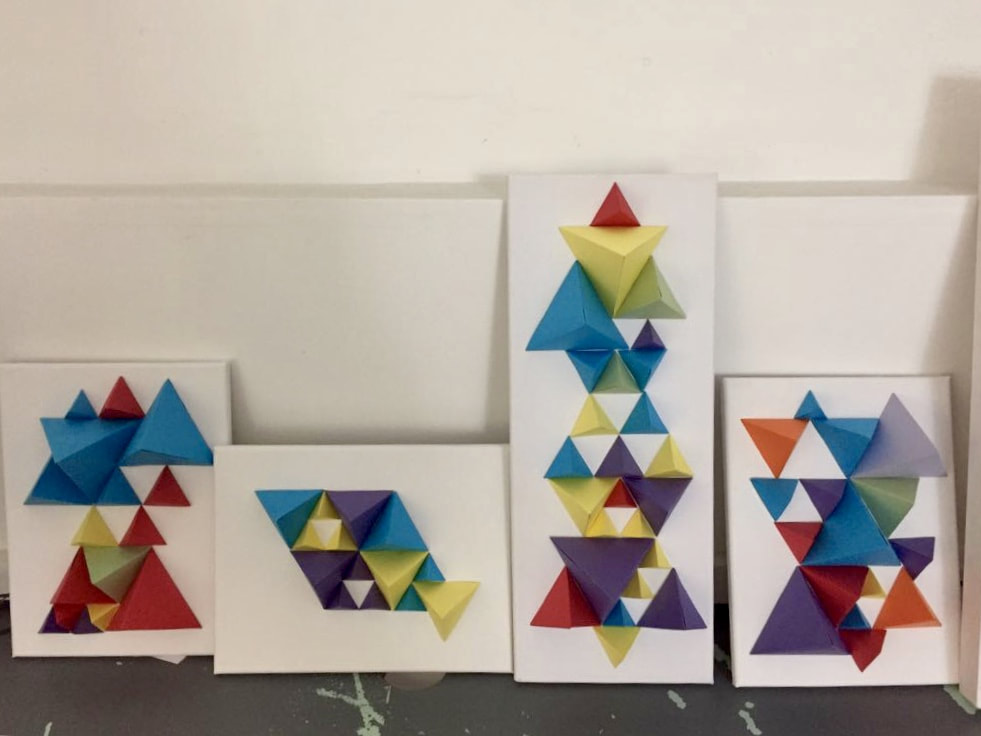
Each iteration of A-sized paper decreases in area by half, (so the side lengths decrease by a factor of 1/(sqrt2)): A5 is half the area of A4, A6 half the area of A5, and so on. So the base of an A6 tetrahedron is a quarter the area of an A4 base, meaning that four A6 tetrahedron bases can be packaged in the gap left by an A4 tetrahedron. I played around and found some other combinations (see some examples below).

Picture
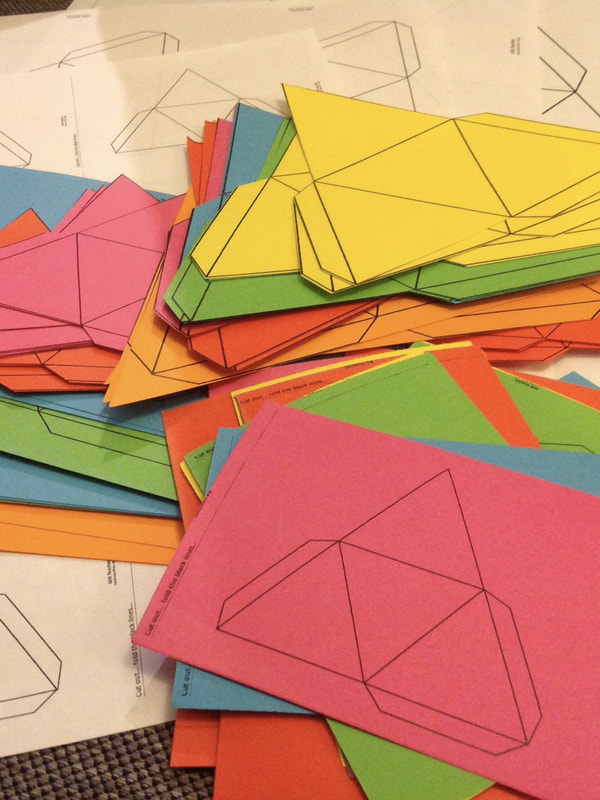
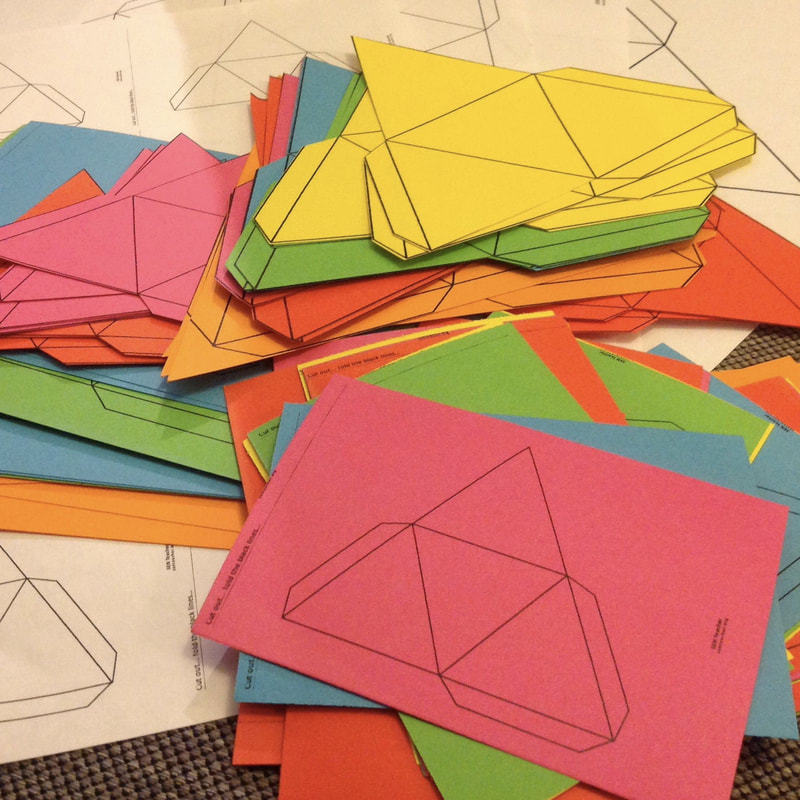
I printed and cut out all my nets, assembled my different sized tetrahedra (step-by-step instructions to follow below) and played around with lots of different arrangements. When finally happy, I stuck them down onto a ready-made canvas.
Picture
Picture
Picture
Picture
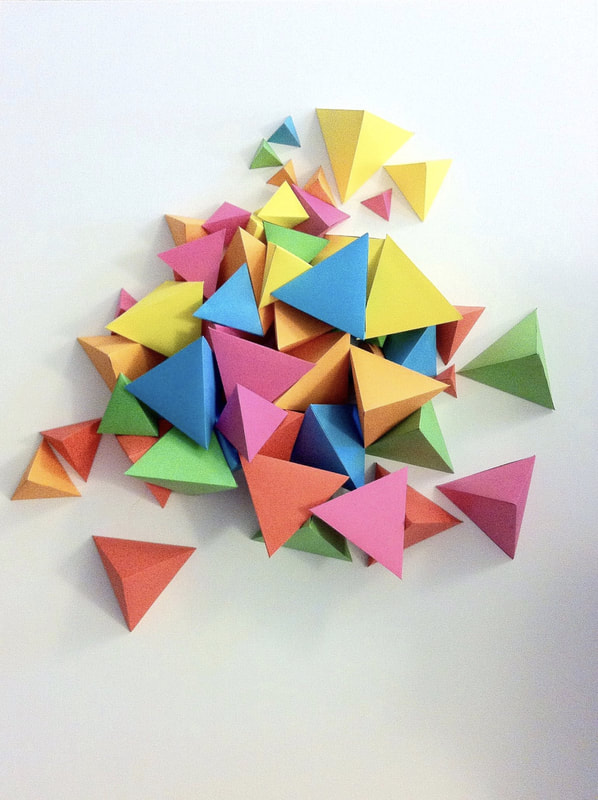
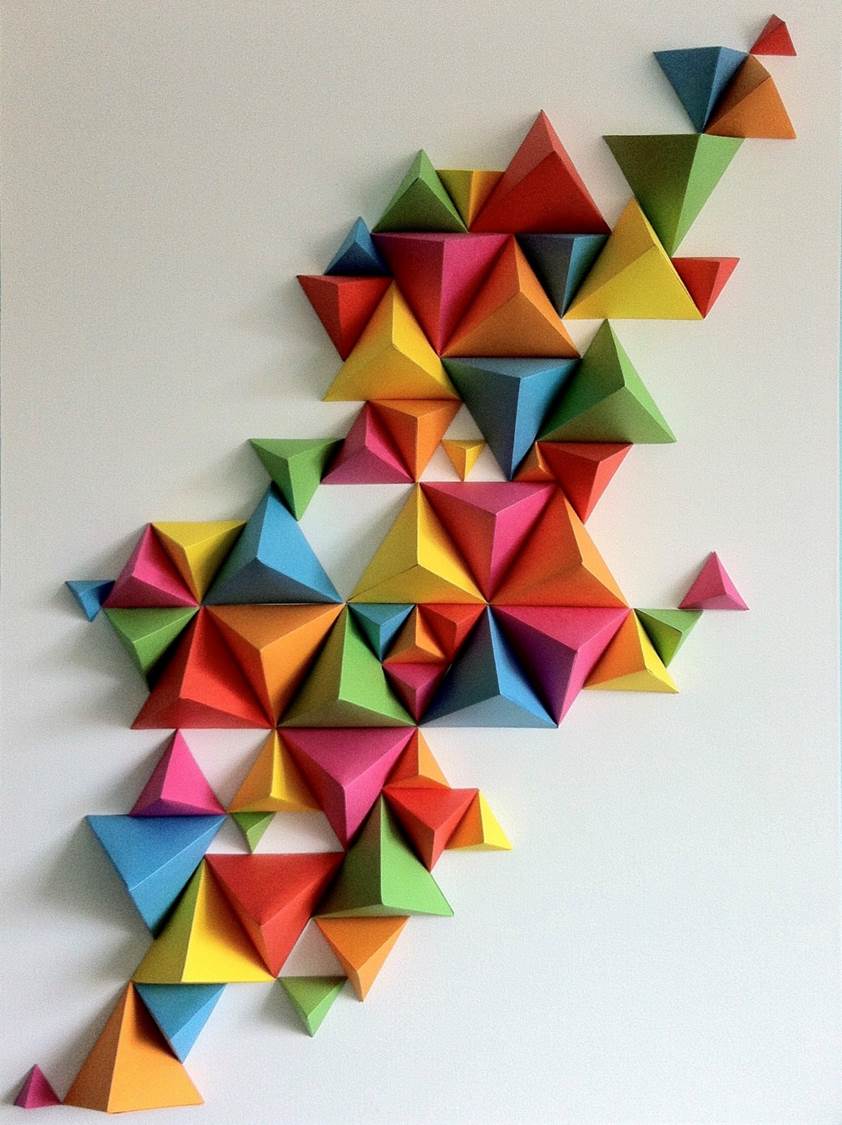
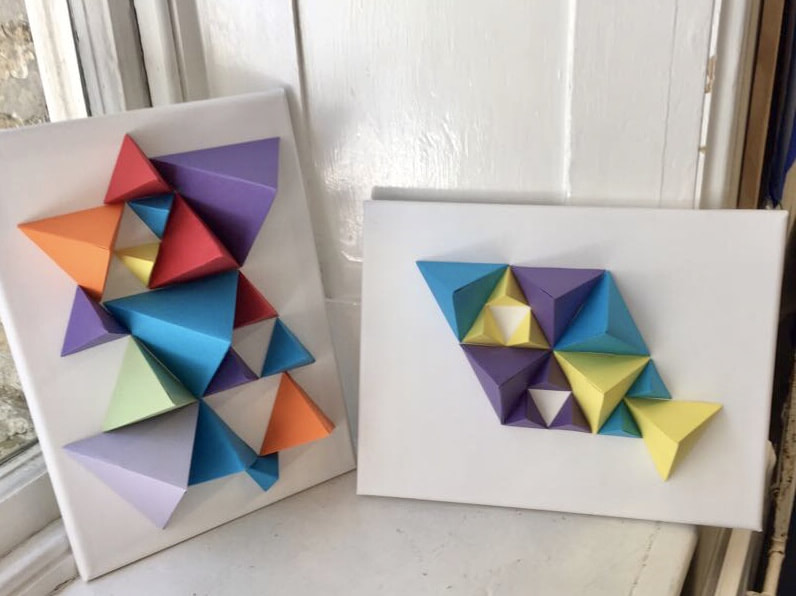
A week ago my ex-colleague Ali got in touch because she wanted to try the activity with her class. I talked her through the instructions and her students went on to produce the wonderful artwork below :)
Picture
Picture
Picture
Here are the step-by-step instructions if you would like to try this activity with your students.
Resources:
  • Tetrahedron net with tabs - SEN Teacher does one here.
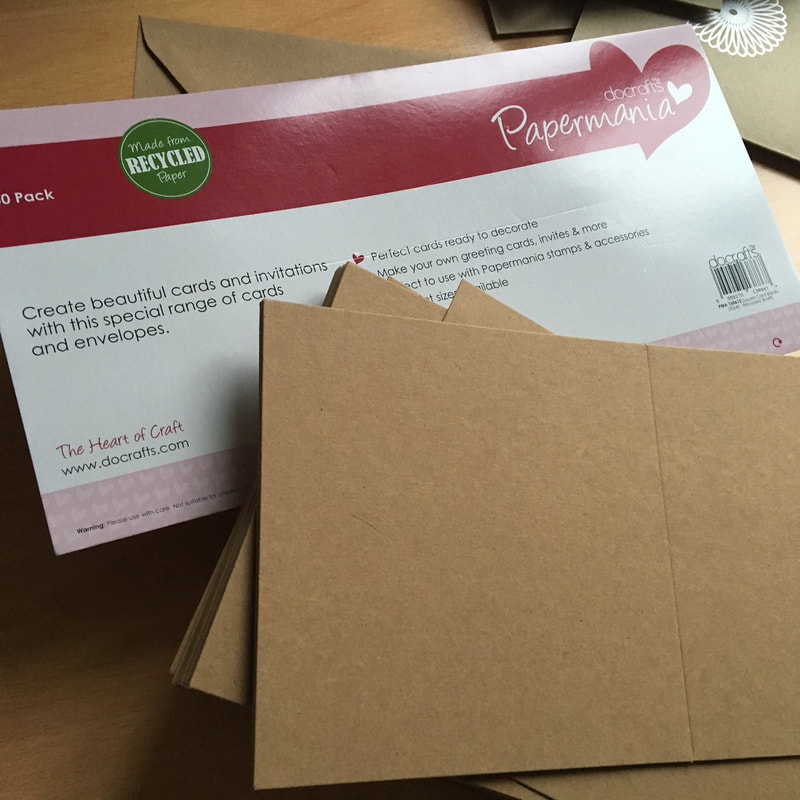
  • Different coloured card
  • Scissors
  • Ruler
  • Ballpoint pen for scoring the card
  • Glue
  • Backing paper or ready-made canvases
Instructions:
  1. Print out your 'master' tetrahedron net onto A4, then use the photocopier to reduce this to produce A5, A6 and A7 templates (and A8 if you're feeling brave). I photocopied several smaller templates onto one page, to reduce the amount of card needed.
  2. Now photocopy your different sized nets onto stiff coloured paper or card (I used 160 gsm card).
  3. Cut out the nets (being careful not to cut off the tabs!).
  4. Now 'score' the fold lines by running a ballpoint pen firmly along each line using a ruler. This will ensure the nets fold up easily and give a perfect crisp edge.
  5. Next assemble the tetrahedra by gluing the tabs - a tacky but quick-drying glue is best for this.
  6. Finally play around with a design built from different-sized, different-coloured tetrahedra, and when happy, stick them onto good quality backing paper (don't use sugar paper as it will soon fade and look tatty), or on to a ready-made canvas (The Works or The Range do large packs quite cheaply).
  7. Step back and enjoy your handiwork!
Picture
Picture
Picture
4 Comments

Spirograph Christmas Cards

17/12/2017

3 Comments

 
I loved my Spirograph set as a child and spent many happy hours exploring the patterns and symmetries I could create with it. And a few years ago, before teaching, I made my own Christmas cards decorated with Spirograph 'snowflakes'. This year I thought I'd give them a go again. I've spent such an enjoyable afternoon, warm and cosy indoors while the rain's been drizzling down, with my little Spirograph set, that I thought I'd share some quick instructions for making these cards so that you can too.
Picture
You'll need a Spirograph set, or, to use the correct mathematical name, a hypotrochoid set (small ones of these can be bought very cheaply from about £1.50), coloured or metallic pens (I used silver, which catches the light beautifully) and some card. And that's it!  (I bought ready-made cards but that's not at all necessary).
Have a quick practice with your set to find the combinations of 'cogs' and 'wheels' that create the shapes you like, in a range of sizes. I marked the holes that I wanted to use with a dot, so that I didn't forget which positions I'd chosen. Then have a play to come up with a few layouts that you find pleasing. I came up with two simple designs: a large central 'snowflake' and a set of three decreasing in size. However, a card filled with snowflakes of different sizes would be stunning if you have the time and patience for it. Then just go for it! And be prepared for a few wobbly lines here and there - they will just add to the handmade charm of the cards :)
❄️❄️❄️❄️❄️❄️❄️❄️❄️❄️ Happy Christmaths! ❄️❄️❄️❄️❄️❄️❄️❄️❄️❄️
3 Comments

Let it snow... origami snowflakes!

3/12/2017

5 Comments

 
When we think of paper snowflakes, we usually imagine the 'kirigami' type that involve first folding a sheet of paper into sixths, and then cutting bits out to create a papercut snowflake exhibiting perfect six-fold symmetry. (If you fancy trying some, there are some beautiful templates from First Palette here and some fun Star Wars and Harry Potter themed templates by Anthony Herrera, here). However, you can also make beautiful origami snowflakes from a single sheet of folded paper and no cutting, and they are wonderfully mathematical!
*Please note that these quite detailed models are not recommended for absolute beginners.  However, the interim stages produce beautiful hexagonal designs that resemble more simple snowflakes, and which would be suitable end points for younger students or beginner folders.
I have been planning an origami snowflake window display as part of my Christmas decorations this year, and this weekend got down to some folding. I chose to use tracing paper so that the internal structure and symmetry of the snowflakes would be visible when held up to the light - any translucent paper will do, including baking parchment or tissue paper.
In doing my research I came across several different styles, all starting from a paper hexagon. This is where the maths begins! The best method of cutting a paper hexagon for this type of snowflake is to start from an A4 (or letter size) rectangular sheet, as all the fold lines that remain form useful pre-creases for your final model.  The method itself is ingenious, and would make a great little geometric proof challenge for your students. Here is a video of me performing the method. Why does it produce a perfect hexagon?
Now to fold your snowflakes! Here are links to the instructions for the three most effective models that I found online. I have also included photos of the interim stages of the folding of my first attempts.

Origami snowflake by Dennis Walker

Diagram by Dennis Walker: http://www.oriwiki.com/origamidennis/diagrams/oridiag.htm

Video by Sara Adams, @happyfolding: https://www.youtube.com/watch?v=7m72m8L0xuA

Origami snowflake by Riccardo Foschi

Video by Riccardo Foschi: https://www.youtube.com/watch?v=x6UjDVLSqOk

Origami snowflakes by Senbazaru

Video by @senbazurueurope (in French, but clearly demonstrated): https://www.youtube.com/watch?v=EYMxVAlnnS0
I hope you enjoy folding these wonderful designs as much as I have. The layers upon layers of symmetry are incredibly pleasing to create, and there are lots of 'ooh' and 'aah' moments to enjoy as the cleverness of each design reveals itself. 
Let it snow! ❄️❄️❄️
5 Comments
<<Previous
Forward>>

    Author

    I teach maths.  I'm a bit arty.   I like to combine the two.

    Archives

    May 2020
    December 2018
    November 2018
    August 2018
    June 2018
    December 2017
    November 2017
    February 2017
    December 2016
    November 2016
    October 2016
    September 2016
    July 2016
    June 2016

    Categories

    All
    3D
    A Level Maths
    Christmas
    Colouring
    Constructions
    Displays
    Enrichment
    Fractals
    Halloween
    Mandalas
    Mathematical Art
    Origami
    Tessellations
    Valentine's Day

    RSS Feed

    Tweets by @c0mplexnumber
Creative Commons License
This work is licensed under a Creative Commons Attribution-NonCommercial-ShareAlike 4.0 International License.
Privacy Policy
Buy me a coffeeBuy me a coffee
Terms and conditions
© COPYRIGHT 2016 CLARISSA GRANDI.  SOME RIGHTS RESERVED.