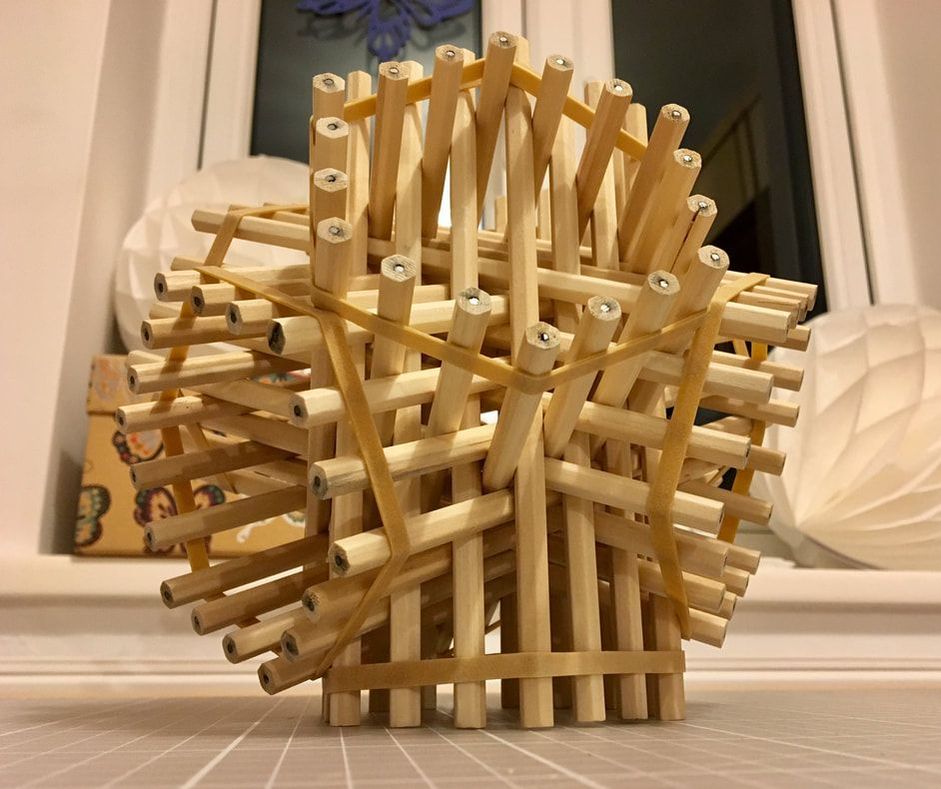
The Hexastix sculpture has been on my to-do list since I first saw it on Twitter over a year ago. And yesterday I made one! And, well, the construction of this slightly bonkers mathematical structure made from 72 pencils, first created by George W. Hart, was so immensely satisfying that I've been inspired to blog to encourage EVERYONE to make their own!
Now life's too short to make your own set of instructions when there are perfectly good instructions already out there, so I'll just share a few tips that I learnt from making some rookie errors on my first attempt, and then link to the excellent instructions that I used.
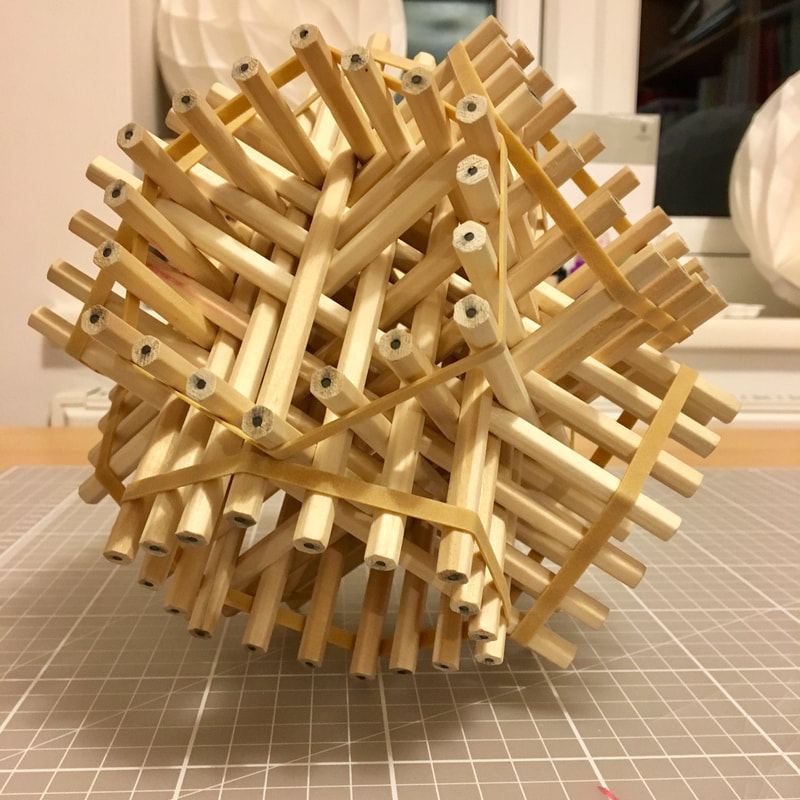
But before I begin, here's my finished Hexastix! I think I'd describe it as a 3D structure made from four intersecting hexagonal 'prisms'...
Materials
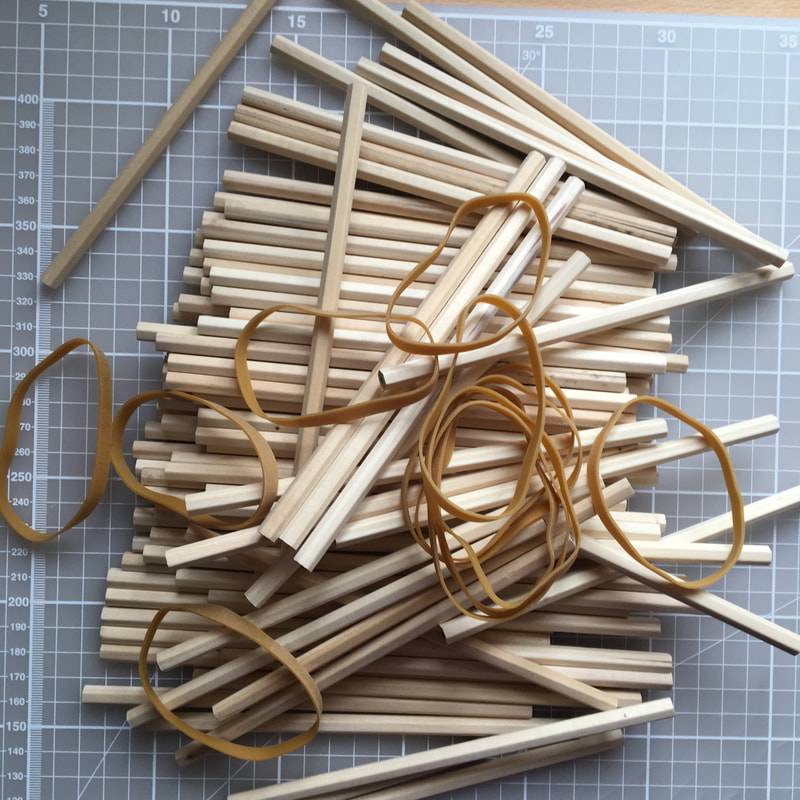
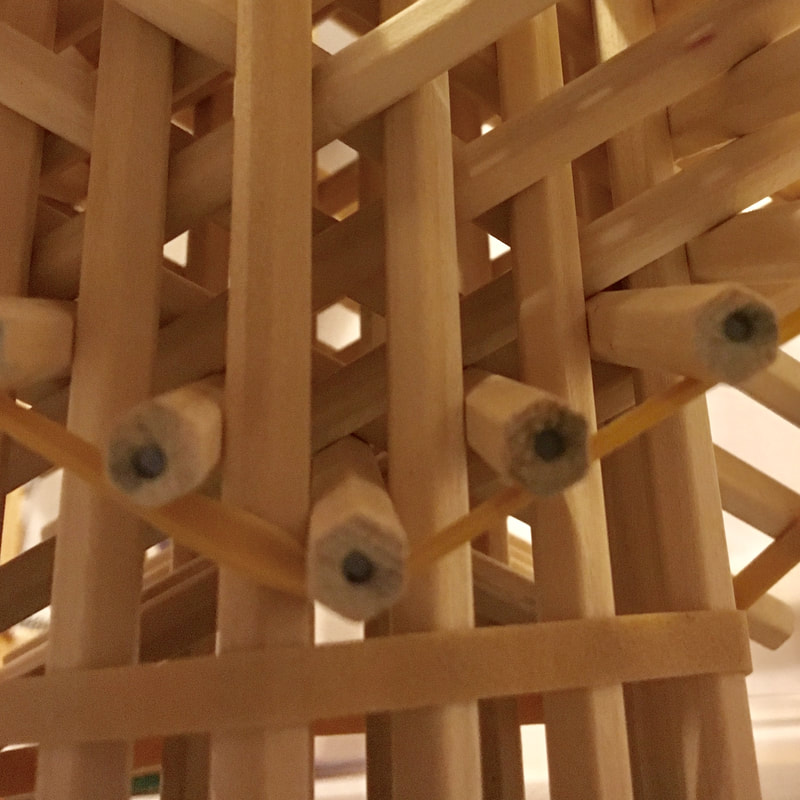
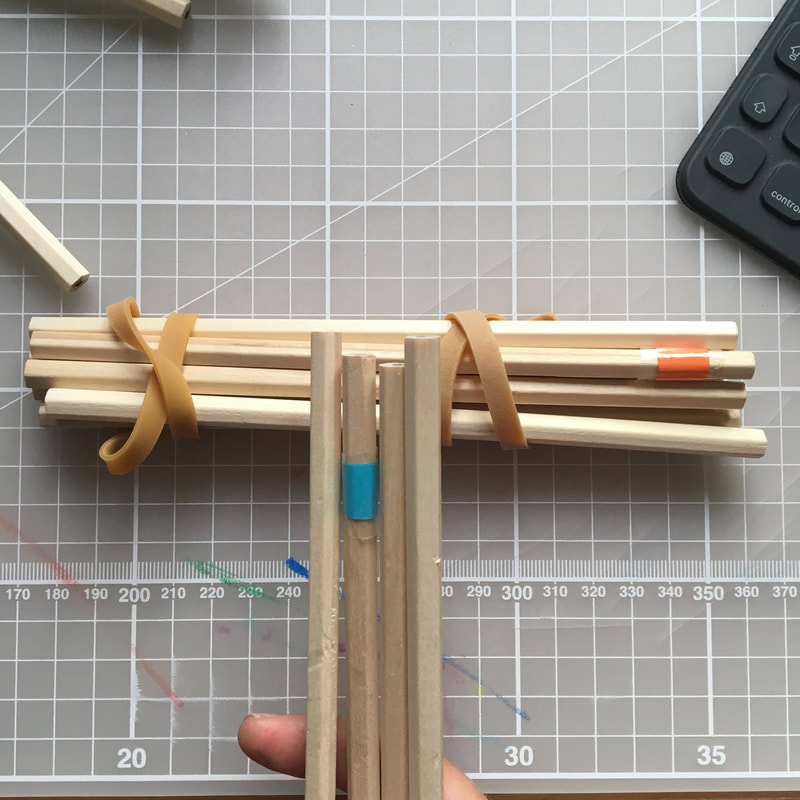
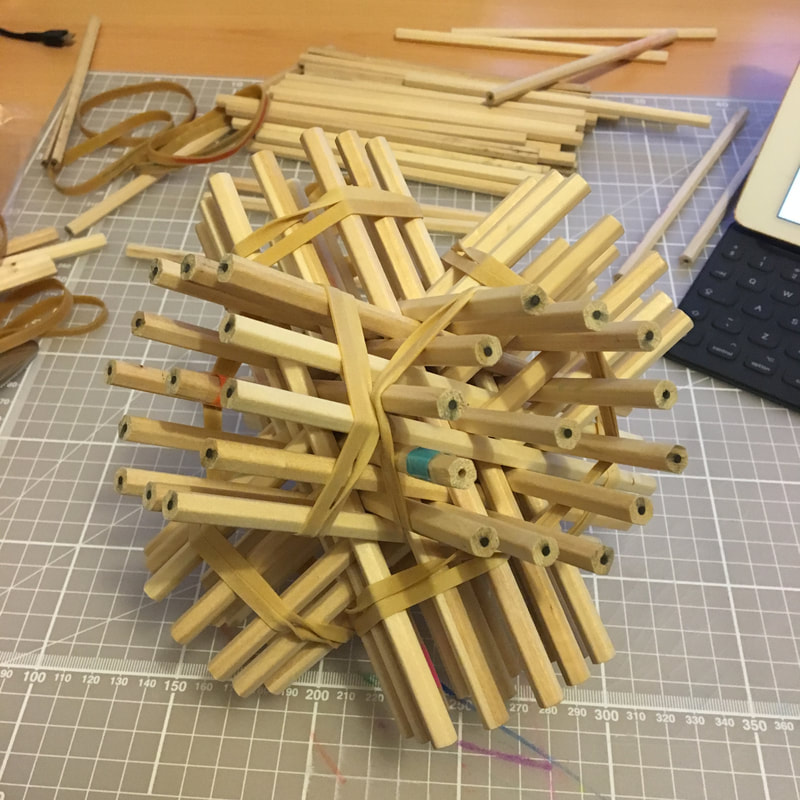
Basically, you need 72 hexagonal-cross-sectioned pencils (with maybe a few spares) and a pack of elastic bands. You could use wooden skewers or toothpicks instead of pencils, but you'd miss out on the ultra-pleasing hexagon-shaped holes that emerge when using the pencils. I chose to use these plain wooden pencils and uncoloured elastic bands, as I wanted a 'natural' look, but TIP 1 is that colour is a BIG HELP when constructing this sculpture, so you may choose to use four different colours of pencil, or four different colours of elastic band. I resorted to taping a strip of coloured paper around one pencil in each of the four sets (below right) to help with the construction process, after getting in a complete muddle on my first attempt!
And TIP 2: unsharpened pencils are a wise choice if you don't fancy stabbing yourself several times in the construction process!
Construction
I would advise first watching this entertaining video by Matt Parker (@Standupmaths), so that you have an overview of what it is you'll be doing before you actually get started on the building process.
For the actual Hexastix construction, however, I recommend the same set of photo instructions that Matt does, these by Alejandro Erickson.
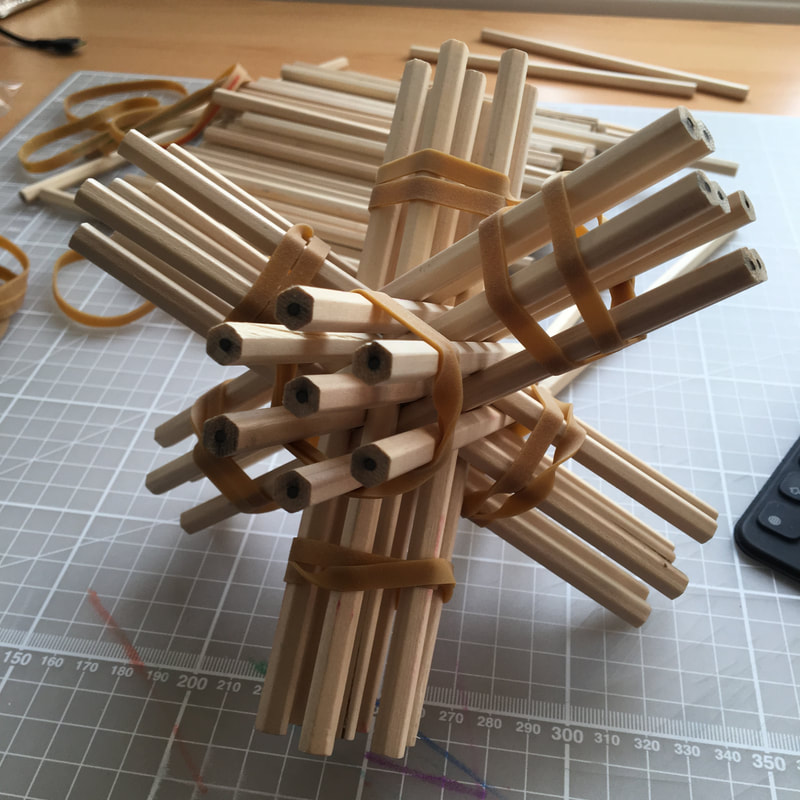
TIP 3: after my false start, I labelled my pencils in the same colours as Alejandro uses, and then started by orienting my structure to line up with his photos each time, so that I could follow his instructions exactly. However, soon enough, as the little hexagonal gaps start emerging, you'll get the hang of the construction and will just go for it! Once you have your initial 'Level 1' set of 4 hexagonal prisms, you 'expand' them twice more to achieve your very own Level 3 Hexastix!
TIP 4: be aware that the elastic bands will deteriorate over time. To preserve them as long as possible, keep your Hexastix out of direct sunlight.
A highly recommended mathematical build - enjoy!




 RSS Feed

