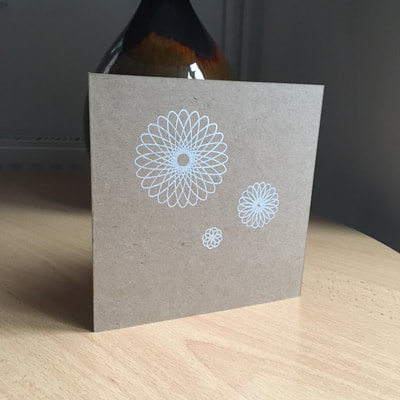
I loved my Spirograph set as a child and spent many happy hours exploring the patterns and symmetries I could create with it. And a few years ago, before teaching, I made my own Christmas cards decorated with Spirograph 'snowflakes'. This year I thought I'd give them a go again. I've spent such an enjoyable afternoon, warm and cosy indoors while the rain's been drizzling down, with my little Spirograph set, that I thought I'd share some quick instructions for making these cards so that you can too.
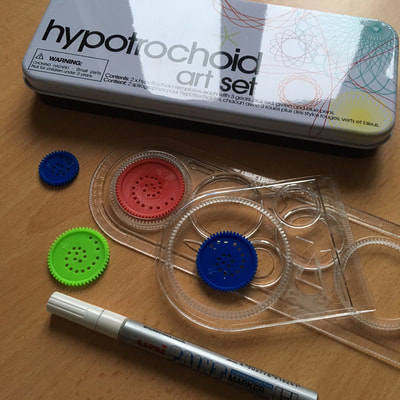
You'll need a Spirograph set, or, to use the correct mathematical name, a hypotrochoid set (small ones of these can be bought very cheaply from about £1.50), coloured or metallic pens (I used silver, which catches the light beautifully) and some card. And that's it! (I bought ready-made cards but that's not at all necessary).
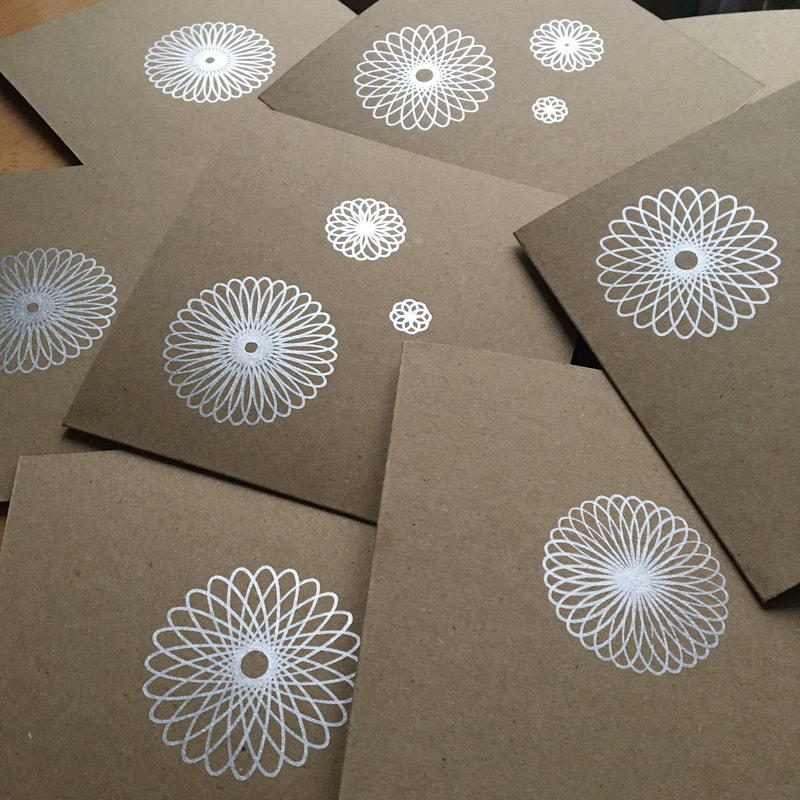
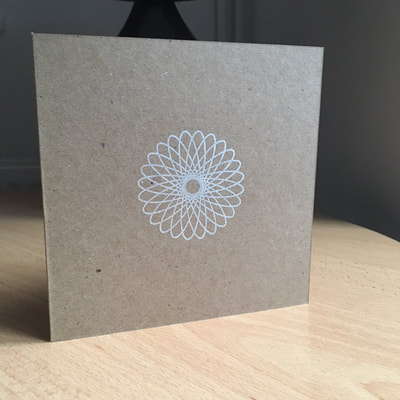
Have a quick practice with your set to find the combinations of 'cogs' and 'wheels' that create the shapes you like, in a range of sizes. I marked the holes that I wanted to use with a dot, so that I didn't forget which positions I'd chosen. Then have a play to come up with a few layouts that you find pleasing. I came up with two simple designs: a large central 'snowflake' and a set of three decreasing in size. However, a card filled with snowflakes of different sizes would be stunning if you have the time and patience for it. Then just go for it! And be prepared for a few wobbly lines here and there - they will just add to the handmade charm of the cards :)
❄️❄️❄️❄️❄️❄️❄️❄️❄️❄️ Happy Christmaths! ❄️❄️❄️❄️❄️❄️❄️❄️❄️❄️

 RSS Feed

