ARTFUL MATHS
  • Home
  • Resources
    • Mathematical Art Lessons
    • Classroom Display Ideas
  • Origami
    • Origami Clubs
    • Origami in Lessons
    • Origami Gallery
  • Puzzle Games
  • Blog
  • About
  • Contact Me
    • Subscribe

Mandala May-hem!

21/5/2020

0 Comments

 
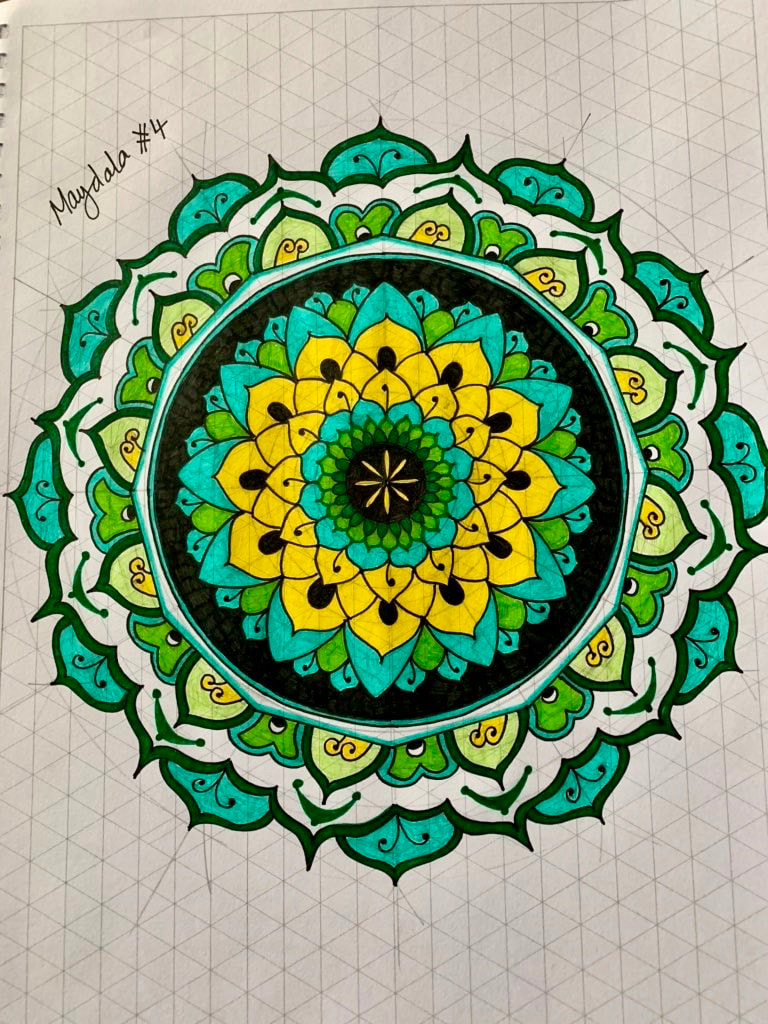
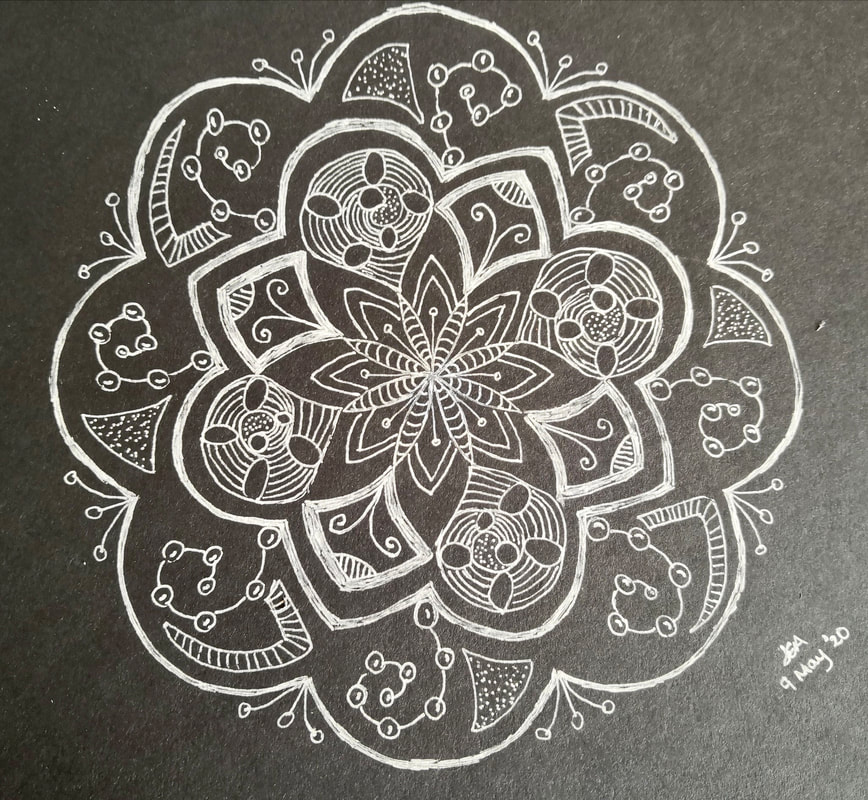
This month, Lindsey Bowkett (@MissBowkett) and I have been challenging ourselves to draw a mandala a day in May. We both wanted to get back into the swing of making art regularly, and when Lindsey coined the hashtag #Maydala, we were off!

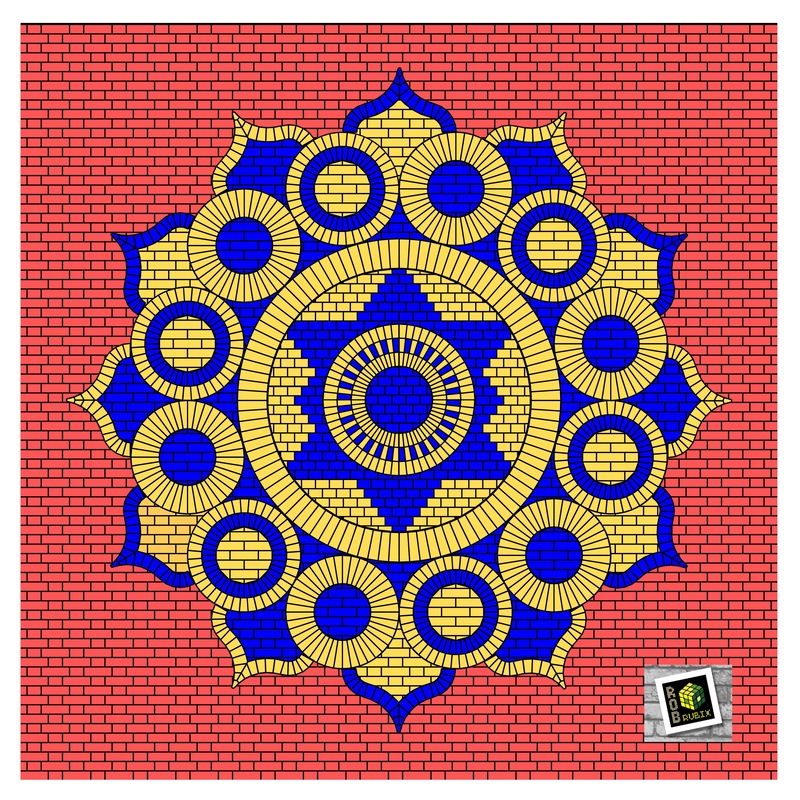
We have been delighted to have been joined on the journey by many other maths teachers across Twitter – here are some of their wonderful designs. For even more marvellous mandala mayhem, do check out the #Maydala hashtag!
@giftedHKO
@KierstyT
@giftedHKO
@MathsJanet
@CarolineDimelow
@japleen_kaur1's daughter
@b_karadia
@fractionfanatic
@hillaust
@b_karadia
@MissBowkett
@japleen_kaur1
@PaulaKrieg
@hillaust
@987jude
@MathsJanet
Mandalas are rich in mathematics (circle geometry, reflective and rotational symmetry), and provide useful practice with geometry tools including rulers, compasses and protractors. Several teachers have asked how to introduce the activity to their students, so I have decided to collate the ideas and resources from my original twitter thread here.
The word ‘mandala’ means ‘circle’ in Sanskrit, and mandalas have a deep spiritual or cosmic meaning in many cultures and traditions. For our #Maydala purposes, a mandala is any circular design exhibiting pattern and symmetry.
Mandala making is accessible to all. The repetitive nature of these designs means that drawing them can be a wonderfully absorbing and meditative process, and it's a process that results in stunning geometrical patterns - bonus!
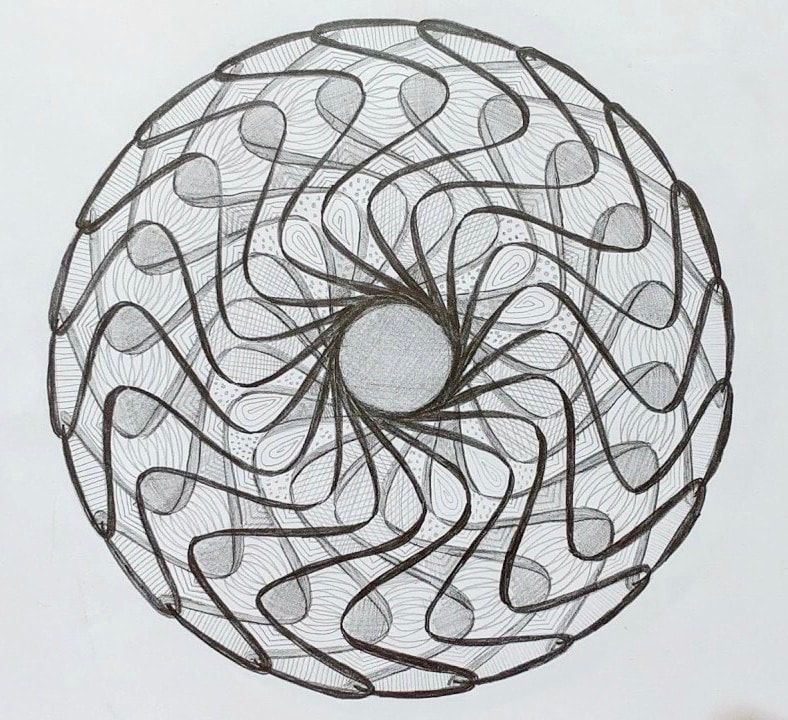
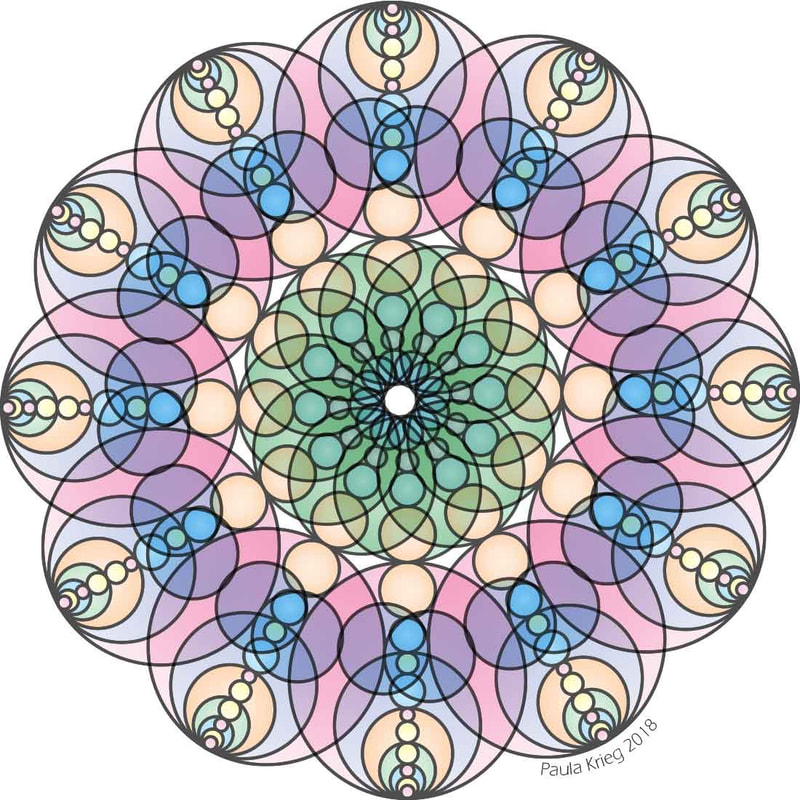
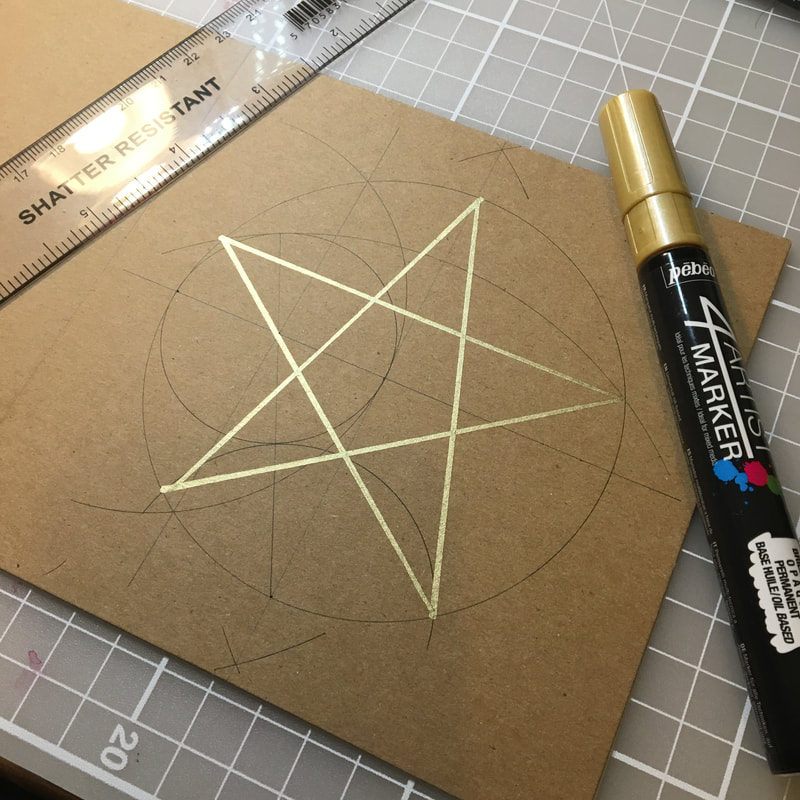
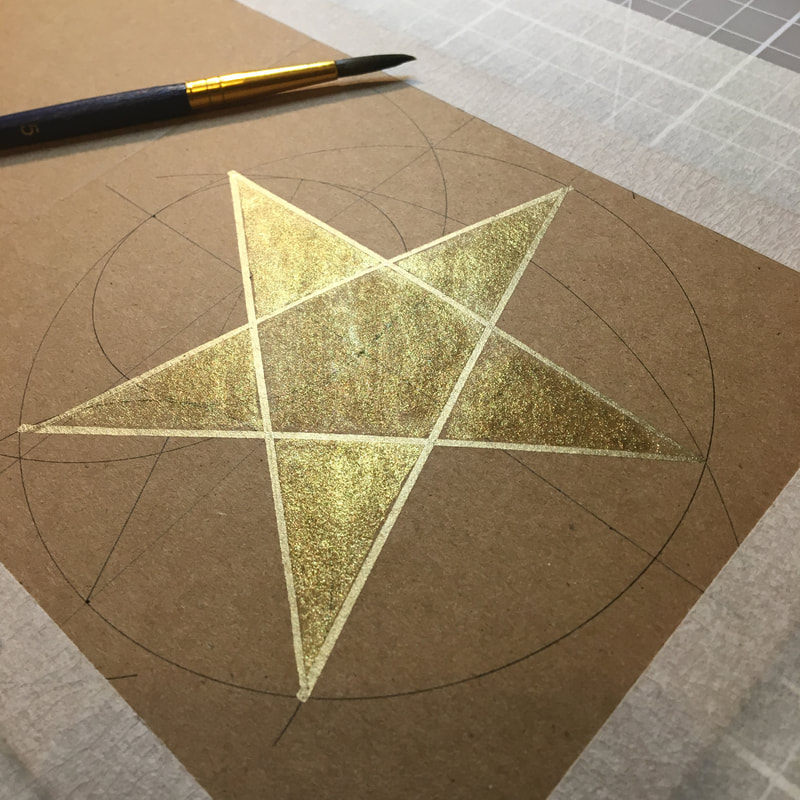
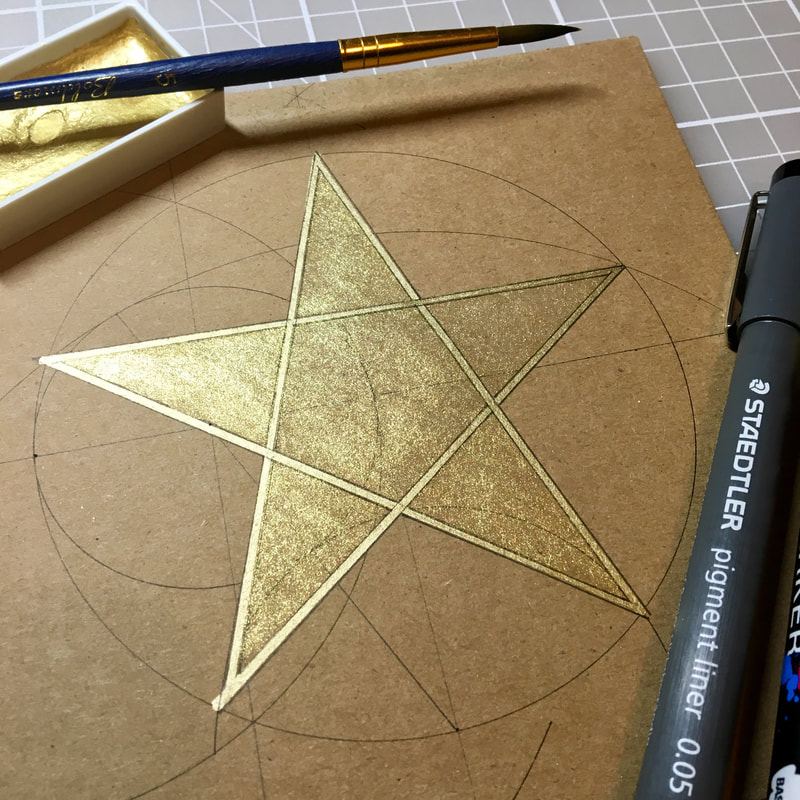
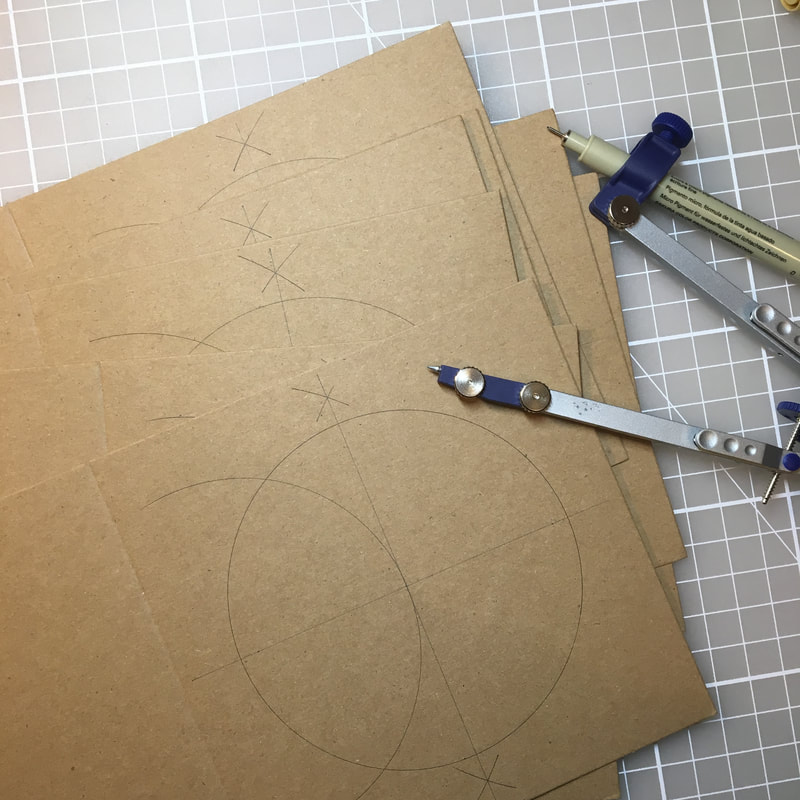
Designs can be drawn entirely freehand, or using a mixture of freehand and compass/ruler construction, or solely compass and ruler construction. Anything goes! Some participants are even using technology or origami to make their mandalas, with stunning results:
@RobRubix
@PaulaKrieg
@rrmmff
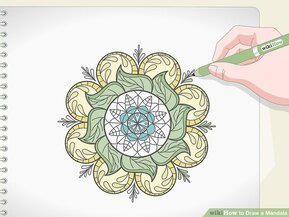
So, how do you get started? These Wikihow instructions are really clear and easy to follow:
Picture
And this set of video tutorials from Kathryn Costa (@100mandalas) are very useful too.
Lindsey (@MissBowkett) has made a series of lovely timelapse videos showing her process, such as this one:

My first ever time lapse video ... #Maydala @c0mplexnumber #Mandala #MandalaArt #Mindfulness pic.twitter.com/nkyqhPD4Mp

— Miss Bowkett (@MissBowkett) May 14, 2020
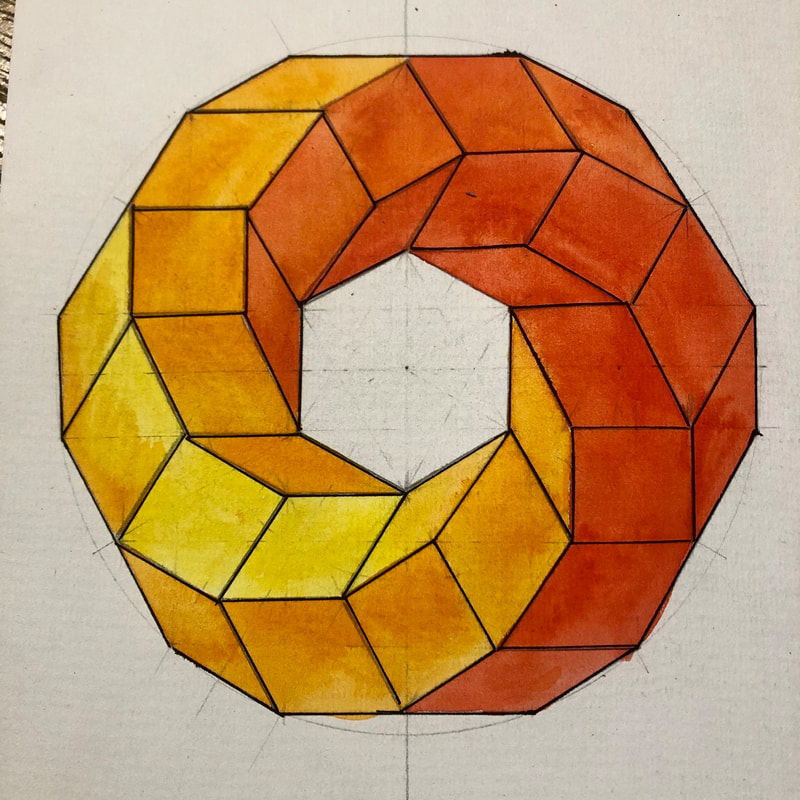
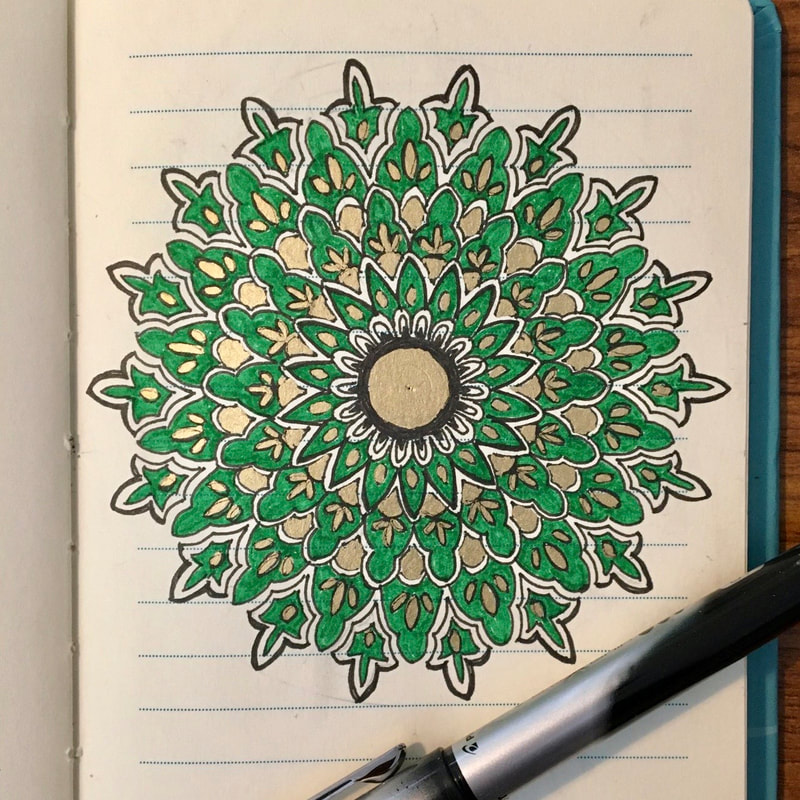
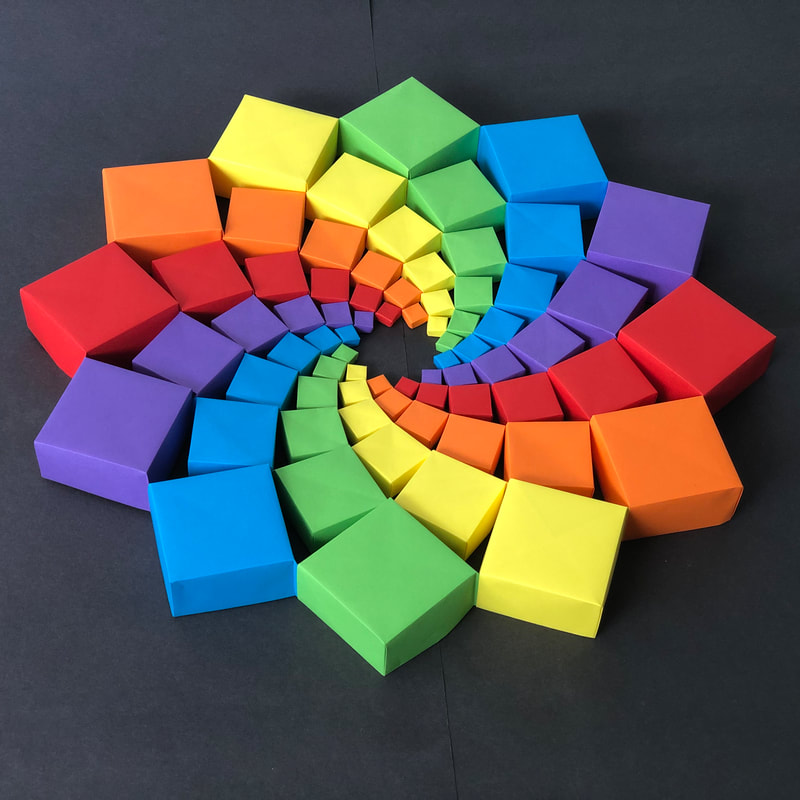
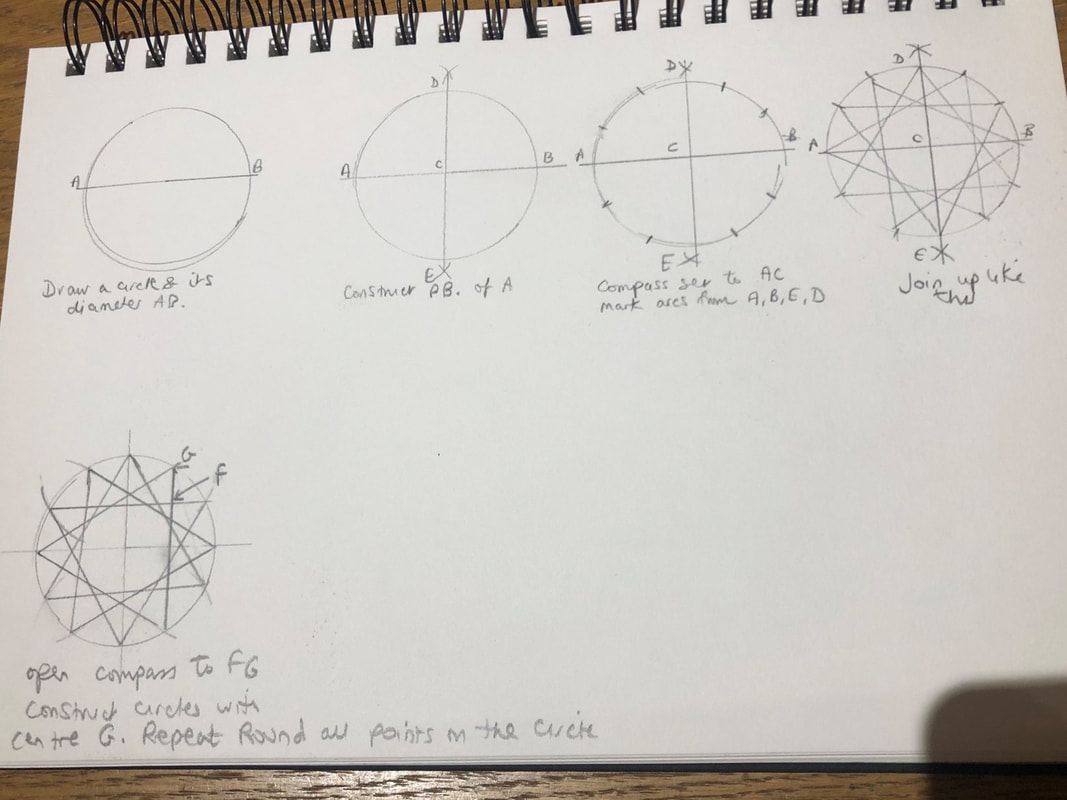
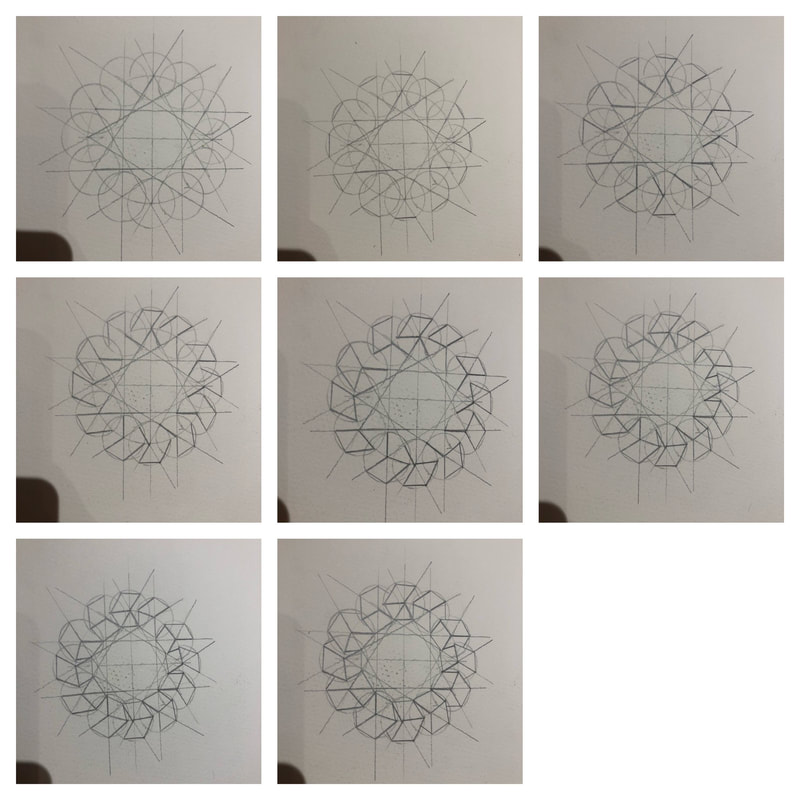
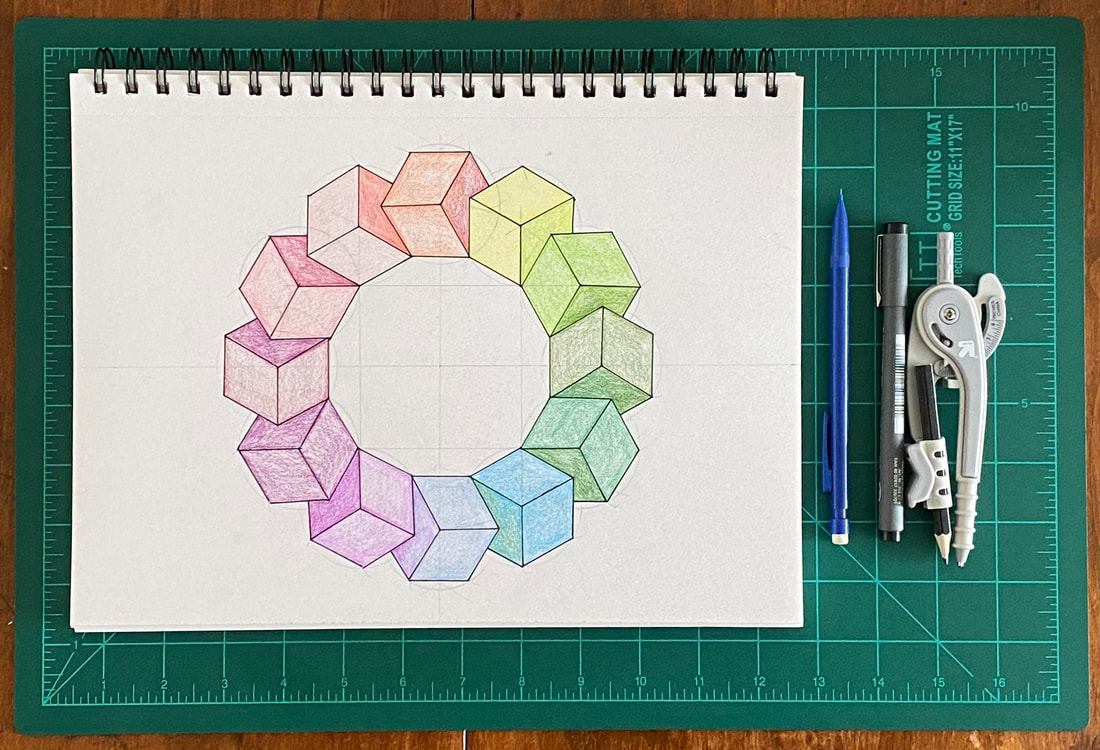
And Miss Konstantine (@giftedHKO) made this set of instructions for a fabulous cube mandala, which Becky Warren (@becky_k_warren) followed to make her version, coloured in with colouring pencils, below.
Picture
Picture
Picture
But there are lots of other things you can do too!
How about making a mandala from objects around the house, or from things found on a walk outside? The artist James Brunt (@RFJamesUK) makes fabulous designs from found objects, or from the contents of his junk drawer!

Lockdown series pic.twitter.com/IR7CjB78dm

— james brunt artist (@RFJamesUK) May 17, 2020

Isolation April pic.twitter.com/5tSFrIz861

— james brunt artist (@RFJamesUK) April 26, 2020
Or if you have a pebble collection you could get creative and add some dotty colour. Check out this totally scrumptious work by the artist Elspeth McLean!
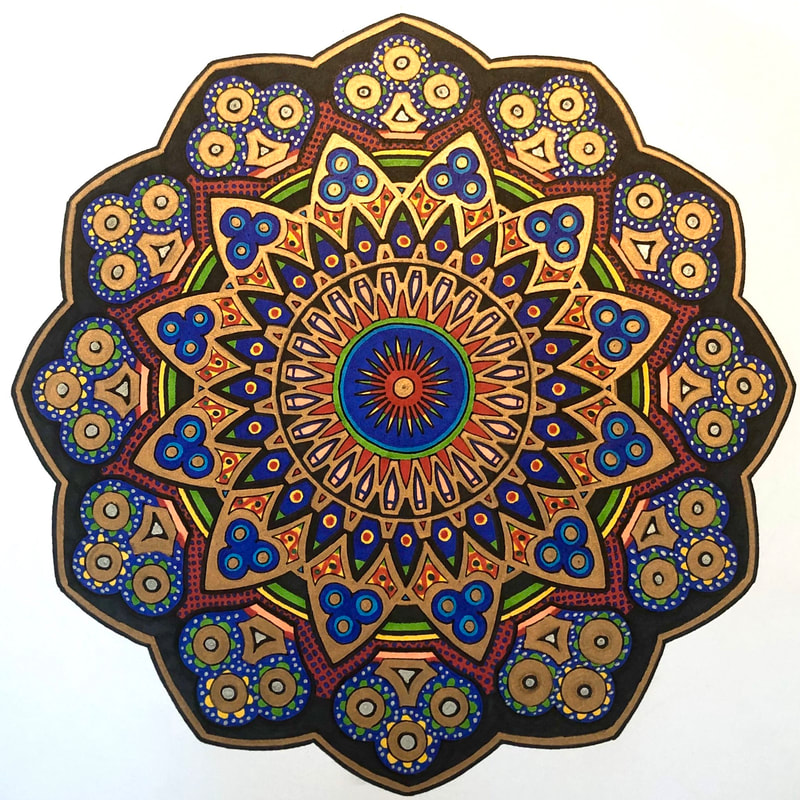
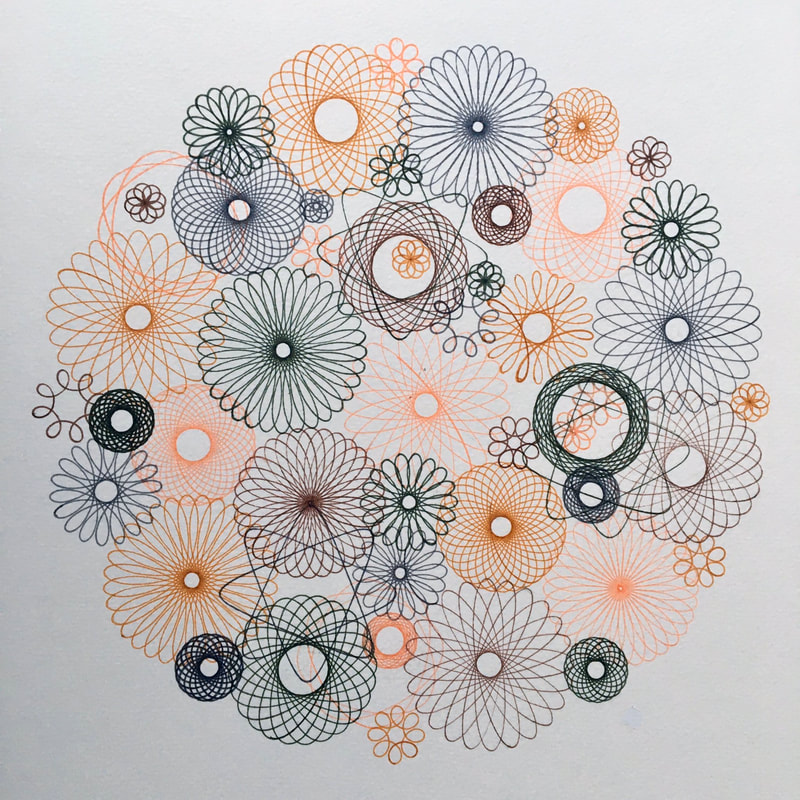
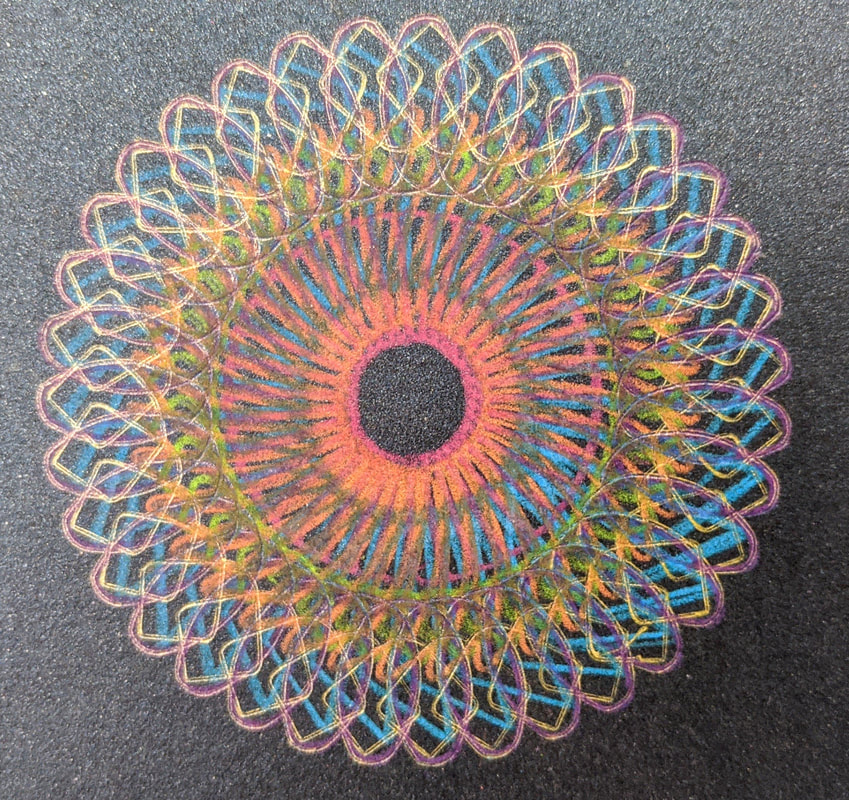
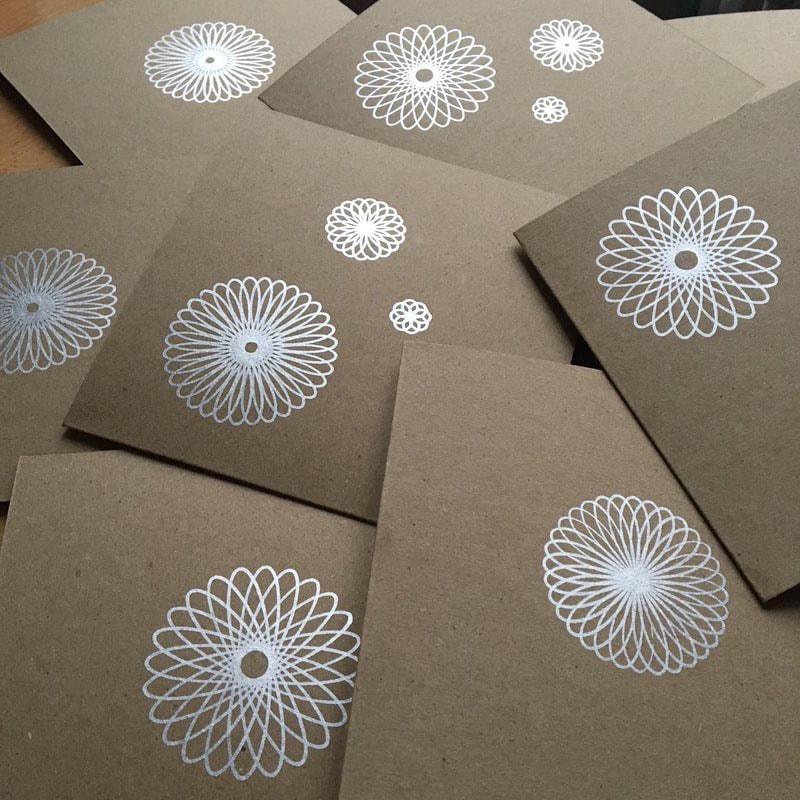
If you’ve got a Spirograph set gathering dust in a cupboard somewhere then this is the perfect excuse to dust it off and get spiralling. Metallic pens add that extra bling!
@c0mplexnumber
@PaulaKrieg
@c0mplexnumber
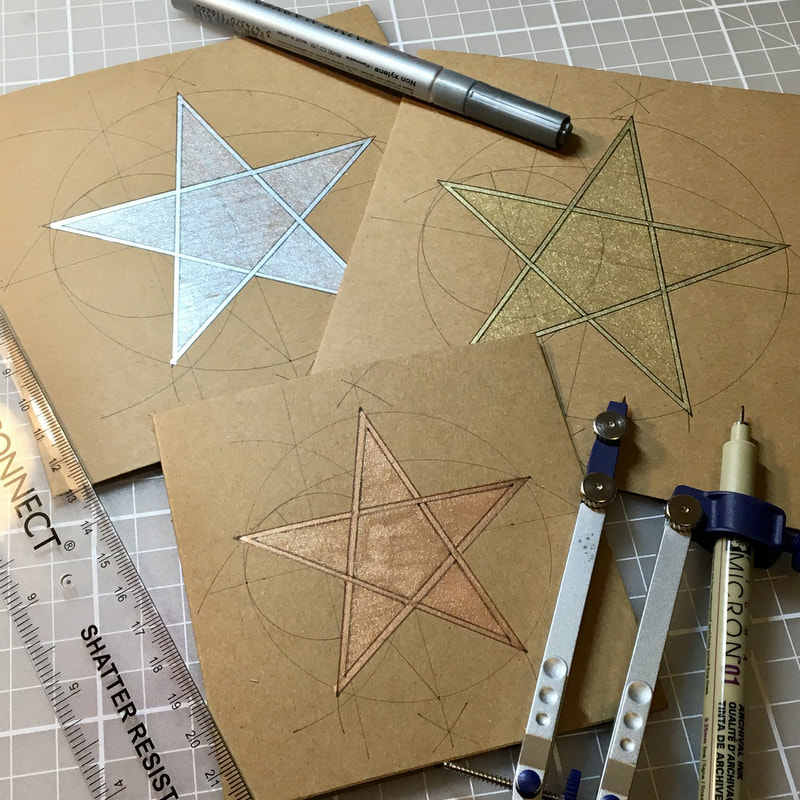
Fancy giving your compasses a workout? Islamic geometric patterns begin with a single circle, and are some of the most beautifully proportioned patterns in the world. Check out Samira Mian's (@samira_mian) Youtube channel for some clear and easy-to-follow tutorials. Here is a lovely circular pattern perfect for a mandala!
So, a plethora of resources and ideas to help you get started! If you post your finished artwork on Twitter, be sure to use the #Maydala hashtag. You can use it any time of the year - why not?!
0 Comments

Construct-a-Christmas-card

17/11/2018

0 Comments

 
Last year I made my own Spirograph Christmas cards and I so enjoyed the process that this year I've decided to make my own mathsy cards again.
Recently I've been learning to draw a lot of Islamic geometric designs using compass and straight-edge, and I fancied using the same tools to create a Christmas card. I came up with the idea of constructing an accurate 5-pointed star (pentagram) and leaving the construction lines behind as part of the design.
Here's how they turned out  :o)
Picture
I'm really happy with them, and they don't take too long to make if you get a little production line going. I thought I'd share the instructions so that you can make them too. I've also made a 'Construct a five-pointed star' powerpoint if you'd like to make them with your students as a 'Christmaths' activity.

Materials

You'll need a pair of compasses, a nice sharp pencil, a ruler and some coloured pens, pencils or paints. Metallic pens are great for getting a shimmery gold or silver outline. You'll also need some card to fold and construct your design on. Any sturdy 160-250 gsm card will do, but I used some pre-folded blank cards which can be bought cheaply in most stationery or craft shops.
Picture

Instructions

STEP 1 Measure to find the centre of the front of your card and mark this faintly with your pencil. Draw a horizontal line through this centre, from side to side.
STEP 2 Place your compass point on your marked centre and draw a starting circle that leaves at least two or three centimetres of card around its edge. You need the space around the outside of your circle for some construction lines in the next step.
STEP 3 Construct your pentagram within this circle. I used this BBC Bitesize instructional video, or you can follow the steps in my powerpoint.
STEP 4 Outline your star in marker pen, or metallic pen for extra shimmeriness. Then colour it in. I used metallic watercolour paints for mine.
STEP 5 Finally, if you wish, you can outline your star again with a fine black pen. I achieved a 'interleaved' effect on my stars by outlining both sides of my original metallic line, going alternatively 'over and under' each line I met as I travelled around the star (see bottom right photo below).
If you have lots of cards to draw, then it's easiest to set up a production line. Gather your blank cards together in a pile and draw one step of the construction process at a time on every card. That is, draw all your starting horizontal lines on every card first, then all your starting circles, then all your perpendicular bisectors and so on. This helps you avoid having to repeatedy open and close your compass.
Picture
What other Christmassy things could you make with your stars? Do let me know in the comments below.
✭✭✭✭✭✭✭✭✭✭✭✭✭✭✭✭✭✭✭✭✭✭✭✭✭✭✭✭✭✭✭✭✭✭✭✭✭✭✭
0 Comments

    Author

    I teach maths.  I'm a bit arty.   I like to combine the two.

    Archives

    May 2020
    December 2018
    November 2018
    August 2018
    June 2018
    December 2017
    November 2017
    February 2017
    December 2016
    November 2016
    October 2016
    September 2016
    July 2016
    June 2016

    Categories

    All
    3D
    A Level Maths
    Christmas
    Colouring
    Constructions
    Displays
    Enrichment
    Fractals
    Halloween
    Mandalas
    Mathematical Art
    Origami
    Tessellations
    Valentine's Day

    RSS Feed

    Tweets by @c0mplexnumber
Creative Commons License
This work is licensed under a Creative Commons Attribution-NonCommercial-ShareAlike 4.0 International License.
Privacy Policy
Buy me a coffeeBuy me a coffee
Terms and conditions
© COPYRIGHT 2016 CLARISSA GRANDI.  SOME RIGHTS RESERVED.