ORIGAMI CLUBS
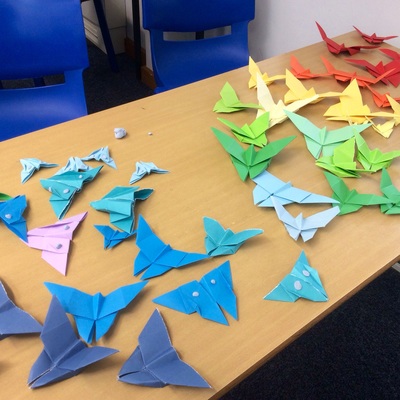
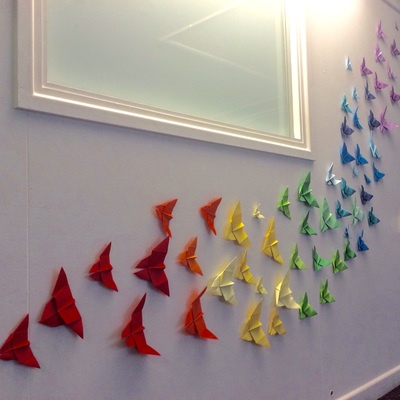
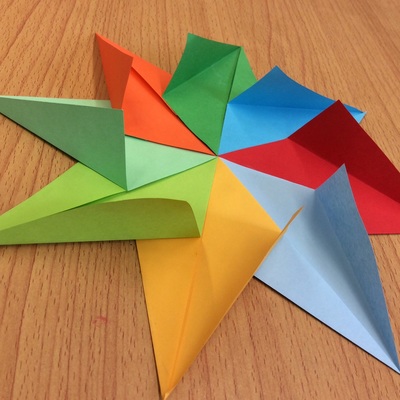
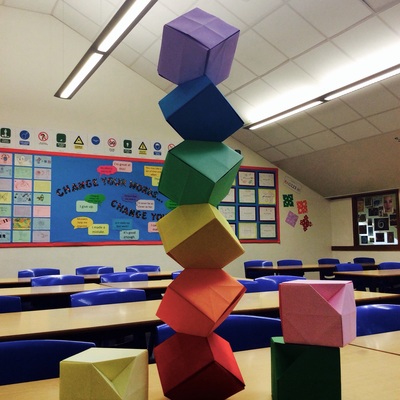
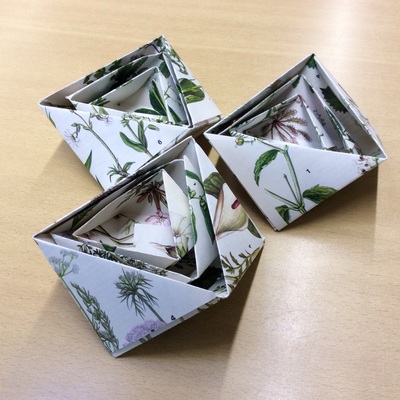
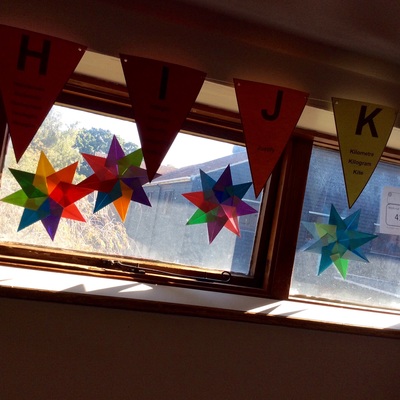
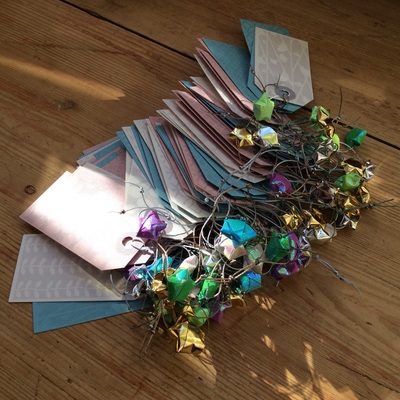
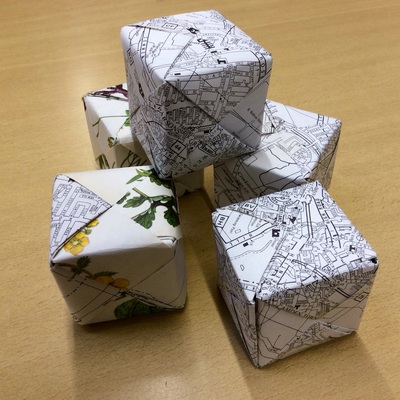
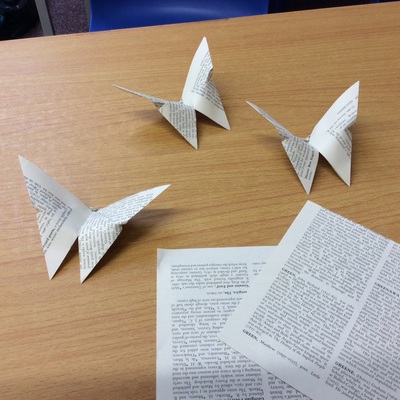
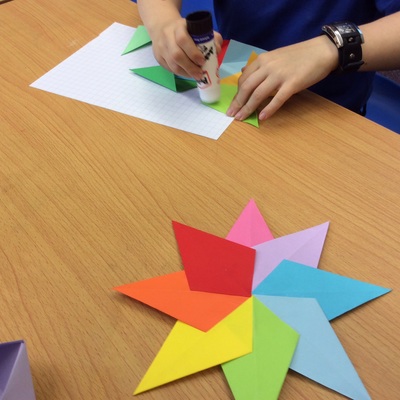
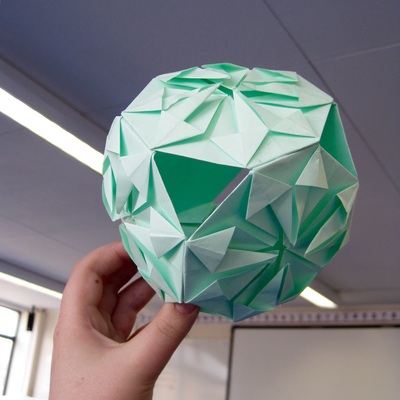
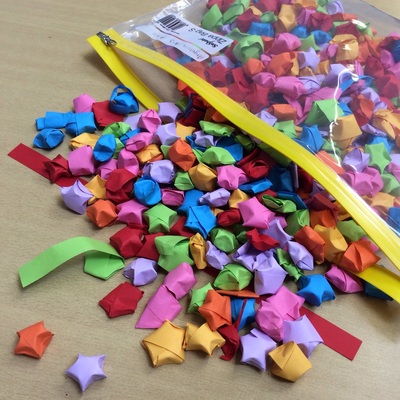
On this page you will find some advice and a selection of ideas and resources to support you in setting up your own origami club. Scroll down to see some photos of the many projects we have worked on during our 'Origami Fridays' lunchtime club.
Origami has many benefits for our students. It helps to develop hand-eye co-ordination, sequencing skills, attention skills, patience, temporal spatial skills and problem solving abilities. It is also a great stress-reliever; plus it's fun! And if you indulge in a spot of 'origami bombing' the whole school will benefit, as shown in this wonderful video, created by one of my students, Louise.
Origami has many benefits for our students. It helps to develop hand-eye co-ordination, sequencing skills, attention skills, patience, temporal spatial skills and problem solving abilities. It is also a great stress-reliever; plus it's fun! And if you indulge in a spot of 'origami bombing' the whole school will benefit, as shown in this wonderful video, created by one of my students, Louise.
origami movie final from Louise Tarling on Vimeo.

Equipment
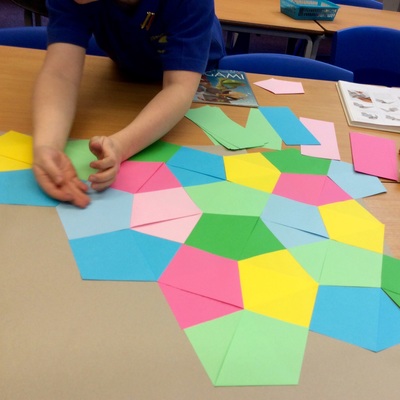
The good news is, you don't need expensive paper or specialist equipment to set up an origami club at your school. Plain old A4 printer paper is just fine, although it will need trimming into squares for most designs - and don't discard the offcuts, make Cairo tiles with them instead!
If possible choose a range of bright colours and prepare a good-sized selection of squares of different sizes beforehand (cut from A4, A5 and A6-sized sheets, say). Students can then dig in and get folding as soon as they arrive.
Source a range of four or five origami books so that you have a mini reference library. These can be purchased second-hand on Amazon, Ebay or at charity shops and car boot sales. Some students will be keen to browse through these and choose projects to work on independently. Others will need more guidance, and it is a good idea to have a simple fold or two planned each session to work on with these students.
I also find it useful to have a set of small rulers or set squares available to act as 'folding bones'. Encourage students to run the side of their ruler firmly along their folded edges to achieve a good, crisp fold. This is especially important when folding modular units which will need to interlock firmly afterwards.
Web resources
There are two websites that I find particularly useful when planning what to fold at Origami Club: Origami-fun.com and Origamiplayer.com. NB It's always best to practise the fold yourself beforehand!
Origami-fun.com has a great selection of beginner projects accompanied by high-quality pdf instructions which can be projected or printed off for student reference. All folds are handily rated for difficulty with little pelican symbols, five pelicans being the most challenging.
Origamiplayer.com is a Flash-based website with a good selection of animated instructions that can be paused and replayed. Again, the folds are rated for difficulty, with five stars being the most difficult. The animations are accompanied by realistic paper-folding sound effects and a little cat that meows the instructions!
For more experienced folders, the Origami Resource Centre is a great source of inspiration and advice. And, of course, there's Youtube.
Leading the session
I usually find that it is best to 'walk through' the instructions with the students by folding alongside them, step by step. Some will need hands-on help, while others will want to whizz ahead. Encourage the more experienced to assist the beginners, and keep reinforcing the need for accuracy and crisp folds.
It is probably a good idea to devote an early session to practising accurate folding, perhaps by setting a challenge to see who can fold a square in half the most accurately along all four axes of symmetry. You can extend this to thirds and quarters etc. (and this is also a good opportunity to reinforce some mathematical terminology).
It is also a good idea to introduce students to the system of symbols used in folding instructions. These symbols are clearly explained here, and there's a handy printable version here.
As students become more experienced you could, if you wish, introduce them to the most common origami bases. However, this is not crucial step as students will meet these bases as they occur in the models you fold with them, and will begin to recognise them for themselves. Thus, if you prefer, you can refer to the idea of 'bases' as they arise naturally.
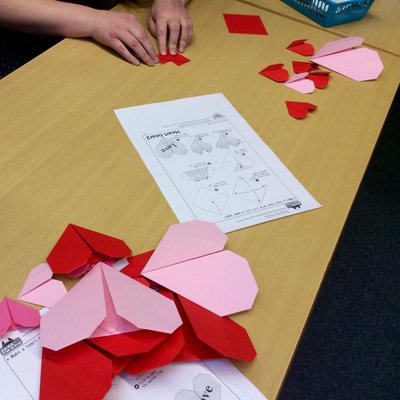
Finally, it's a nice idea to theme your sessions: birds one week, flowers the next, paper planes the following (great fun!)... There are also lots of seasonal projects to fold at Christmas and Easter time, and making paper hearts for Valentine's Day always goes down well.
So, I think that's most things covered! If you are toying with the idea of setting up a club I would strongly encourage you to take the plunge, even if you are someone with little previous folding experience. Learning alongside students can be just as rewarding, if not more so, and there are bound to be some young experts who would be more than happy to help out. And you can always contact me for further advice or information.
Happy folding :)
