Last year I made my own Spirograph Christmas cards and I so enjoyed the process that this year I've decided to make my own mathsy cards again.
Recently I've been learning to draw a lot of Islamic geometric designs using compass and straight-edge, and I fancied using the same tools to create a Christmas card. I came up with the idea of constructing an accurate 5-pointed star (pentagram) and leaving the construction lines behind as part of the design.
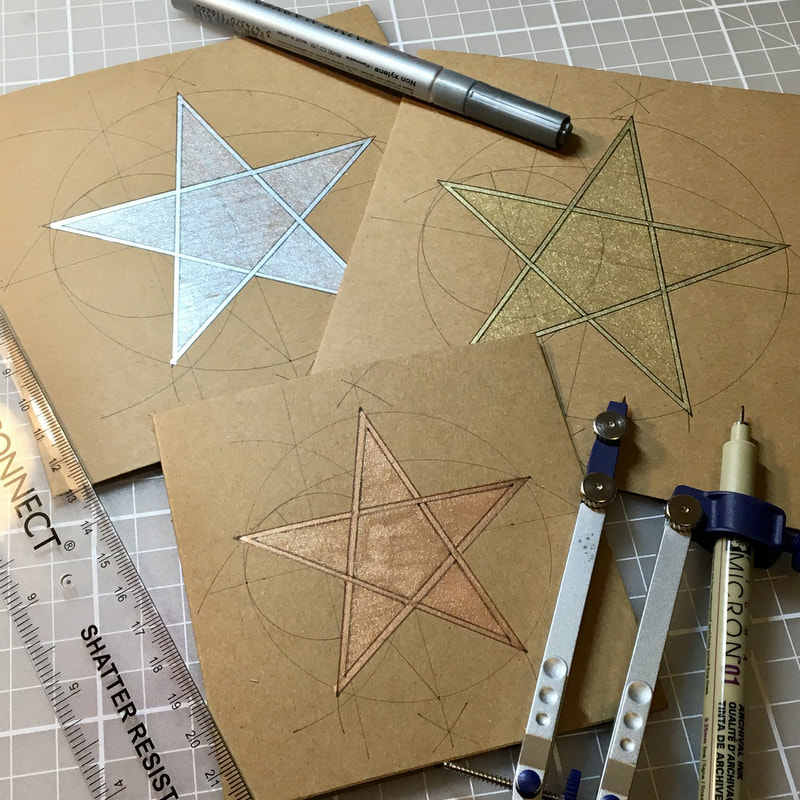
Here's how they turned out :o)
I'm really happy with them, and they don't take too long to make if you get a little production line going. I thought I'd share the instructions so that you can make them too. I've also made a 'Construct a five-pointed star' powerpoint if you'd like to make them with your students as a 'Christmaths' activity.
Materials
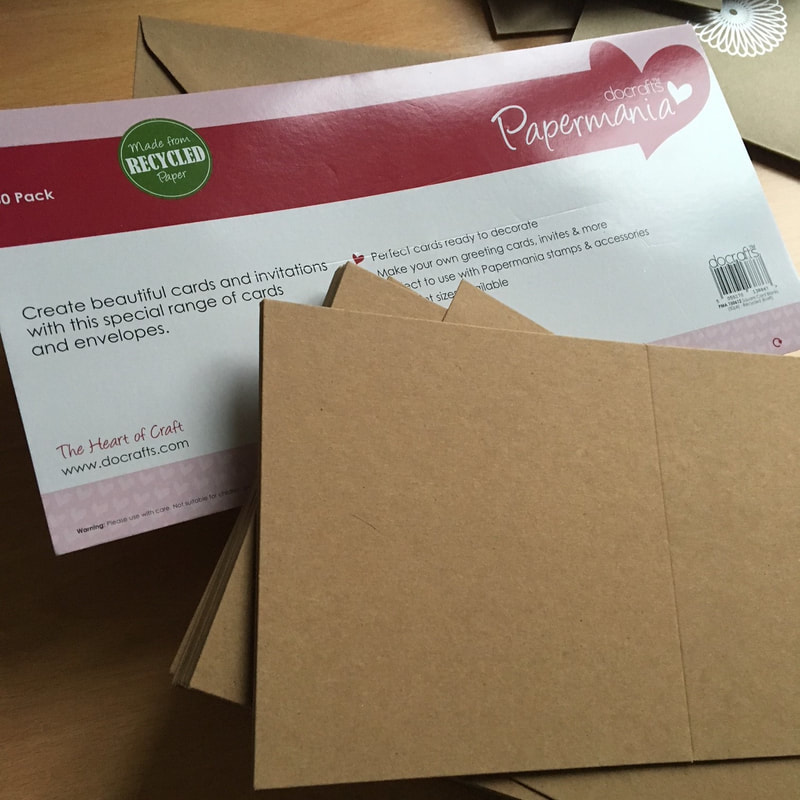
You'll need a pair of compasses, a nice sharp pencil, a ruler and some coloured pens, pencils or paints. Metallic pens are great for getting a shimmery gold or silver outline. You'll also need some card to fold and construct your design on. Any sturdy 160-250 gsm card will do, but I used some pre-folded blank cards which can be bought cheaply in most stationery or craft shops.
Instructions
STEP 1 Measure to find the centre of the front of your card and mark this faintly with your pencil. Draw a horizontal line through this centre, from side to side.
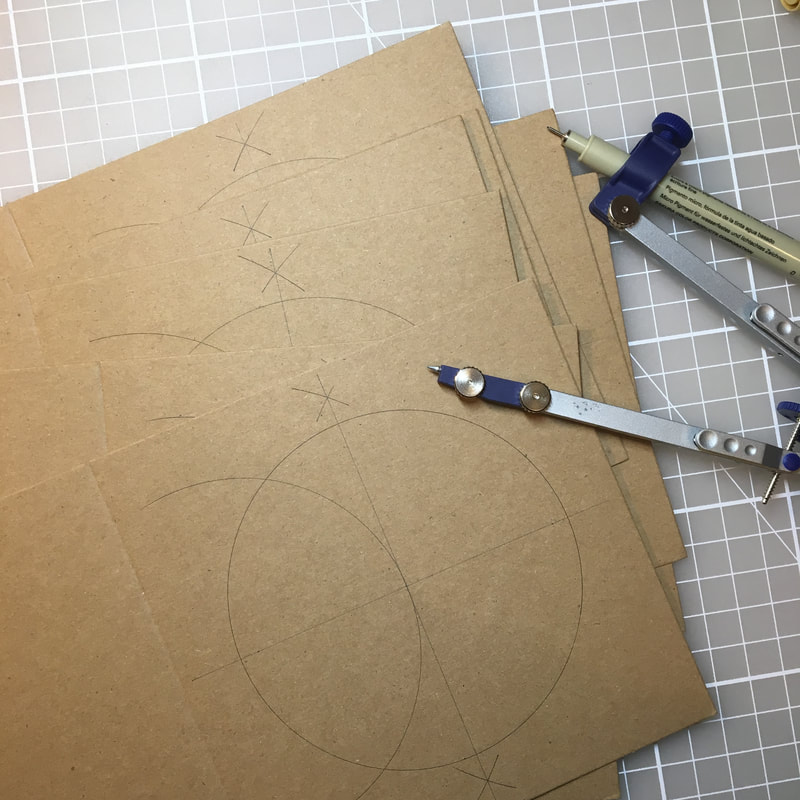
STEP 2 Place your compass point on your marked centre and draw a starting circle that leaves at least two or three centimetres of card around its edge. You need the space around the outside of your circle for some construction lines in the next step.
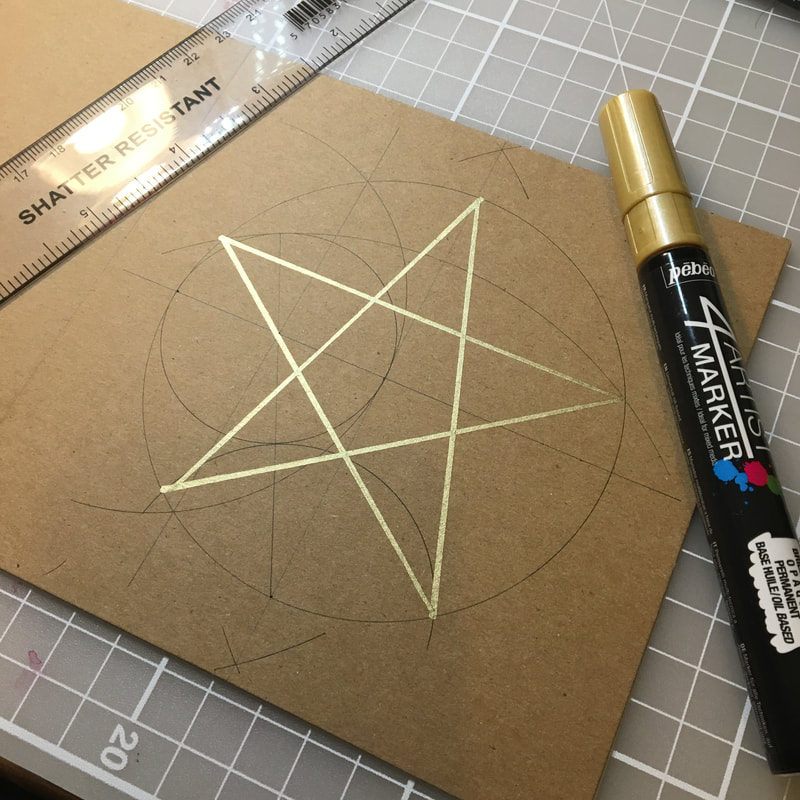
STEP 3 Construct your pentagram within this circle. I used this BBC Bitesize instructional video, or you can follow the steps in my powerpoint.
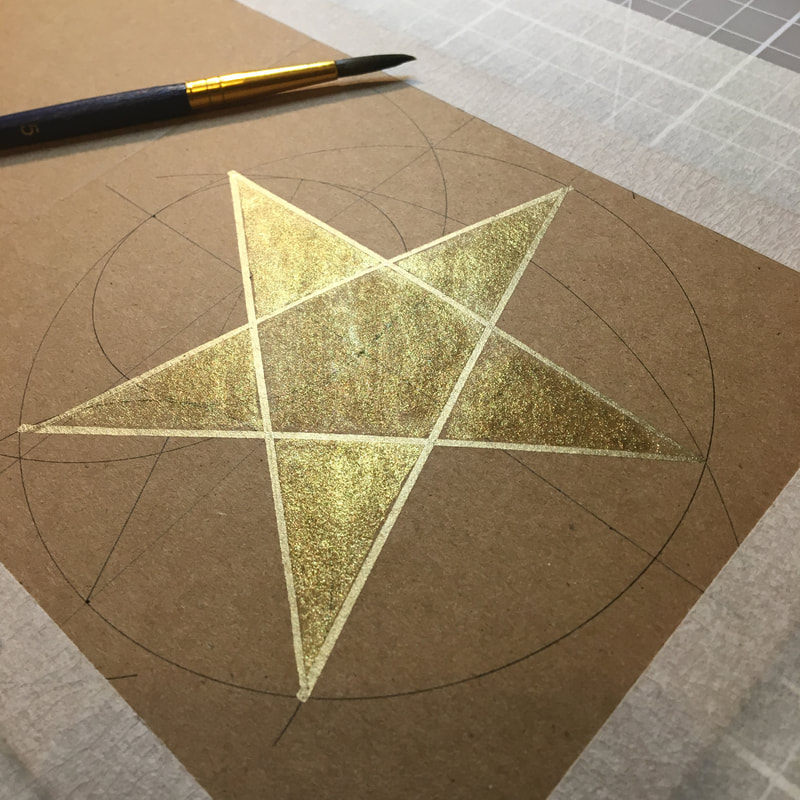
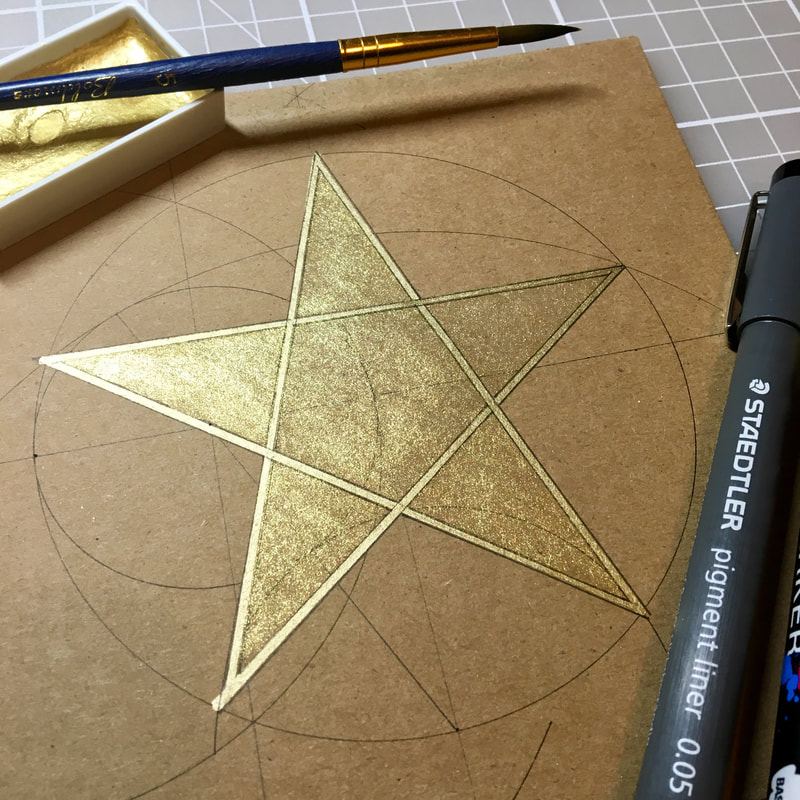
STEP 4 Outline your star in marker pen, or metallic pen for extra shimmeriness. Then colour it in. I used metallic watercolour paints for mine.
STEP 5 Finally, if you wish, you can outline your star again with a fine black pen. I achieved a 'interleaved' effect on my stars by outlining both sides of my original metallic line, going alternatively 'over and under' each line I met as I travelled around the star (see bottom right photo below).

If you have lots of cards to draw, then it's easiest to set up a production line. Gather your blank cards together in a pile and draw one step of the construction process at a time on every card. That is, draw all your starting horizontal lines on every card first, then all your starting circles, then all your perpendicular bisectors and so on. This helps you avoid having to repeatedy open and close your compass.
What other Christmassy things could you make with your stars? Do let me know in the comments below.
✭✭✭✭✭✭✭✭✭✭✭✭✭✭✭✭✭✭✭✭✭✭✭✭✭✭✭✭✭✭✭✭✭✭✭✭✭✭✭
 RSS Feed
