ARTFUL MATHS
  • Home
  • Resources
    • Mathematical Art Lessons
    • Classroom Display Ideas
  • Origami
    • Origami Clubs
    • Origami in Lessons
    • Origami Gallery
  • Puzzle Games
  • Blog
  • About
  • Contact Me

Construct-a-Christmas-card

17/11/2018

0 Comments

 
Last year I made my own Spirograph Christmas cards and I so enjoyed the process that this year I've decided to make my own mathsy cards again.
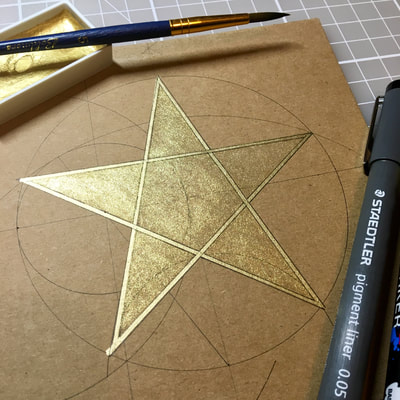
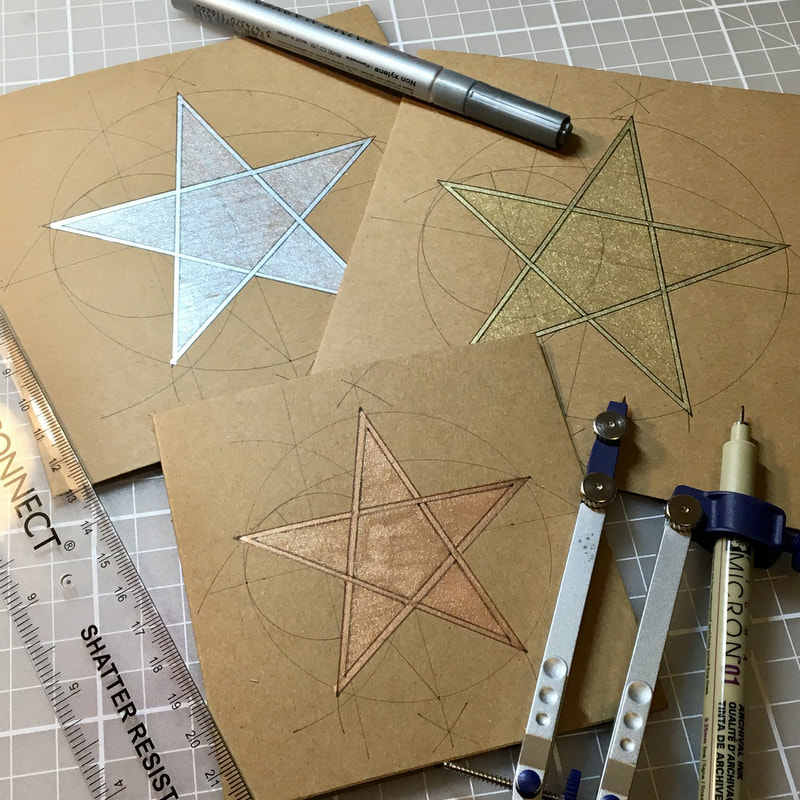
Recently I've been learning to draw a lot of Islamic geometric designs using compass and straight-edge, and I fancied using the same tools to create a Christmas card. I came up with the idea of constructing an accurate 5-pointed star (pentagram) and leaving the construction lines behind as part of the design.
Here's how they turned out  :o)
Picture
I'm really happy with them, and they don't take too long to make if you get a little production line going. I thought I'd share the instructions so that you can make them too. I've also made a 'Construct a five-pointed star' powerpoint if you'd like to make them with your students as a 'Christmaths' activity.

Materials

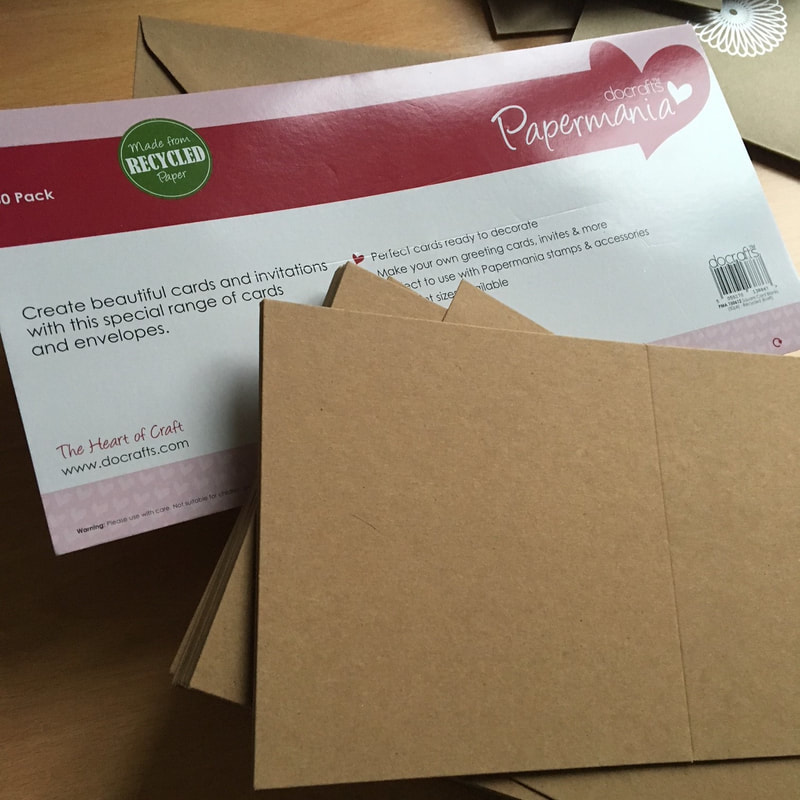
You'll need a pair of compasses, a nice sharp pencil, a ruler and some coloured pens, pencils or paints. Metallic pens are great for getting a shimmery gold or silver outline. You'll also need some card to fold and construct your design on. Any sturdy 160-250 gsm card will do, but I used some pre-folded blank cards which can be bought cheaply in most stationery or craft shops.
Picture

Instructions

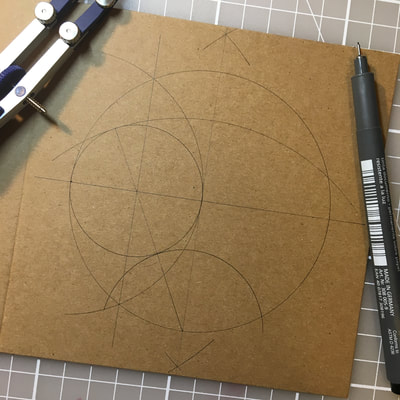
STEP 1 Measure to find the centre of the front of your card and mark this faintly with your pencil. Draw a horizontal line through this centre, from side to side.
STEP 2 Place your compass point on your marked centre and draw a starting circle that leaves at least two or three centimetres of card around its edge. You need the space around the outside of your circle for some construction lines in the next step.
STEP 3 Construct your pentagram within this circle. I used this BBC Bitesize instructional video, or you can follow the steps in my powerpoint.
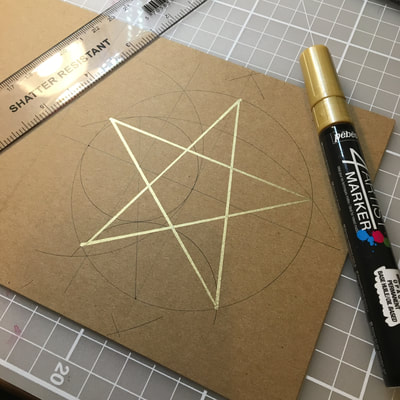
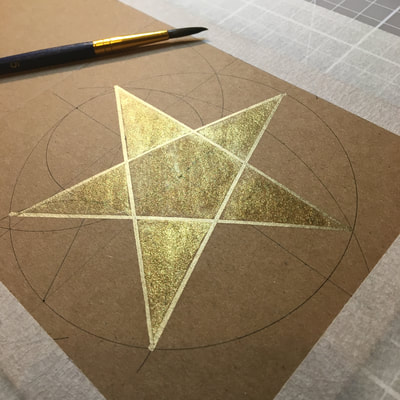
STEP 4 Outline your star in marker pen, or metallic pen for extra shimmeriness. Then colour it in. I used metallic watercolour paints for mine.
STEP 5 Finally, if you wish, you can outline your star again with a fine black pen. I achieved a 'interleaved' effect on my stars by outlining both sides of my original metallic line, going alternatively 'over and under' each line I met as I travelled around the star (see bottom right photo below).
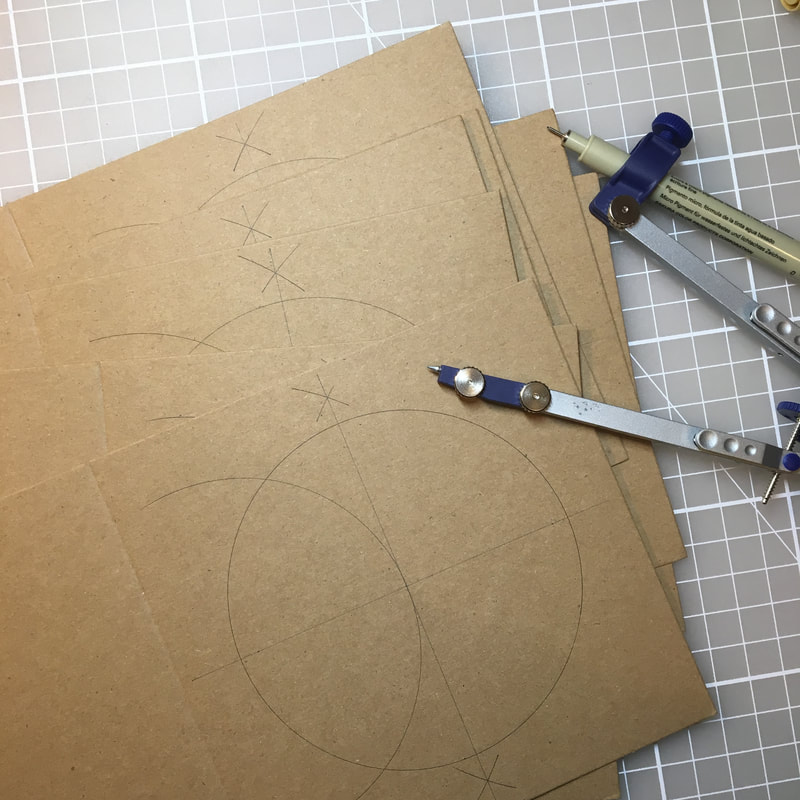
If you have lots of cards to draw, then it's easiest to set up a production line. Gather your blank cards together in a pile and draw one step of the construction process at a time on every card. That is, draw all your starting horizontal lines on every card first, then all your starting circles, then all your perpendicular bisectors and so on. This helps you avoid having to repeatedy open and close your compass.
Picture
What other Christmassy things could you make with your stars? Do let me know in the comments below.
✭✭✭✭✭✭✭✭✭✭✭✭✭✭✭✭✭✭✭✭✭✭✭✭✭✭✭✭✭✭✭✭✭✭✭✭✭✭✭
0 Comments

Hexastix!

17/8/2018

3 Comments

 
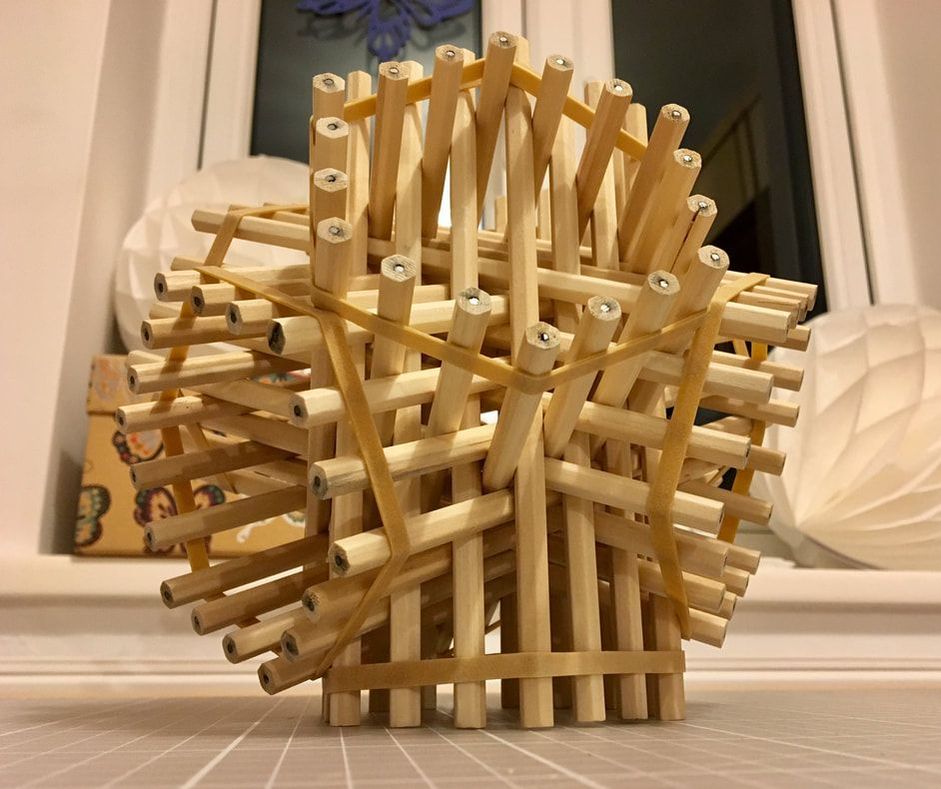
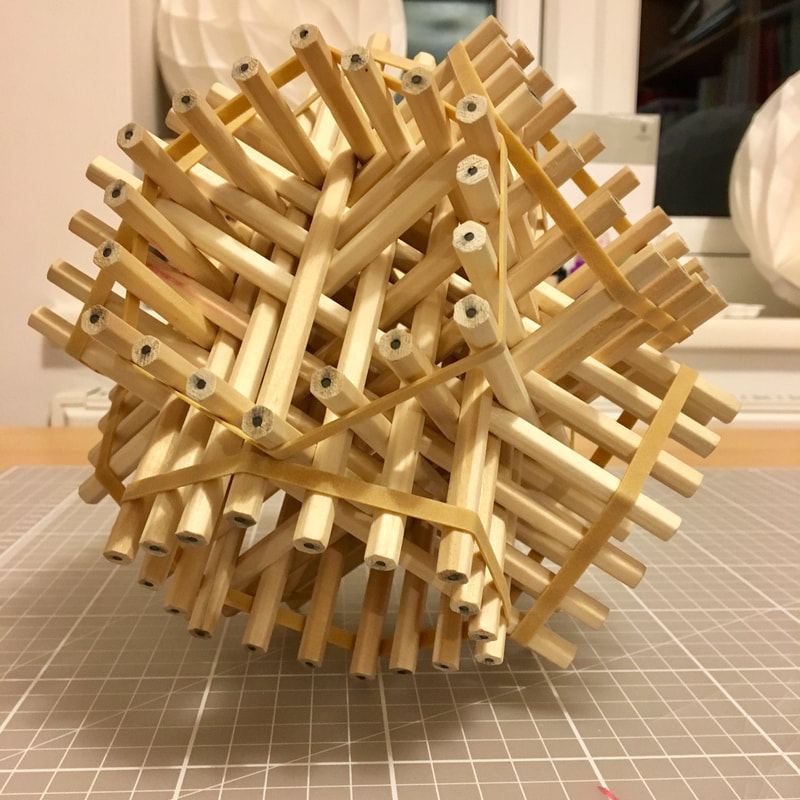
The Hexastix sculpture has been on my to-do list since I first saw it on Twitter over a year ago. And yesterday I made one! And, well, the construction of this slightly bonkers mathematical structure made from 72 pencils, first created by George W. Hart, was so immensely satisfying that I've been inspired to blog to encourage EVERYONE to make their own!
Now life's too short to make your own set of instructions when there are perfectly good instructions already out there, so I'll just share a few tips that I learnt from making some rookie errors on my first attempt, and then link to the excellent instructions that I used.
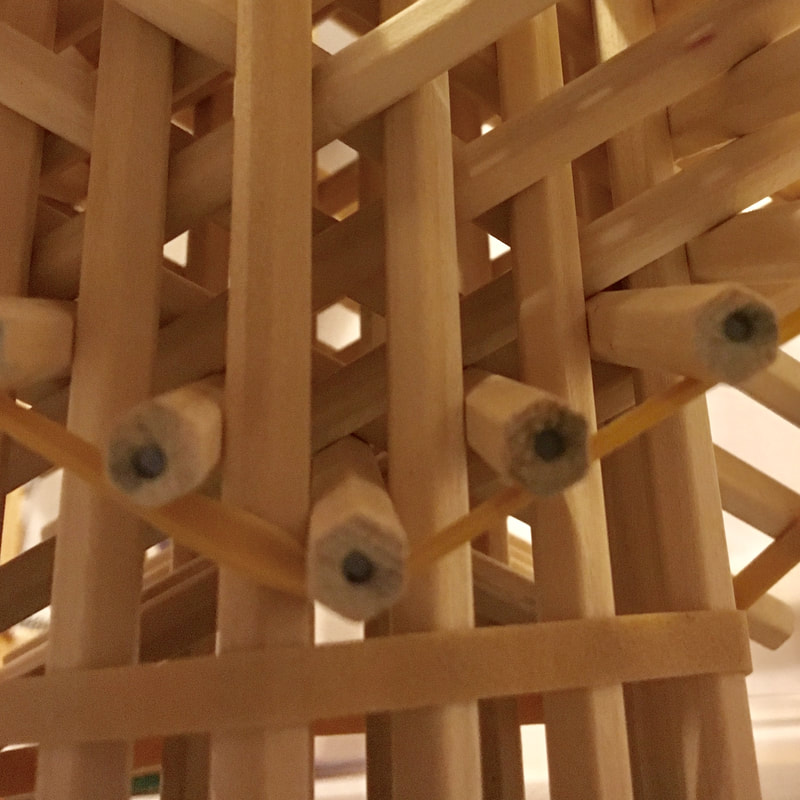
But before I begin, here's my finished Hexastix! I think I'd describe it as a 3D structure made from four intersecting hexagonal 'prisms'...
Picture

Materials

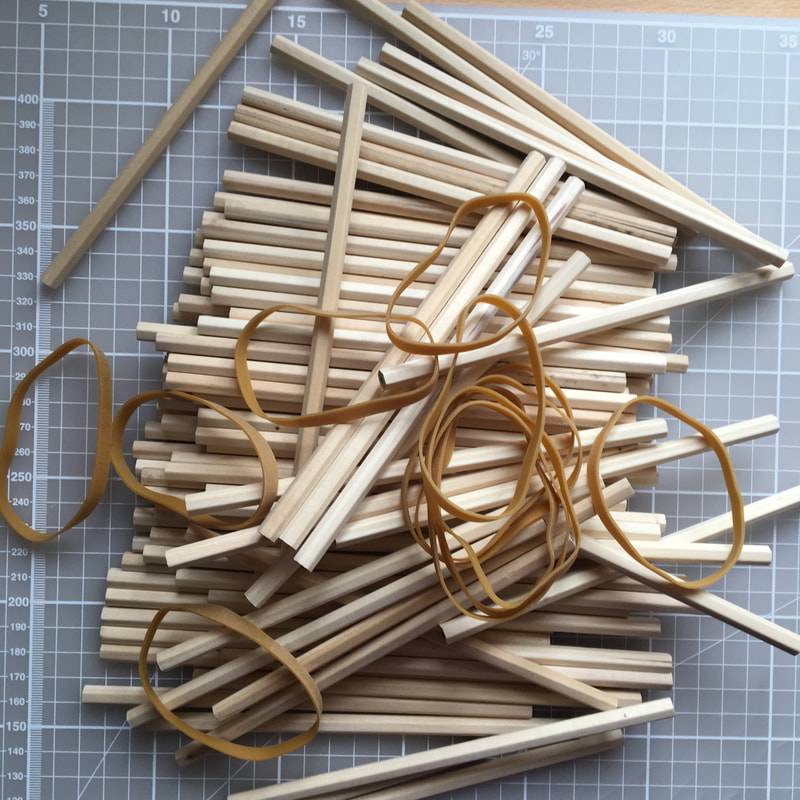
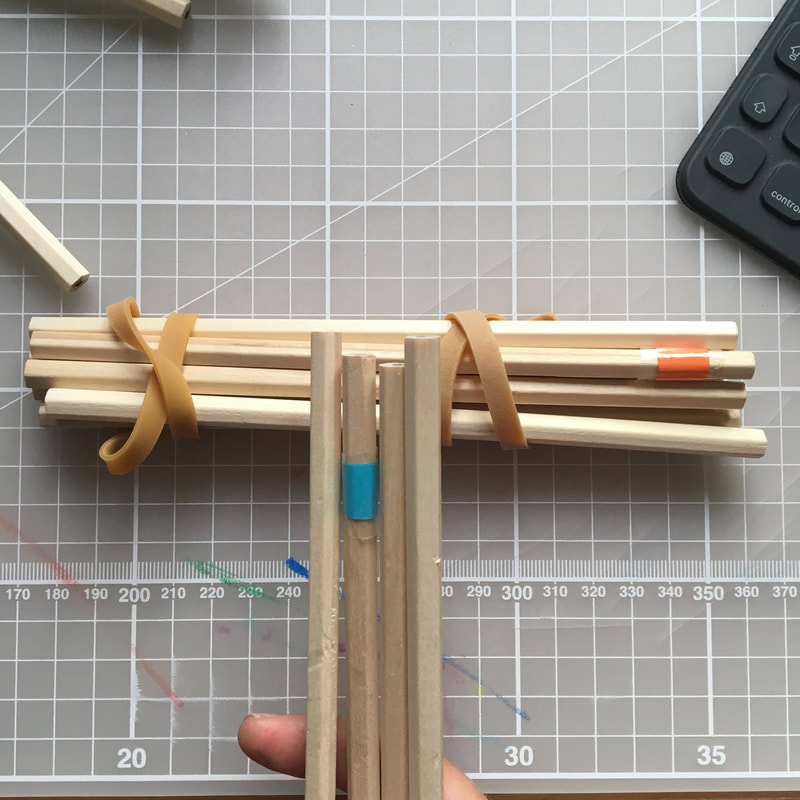
Basically, you need 72 hexagonal-cross-sectioned pencils (with maybe a few spares) and a pack of elastic bands. You could use wooden skewers or toothpicks instead of pencils, but you'd miss out on the ultra-pleasing hexagon-shaped holes that emerge when using the pencils. I chose to use these plain wooden pencils and uncoloured elastic bands, as I wanted a 'natural' look, but TIP 1 is that colour is a BIG HELP when constructing this sculpture, so you may choose to use four different colours of pencil, or four different colours of elastic band. I resorted to taping a strip of coloured paper around one pencil in each of the four sets (below right) to help with the construction process, after getting in a complete muddle on my first attempt!
Hexastix materials
Hexastix
Hexastix labelling
And TIP 2: unsharpened pencils are a wise choice if you don't fancy stabbing yourself several times in the construction process!

Construction

I would advise first watching this entertaining video by Matt Parker (@Standupmaths), so that you have an overview of what it is you'll be doing before you actually get started on the building process.
For the actual Hexastix construction, however, I recommend the same set of photo instructions that Matt does, these by Alejandro Erickson.
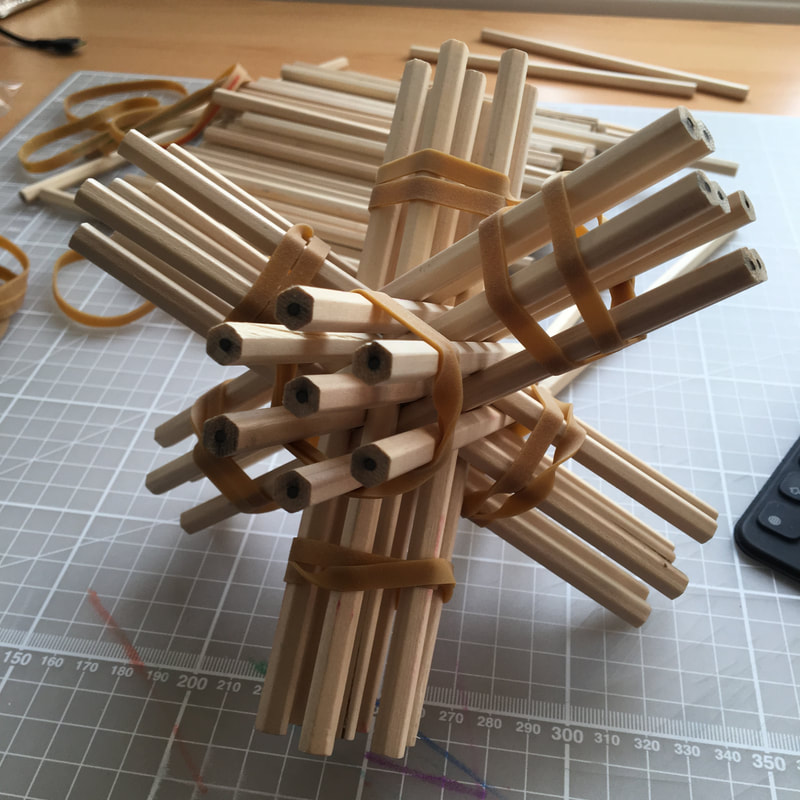
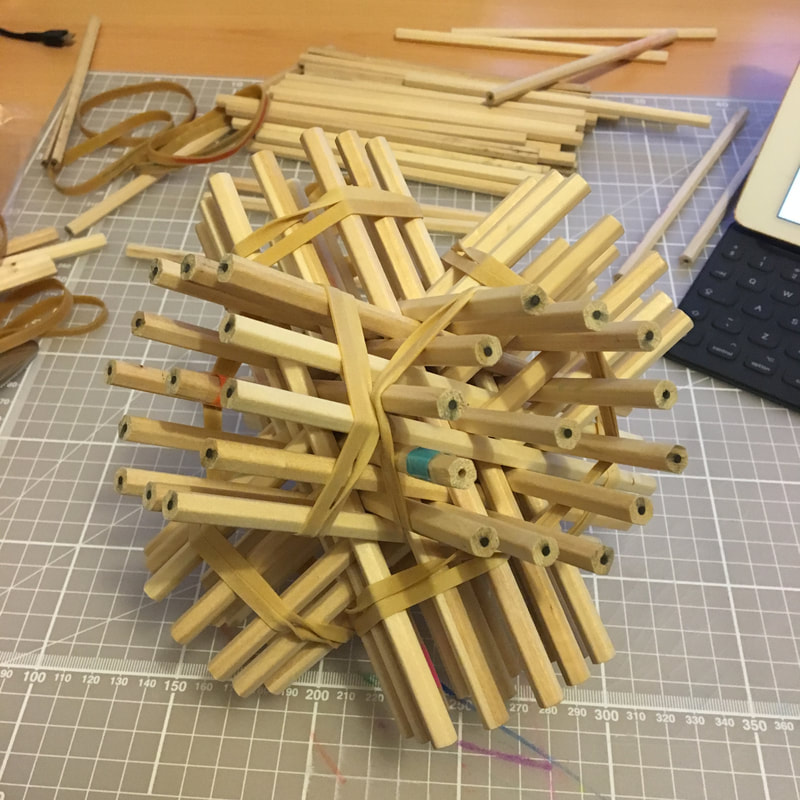
TIP 3: after my false start, I labelled my pencils in the same colours as Alejandro uses, and then started by orienting my structure to line up with his photos each time, so that I could follow his instructions exactly. However, soon enough, as the little hexagonal gaps start emerging, you'll get the hang of the construction and will just go for it! Once you have your initial 'Level 1' set of 4 hexagonal prisms, you 'expand' them twice more to achieve your very own Level 3 Hexastix!
Level 1 Hexastix
Level 1
Level 2 hexastix
Level 2
Level 3 hexastix
Level 3!
TIP 4: be aware that the elastic bands will deteriorate over time. To preserve them as long as possible, keep your Hexastix out of direct sunlight.
A highly recommended mathematical build - enjoy!
3 Comments

Mathematical Colouring Pages

2/8/2018

0 Comments

 
Colouring books. They're everywhere. They've taken over bookshops across the world, and colouring pencils can't be made fast enough to meet demand. But what do they have to offer students and maths lovers?

Colouring club

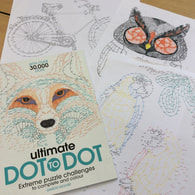
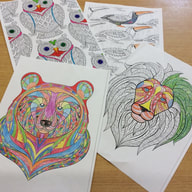
At my previous school, after re-discovering colouring books myself one lazy summer, I started a colouring club. I purchased a couple of animal-themed colouring books (everybody likes animals) with a focus on images that employed repeating pattern and/or symmetry, as I wanted to include a maths theme. I also found a great 'Ultimate Dot-to-Dot' book. I cut the pages out and kept them in a folder, in plastic pockets, and simply photocopied the designs as and when the students selected them. That way I kept the originals as 'masters'.

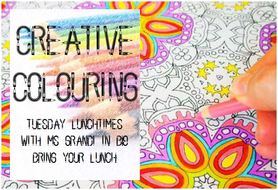
I have to confess that initially I rather stereotypically imagined that it would be a club that only appealed to girls, but the reality surprised me - the majority of the 12 or so regular attendees were boys from Years 7 and 8, many of whom also coloured at home. And it was boys that told me "This is the best club ever! Can you run it every lunchtime?!" They were in charge of getting out the coloured pencils and the folder of colouring sheets, and then they sat down, coloured in, and chatted happily all lunchbreak. So, it was an absolute success, and apart from a little organisation at the start of the year, took no planning at all on my part (result!). If you would like to start your own colouring club you are welcome to use this editable poster to advertise it (click on the middle image for the file; you will need to download the free font 'Back To School').
Picture
Picture
Picture

Mathematical colouring books

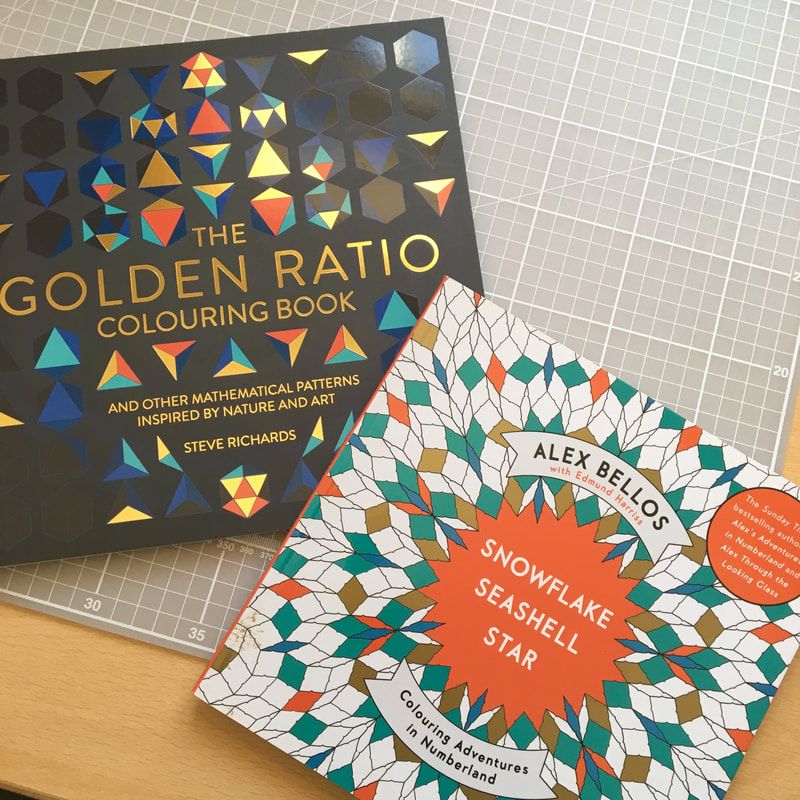
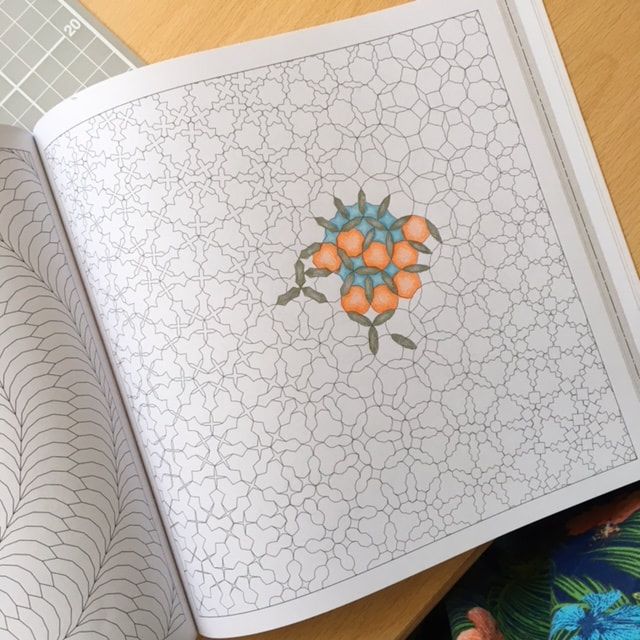
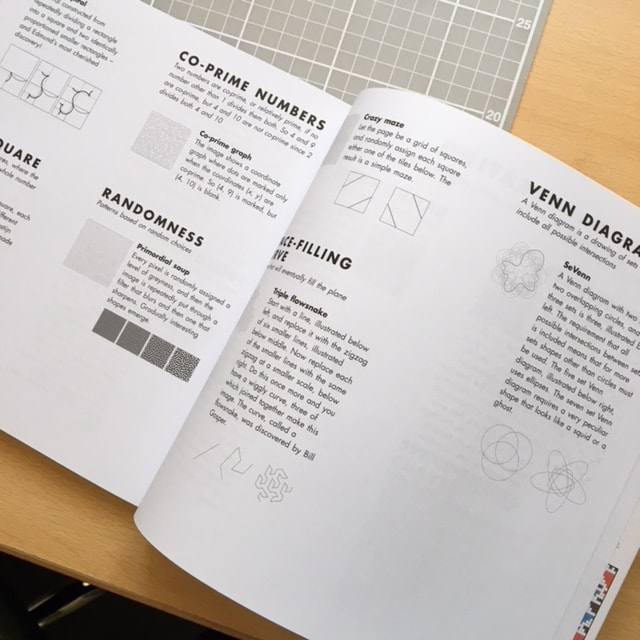
But what if you like your colouring even more mathematical?  Well, there are several beautiful, maths-themed colouring books out there, as well as several free resources which I will detail in the next section. Perhaps the most well-known of these books is Snowflake Seashell Star (below, entitled 'Patterns of the Universe' in the US) by Alex Bellos and Edmund Harris. It's a lovely book, chock full of beautiful mathematical patterns, and is divided into two sections: a section of images to colour in, and a set of instructions and templates allowing you to create other patterns, such as an Ulam spiral and a hyperbola, yourself. There is also an index with further information on each type of pattern. This makes it informative as well as recreational; one to treasure.
Picture
Picture
Picture
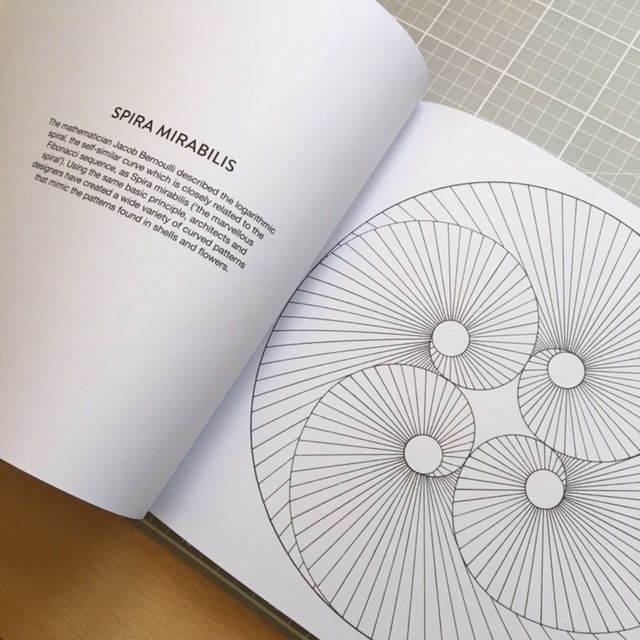
Another good colouring book is The Golden Ratio Colouring Book, by Steve Richards (above left, and right). This consists of a series of decorative designs based around patterns formed from the Golden Ratio and Fibonacci Spiral, as well as other mathematical patterns such as the Vesica Piscis, the Flower of Life and the Koch snowflake.
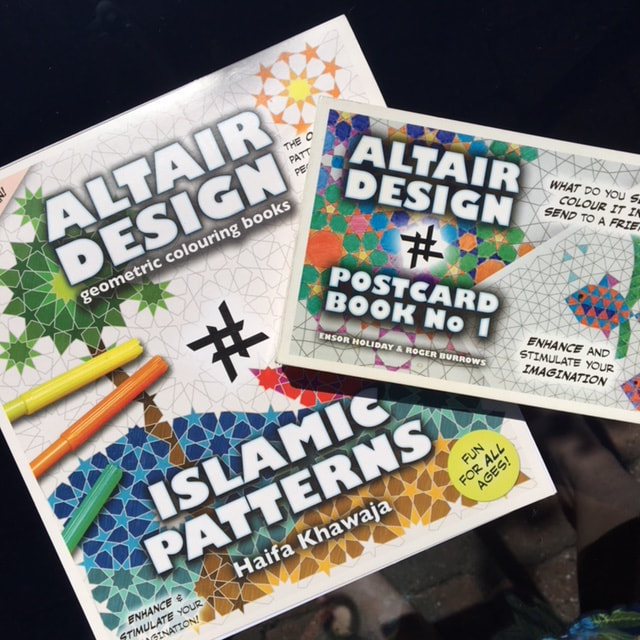
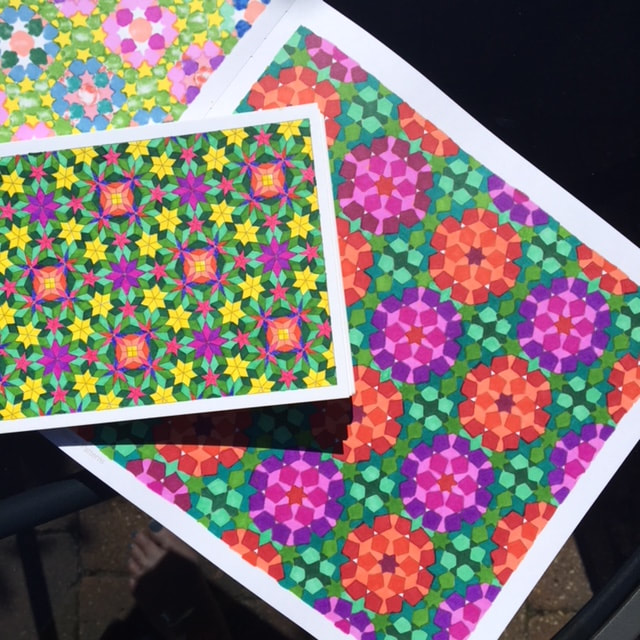
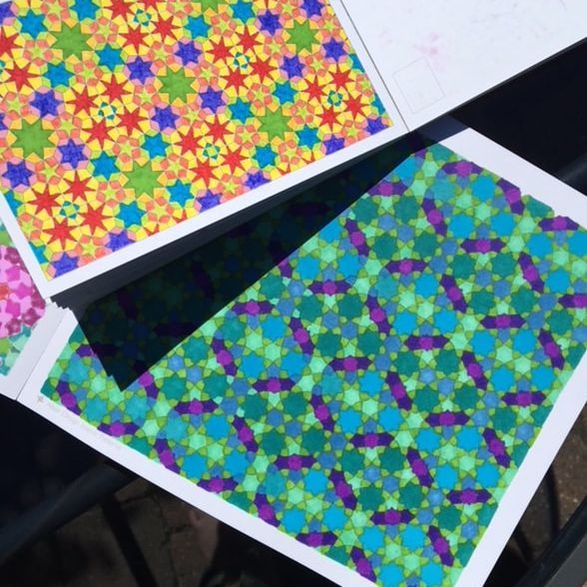
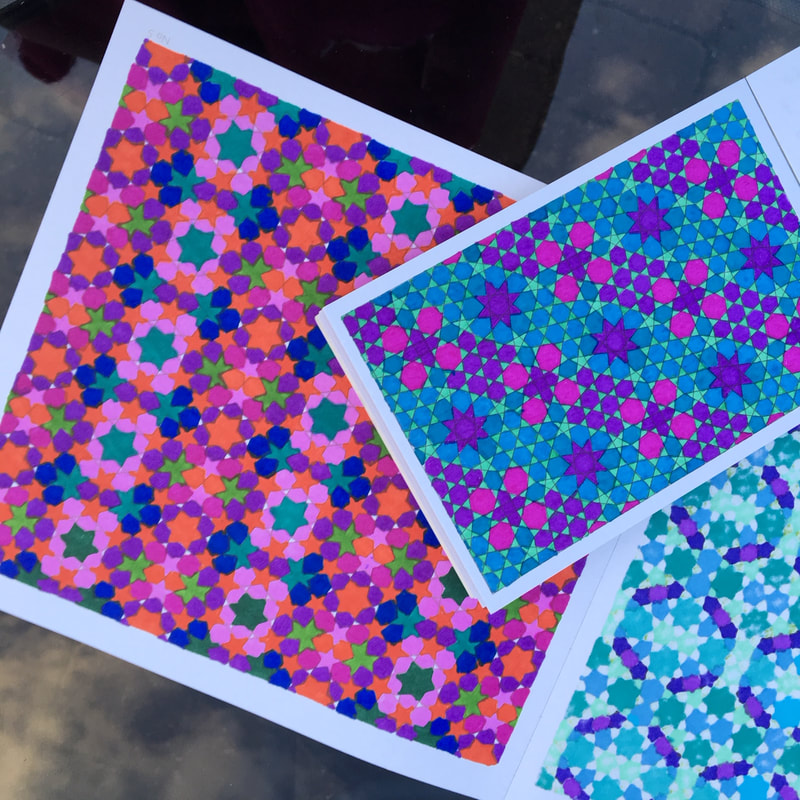
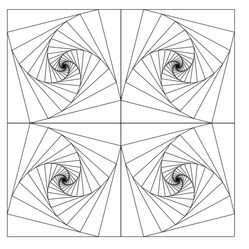
And we mustn't forget the wonderful Altair Design books that many of us will remember from childhood. These have been updated to include patterns based on Islamic geometry, Penrose tiling and sets of colourable postcards. The images below were coloured by my mum, Judith.
Picture
Altair design
Altair design
Altair design
Altair design

Free mathematical colouring resources

However, there really isn't any need to spend money on mathematical colouring books if you don't want to; some very generous and creative souls have shared beautiful mathematical images for you to download, print and colour for free. 
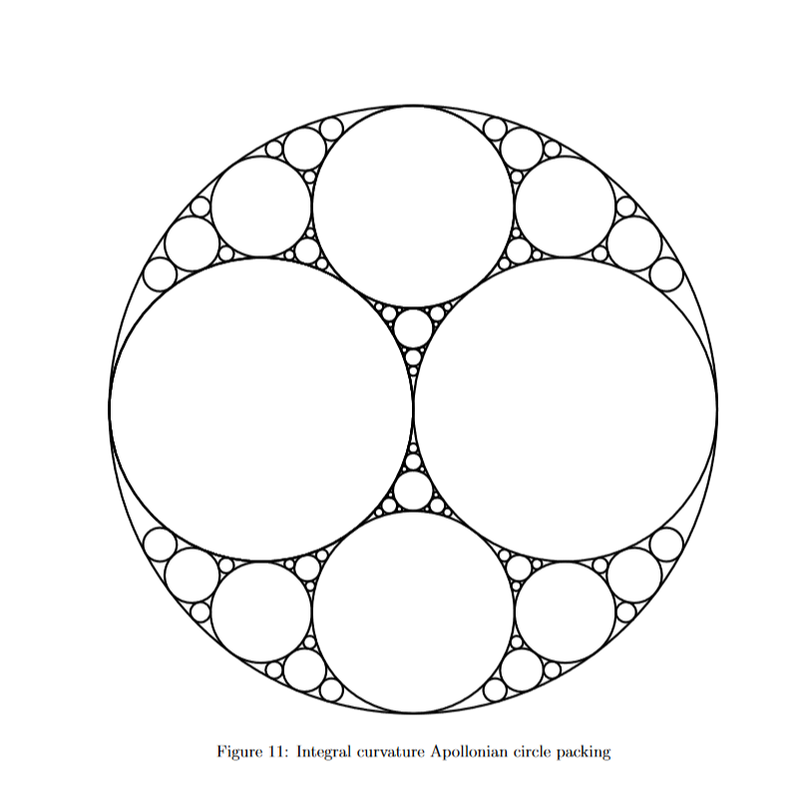
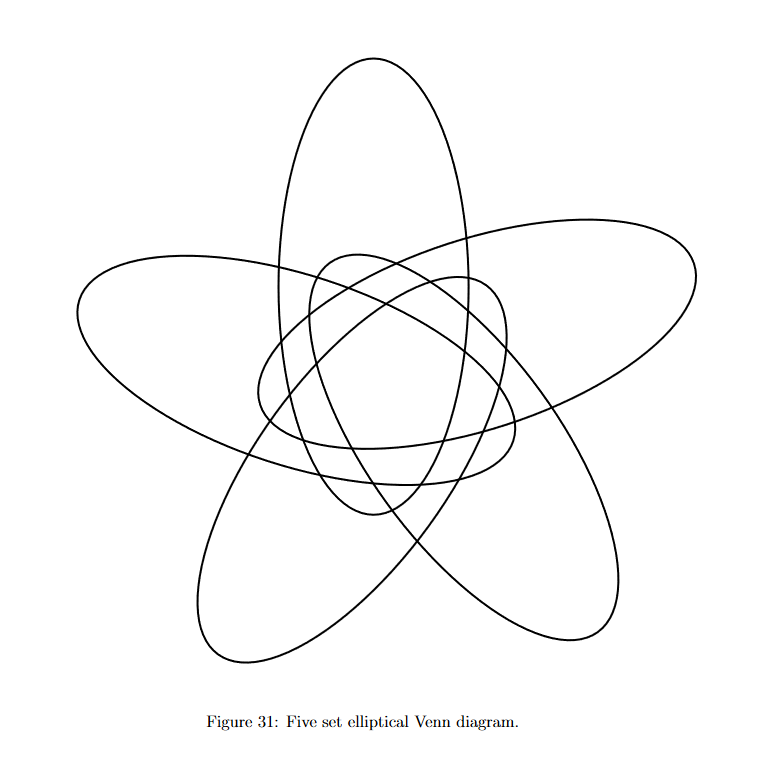
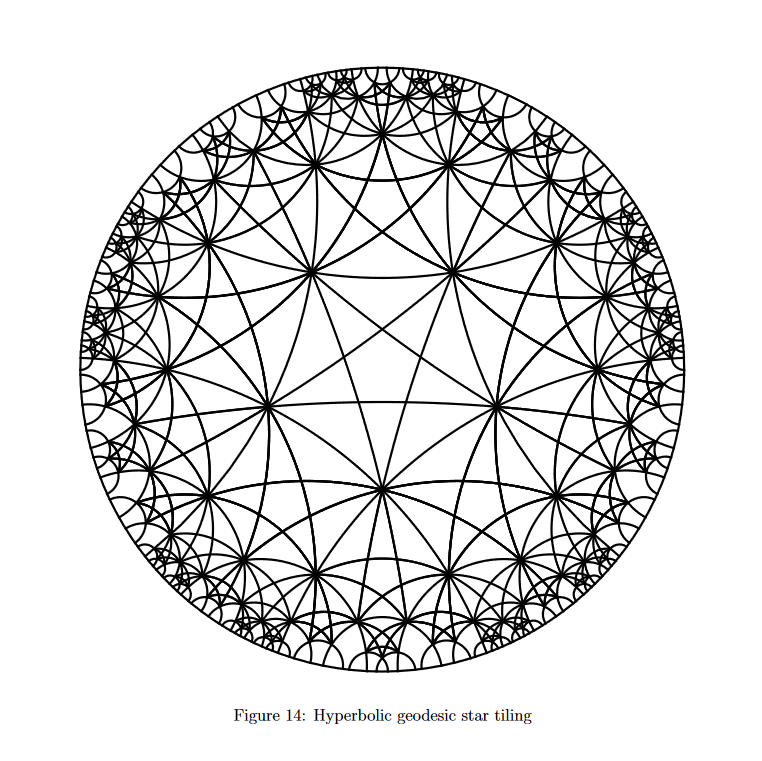
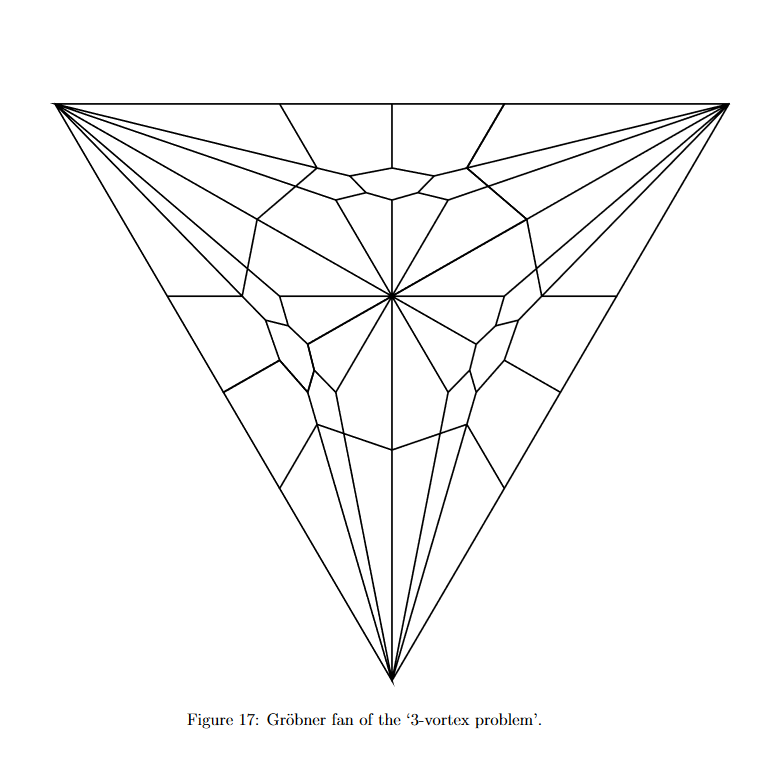
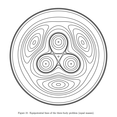
The first of these is a beautiful downloadable colouring book by Marshall Hampton, aptly named A Mathematical Colouring Book. It is a really high quality text, full of elegant mathematical curves and patterns (see below), with a short description of each figure at the end of the book. A great addition to any colouring collection!
Picture
Picture
Picture
Picture
Picture
Picture
Martin Holtham (@GHSMaths) has used his amazing Desmos skills to create a set of stunning colourable images which he has shared on his Mathemart blog here. I particularly like his 'curve of pursuit', left. If you would like to learn how to draw these beautiful spirals yourself there is a set of instructions on my Mathematical art lessons page.
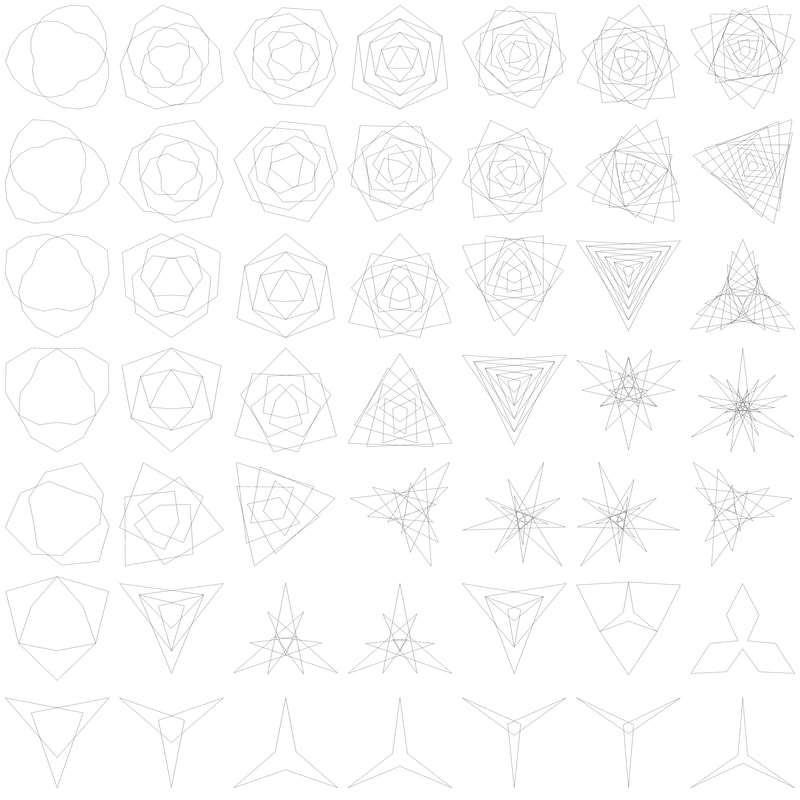
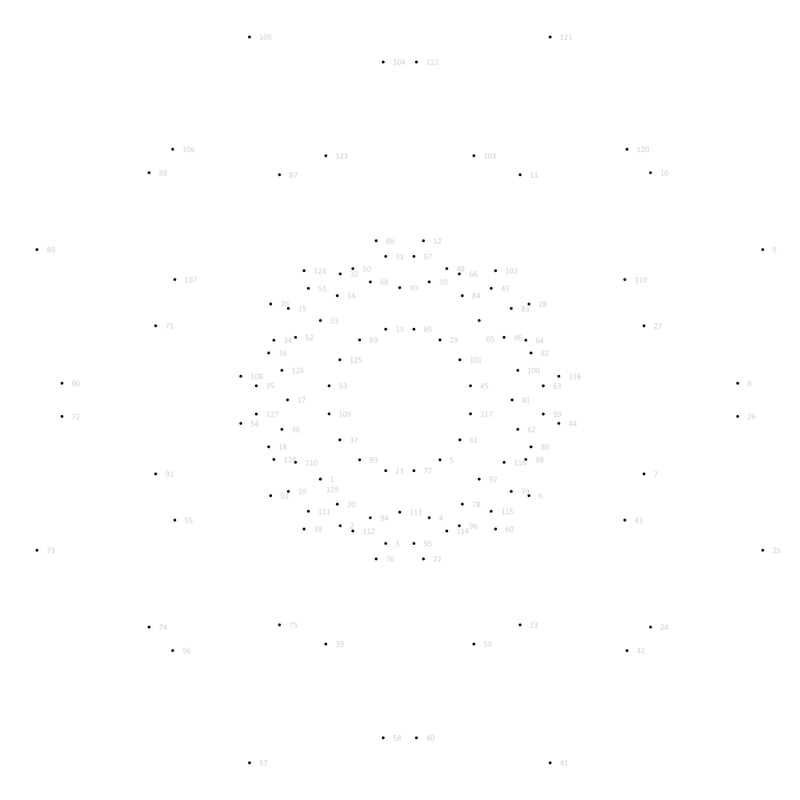
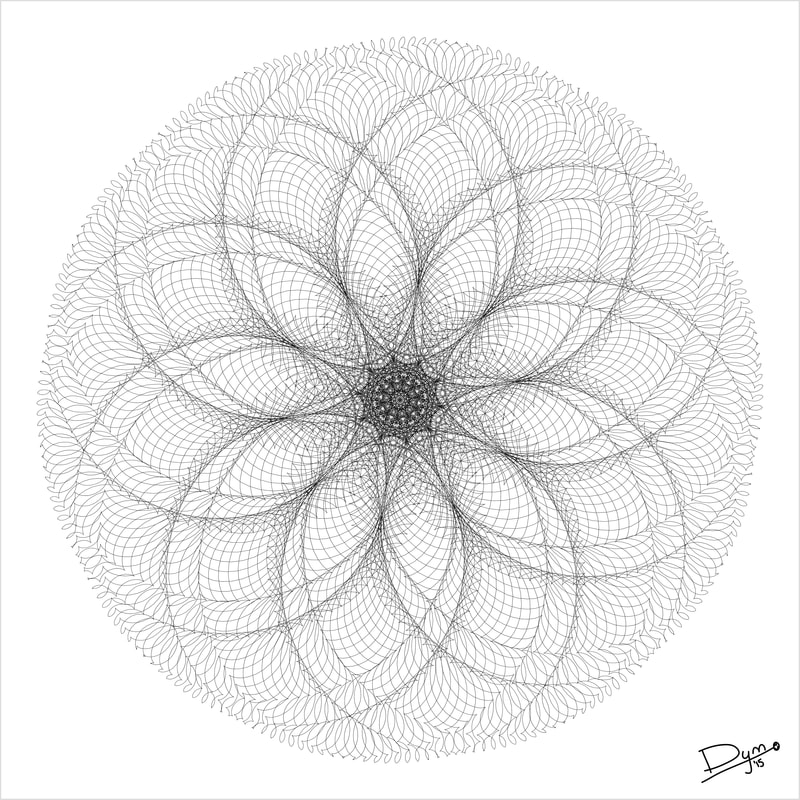
Finally, the talented Devan Matthews (@devan_matthews), a mathematical artist who works with Microsoft Excel, has shared some of his delicate images online for people to colour. He has also created an intriguing set of dot-to-dot maths art pictures.
Here are the links to Devan's sets of images:
  • Mathematical art join-the-dots pictures
  • Math art series 1 (three fold symmetry)
  • Math art series 2 (four fold symmetry)
  • Math art series 3 (five fold symmetry)
  • More of Devan's blog posts with delicious geometrical curves and mandalas for colouring.
Examples of Devan's work are right and below.
I hope you find as much enjoyment in this beautiful selection of mathematical images as I have.

Happy colouring! :)
Picture
Picture
Picture
0 Comments
<<Previous
Forward>>

    Author

    I teach maths.  I'm a bit arty.   I like to combine the two.

    Archives

    May 2020
    December 2018
    November 2018
    August 2018
    June 2018
    December 2017
    November 2017
    February 2017
    December 2016
    November 2016
    October 2016
    September 2016
    July 2016
    June 2016

    Categories

    All
    3D
    A Level Maths
    Christmas
    Colouring
    Constructions
    Displays
    Enrichment
    Fractals
    Halloween
    Mandalas
    Mathematical Art
    Origami
    Tessellations
    Valentine's Day

    RSS Feed

    Tweets by @c0mplexnumber
Creative Commons License
This work is licensed under a Creative Commons Attribution-NonCommercial-ShareAlike 4.0 International License.
Privacy Policy
Buy me a coffeeBuy me a coffee
Terms and conditions
© COPYRIGHT 2016 CLARISSA GRANDI.  SOME RIGHTS RESERVED.