MATHEMATICAL ART LESSONS
On this page you will find a selection of fully-resourced lessons with a 'mathematical art' theme. The activities in these lessons will help to reinforce many important mathematical skills such as accurate measuring and constructing, visual problem solving and strategic forward planning.
Each resource is accompanied by brief instructions and photos of students' work. If you have any questions about these resources, please do not hesitate to contact me.
Each resource is accompanied by brief instructions and photos of students' work. If you have any questions about these resources, please do not hesitate to contact me.
|
Curves of Pursuit
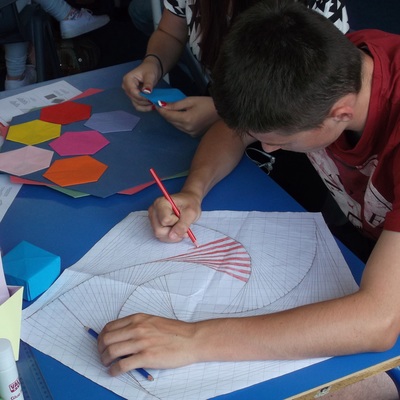
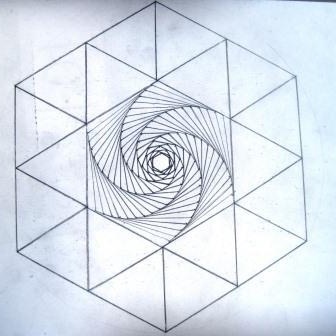
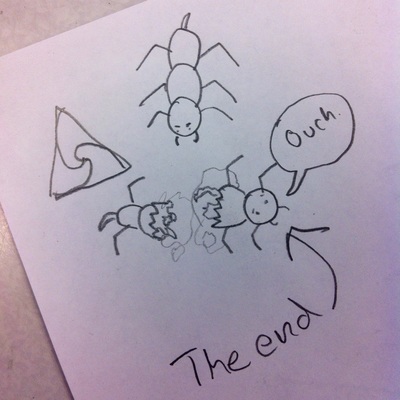
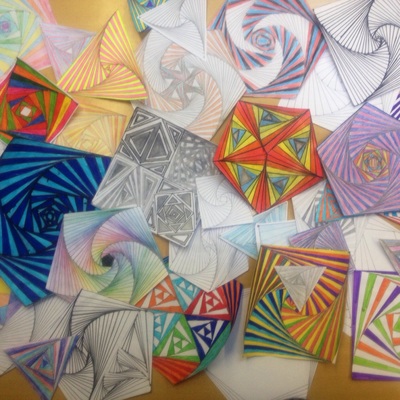
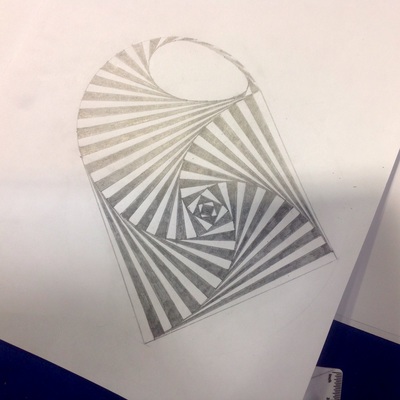
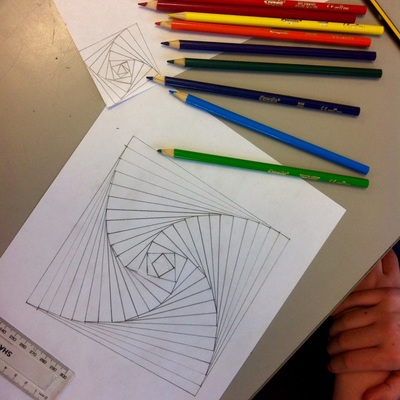
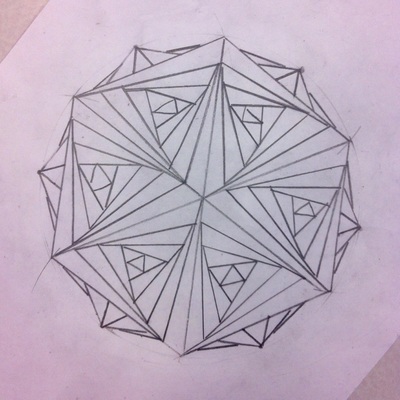
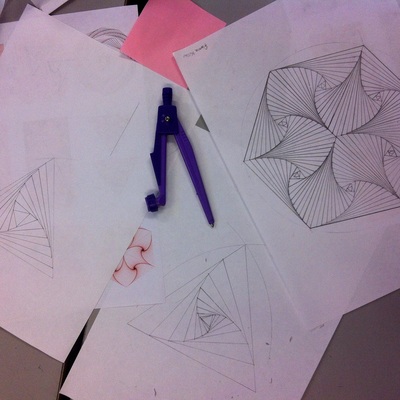
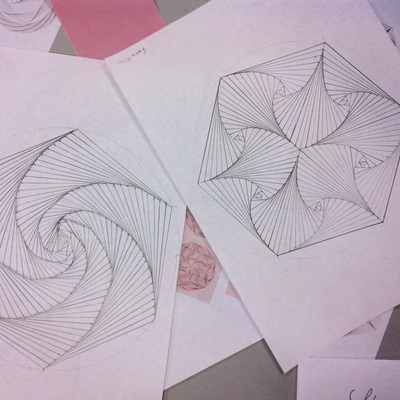
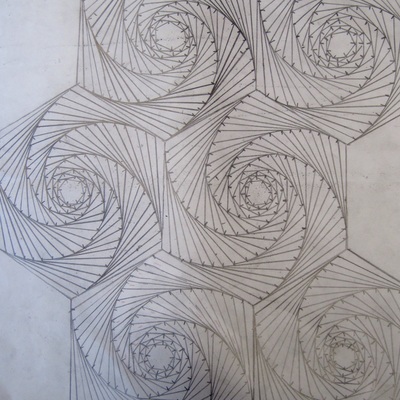
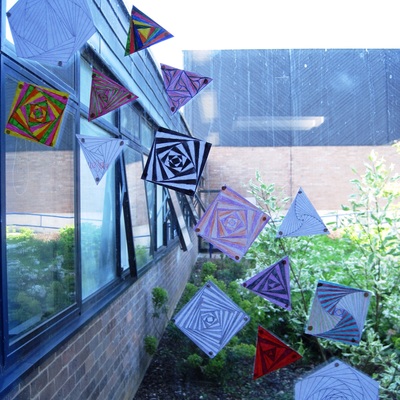
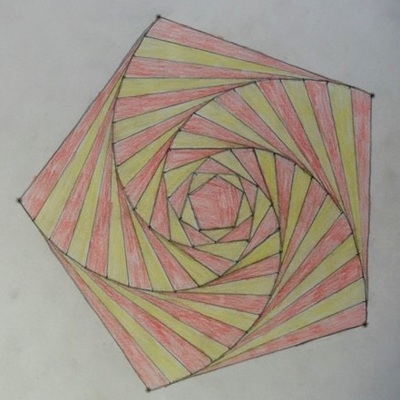
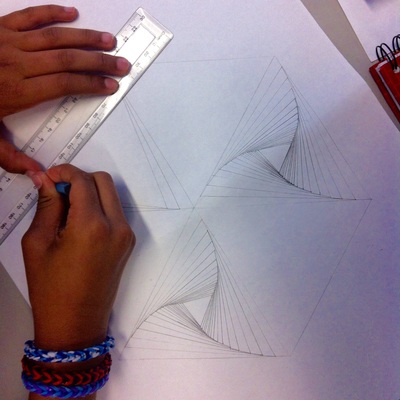
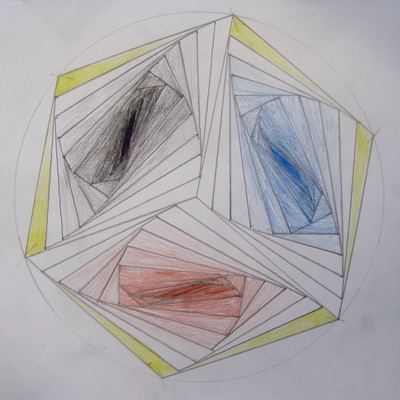
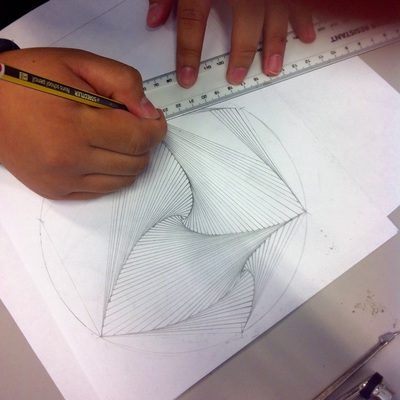
Possibly my all time favourite mathematical art activity. There is so much scope for student creativity in this lesson, with a lovely dollop of maths thrown in to boot. It also provides students with useful practice in accurate measuring (which they don't get nearly enough of). Resources provided: a presentation which introduces the idea of pursuit curves via the 'three bugs' problem, shows some 2D and 3D examples, and then takes students through a series of step-by-step instructions for drawing their own such curves; support templates with outline regular polygons to provide a 'quick start' if necessary. Resources needed: plain paper, pencils, rulers, coloured pencils or pens (optional), pairs of compasses (optional). |
|
Celtic Knotwork
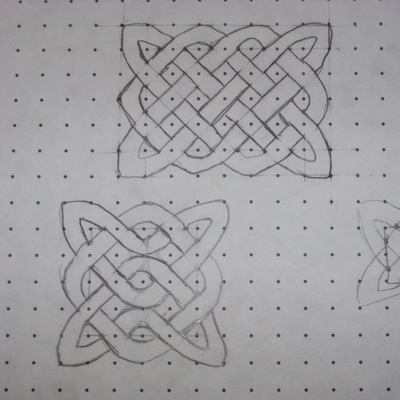
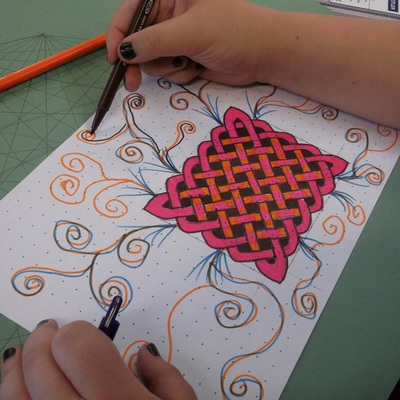
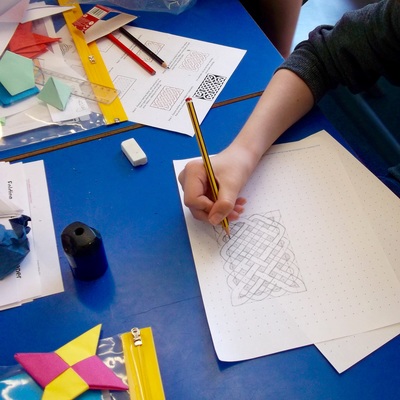
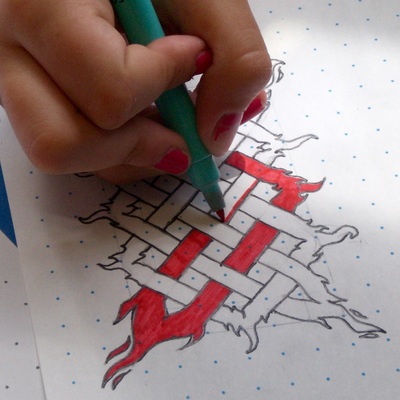
This is a much more challenging 'construction', but it's oh-so-satisfying when mastered. Again, there's lots of scope for students to use their creativity - no two designs need be the same. And it's a nice way to introduce some SMSC into a maths lesson, too. The technique requires a good deal of concentration and attention to detail - be prepared to have to support some of your students until they get the hang of it. Resources provided: a presentation with historical and modern examples, followed by clear step-by-step instructions; a student handout for reference. Resources needed: square dotty paper, pencils, rulers, erasers, coloured pencils or pens (optional), patience! |
|
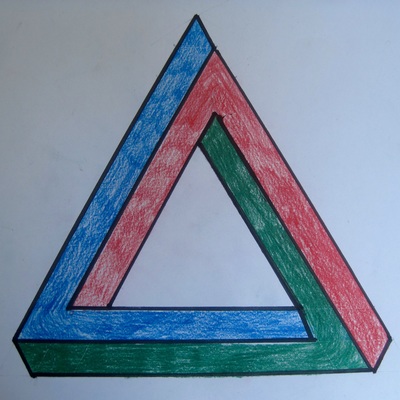
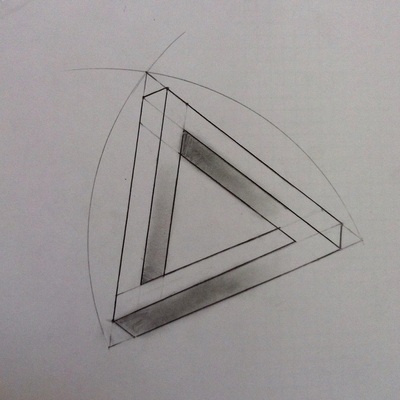
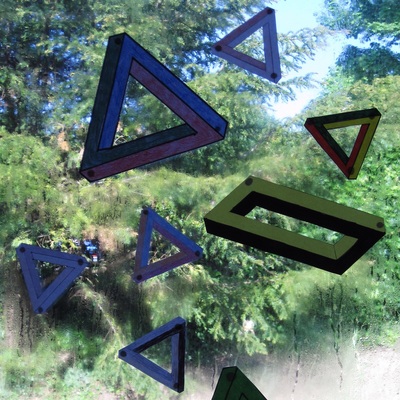
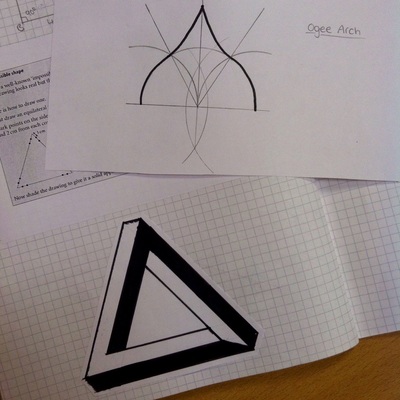
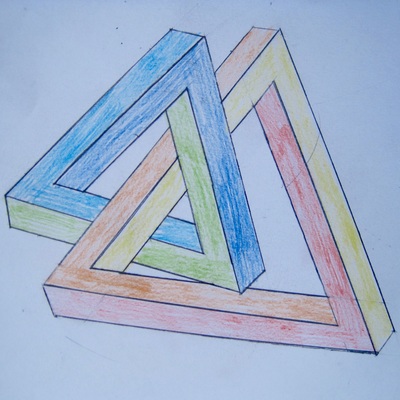
Impossible Objects
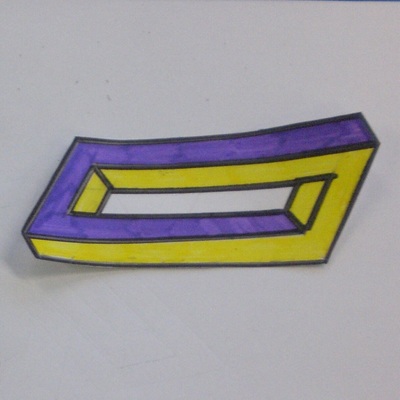
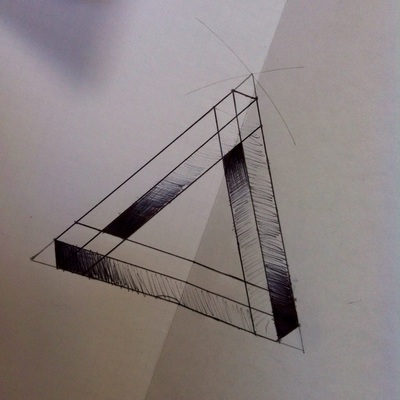
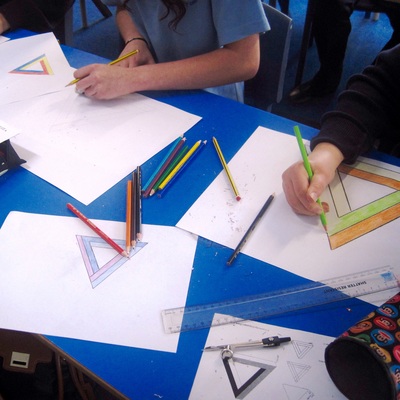
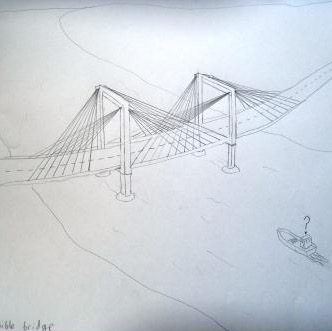
This is a lovely lesson for consolidating compass and ruler constructions. It reinforces accurate measuring and constructing skills as well as the need for attention to detail. Also included are links to a video of a 'real-life' Escher's Waterfall and the explanation behind it. Lots of 'ooh...' moments! Resources provided: a presentation containing a selection of images of 'impossible objects'; printable instructions for constructing three different types. The instructions are taken from the 1985 SMP 11-16 booklet 'Impossible Objects' and are reproduced with the kind permission of Cambridge University Press. Resources needed: plain paper, pencils, rulers, pairs of compasses, coloured pencils or pens (optional). |
|
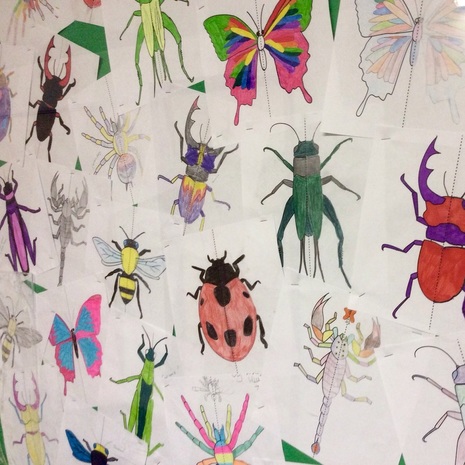
Insect Symmetry
Inspired by the wonderful, intricate drawings of Alex Kohnahin, this lesson practises simple reflective symmetry. Alex has kindly allowed me to reproduce his work in my presentation. Credit must also be given to Rob (@ArtforKidsHub) for his excellent selection of insect colouring pages. The activity provides useful practice in using tracing paper to reflect images. Resources provided: a presentation which introduces the theme of symmetry in insects and shows examples of Alex Konahin's work; a link to the insect colouring pages. Resources needed: tracing paper, pencils, coloured pencils or pens (optional). |
|
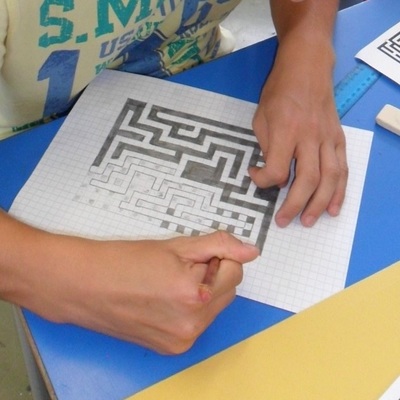
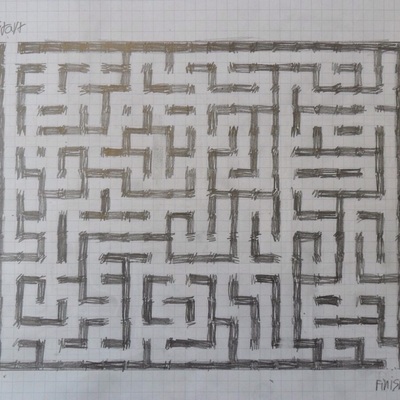
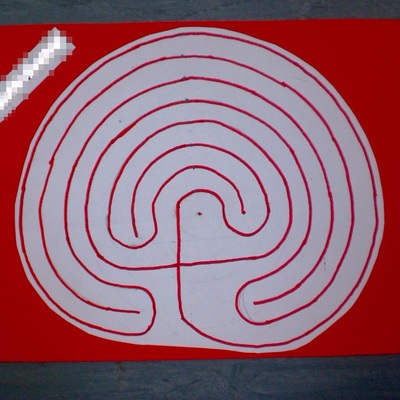
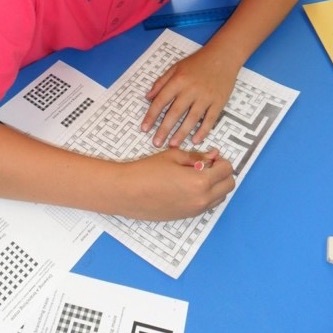
Mazes and Labyrinths
This lesson shows students how to construct both simple branching mazes on squared paper and traditional labyrinths with a pair of compasses. The smaller the squares on the paper, the more ambitious the students can be with their branching mazes! The labyrinth construction provides students with lots of practice with their compasses (something else they don't get enough of). Resources provided: a presentation which introduces a brief history of mazes, shows some examples and takes students through a series of step-by-step instructions for drawing both types. Resources needed: squared paper, plain paper, pencils, rulers, erasers, pairs of compasses. |
|
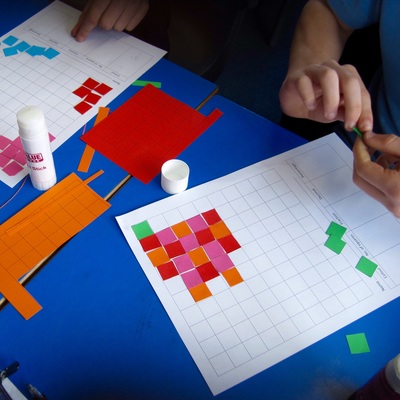
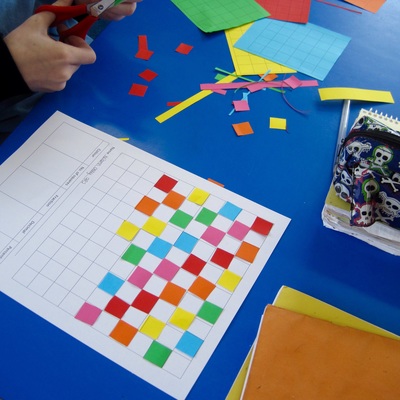
Modern Art Maths
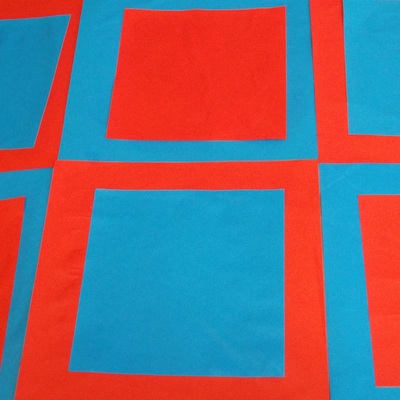
The idea for this lesson was taken from the NCTM article 'Masterpieces to Mathematics' and all credit must go to its authors: Christopher Scaptura, Jennifer Suh and Greg Mahaffey. It's a lovely fractions, decimals, percentages conversion task based around creating works of art in the style of Ellsworth Kelly. Print out the squared grids onto different coloured paper for students to cut out and stick down, or alternatively use coloured pencils. Resources provided: a presentation which introduces the paintings of Ellsworth Kelly and explains the task, differentiated worksheets, grids for printing onto coloured paper, and a consolidation challenge. Resources needed: glue sticks, scissors. |
|
Drawing a Cardioid
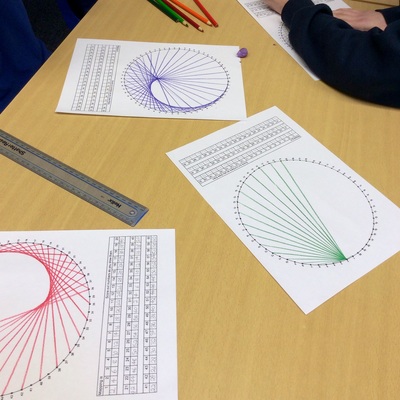
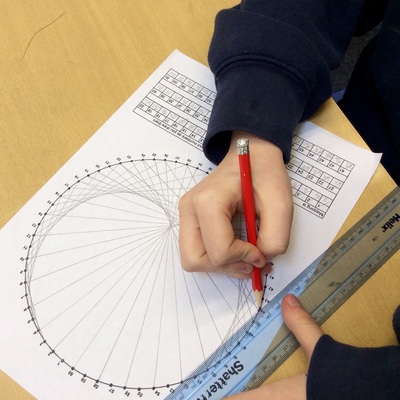
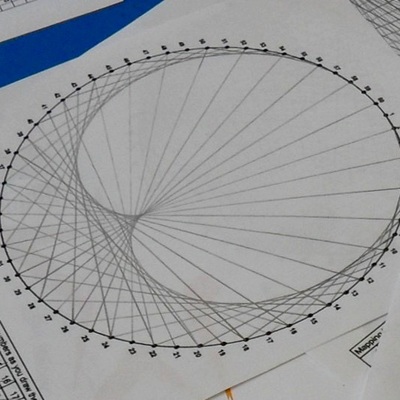
... and a nephroid and an epicycloid of Cremona and ... You can take this one as far as you like! This is a 'curve stitching' style lesson that looks at the occurrence of these intriguing functions in the world around us and introduces the idea of modulo arithmetic. It makes a nice, mathsy Valentine's Day lesson. Credit and thanks are due to K Rybarczyk of Knightswood Secondary School for the printable 60 point circle templates. Resources provided: a presentation which introduces the cardioid, shows examples in different contexts, and demonstrates the drawing procedure; printable template. Resources needed: pencils, rulers, erasers, coloured pencils or pens (optional). |
|
Patchwork Paper Patterns
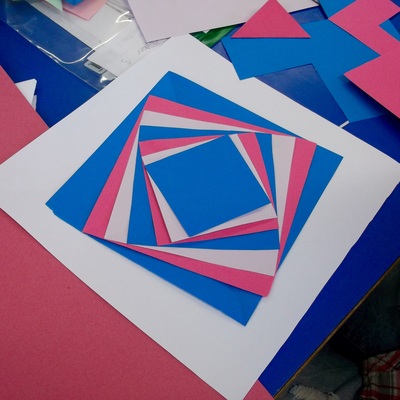
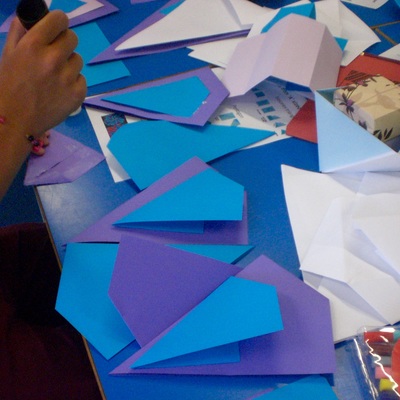
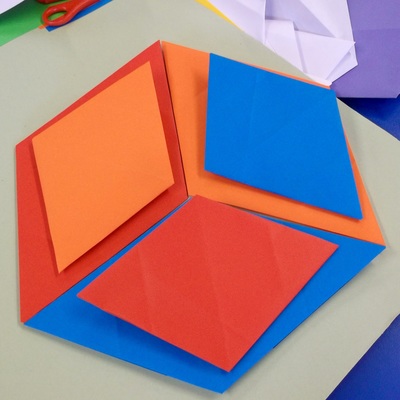
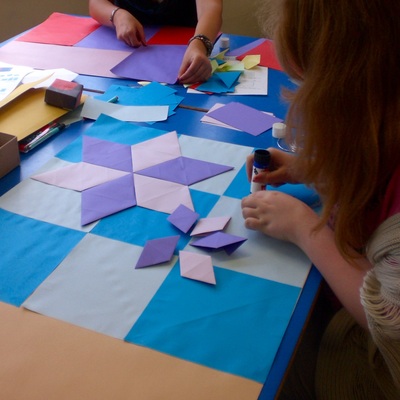
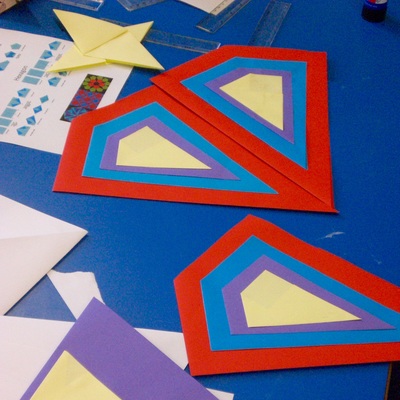
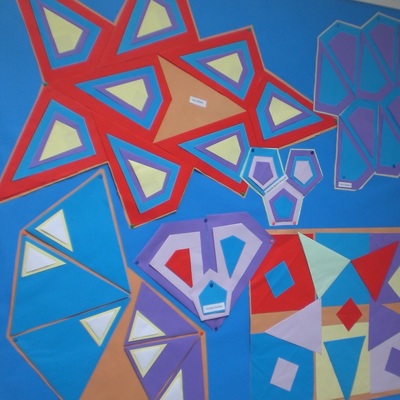
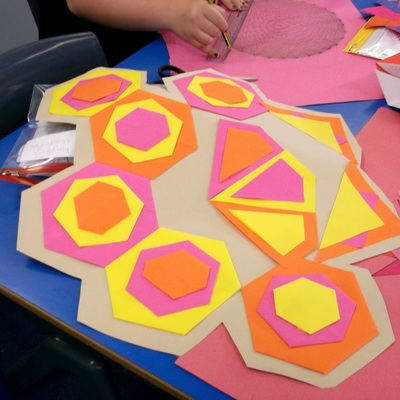
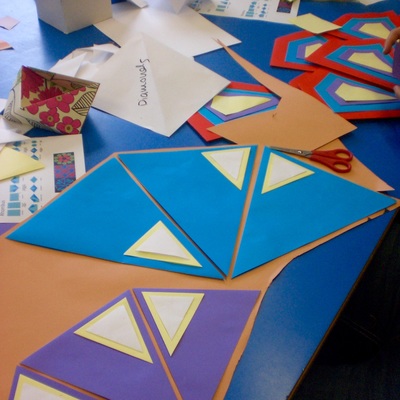
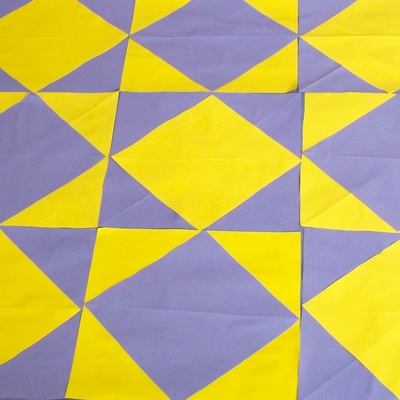
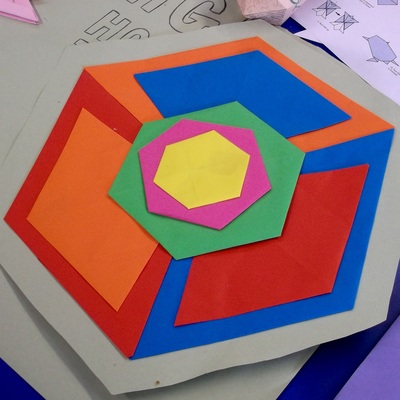
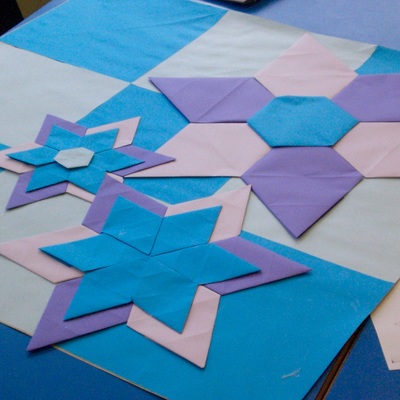
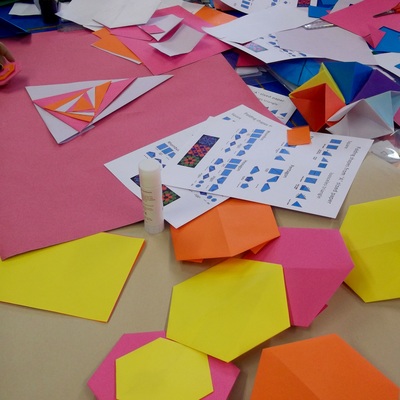
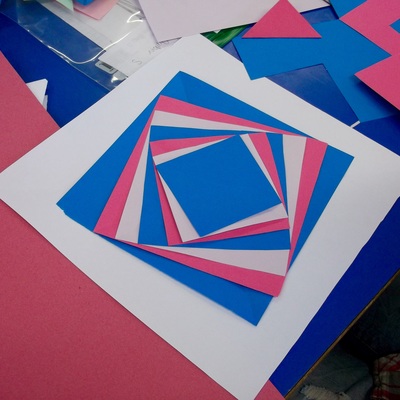
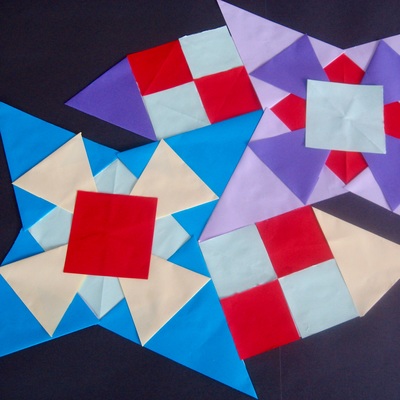
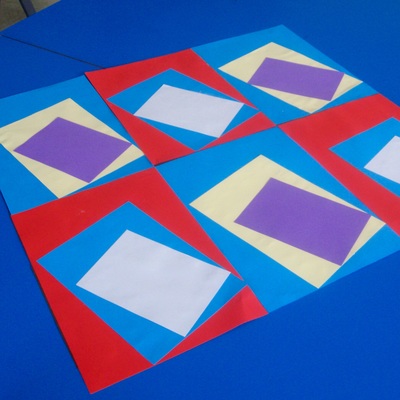
This fun paper-folding lesson makes use of William Gibbs' and Liz Meenan's excellent Paper Magic resource which Liz has kindly allowed me to share. Students are shown how to fold six different polygons. They then explore tessellating or layering polygons of various shapes and sizes to achieve a stunning 'patchwork' effect. The paper folding process provides plenty of opportunities for rich mathematical discussion. Student creativity is then given free rein when they plan and execute their designs. Resources provided: a presentation with instructions and ideas; student handout for reference. Resources needed: coloured paper in A4, A5 and A6 sizes, glue sticks, large sheets of backing paper (e.g. sugar paper). |
|
Construct-A-Snowflake
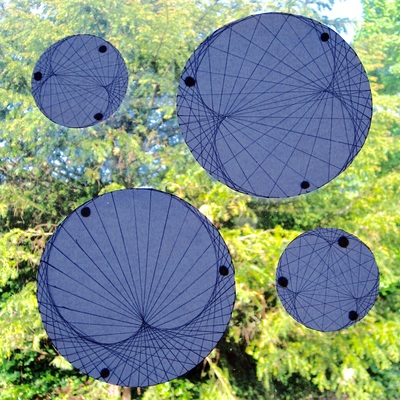
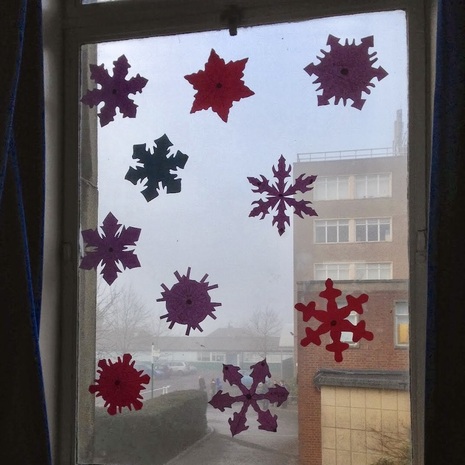
A 'Christmaths' lesson in which students create their own snowflakes using basic construction skills and reflective symmetry. Just like the real thing, no two will be the same! Students revise symmetry, circle terminology and gain useful practice with compasses and tracing paper. And the finished snowflakes make a lovely window display. See @mrprcollins blog post about the resource here. His students' work is pictured opposite. Resources provided: a presentation which explores the symmetries of snowflakes before taking students through step-by-step instructions for making their own. Resources needed: pairs of compasses, paper, tracing paper, pencils, rulers, erasers, coloured pencils. |
|
Islamic Geometry: fourfold patterns
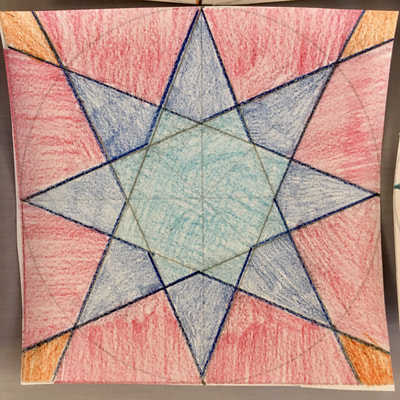
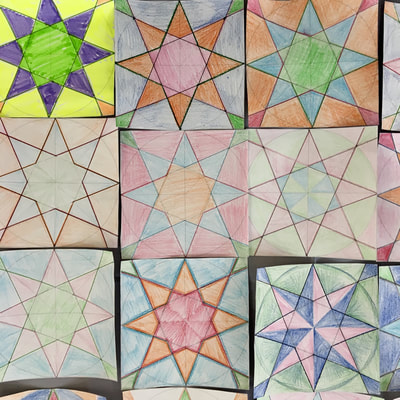
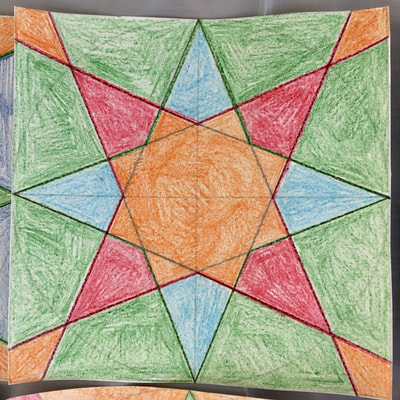
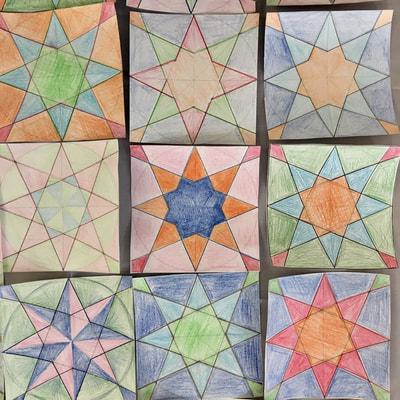
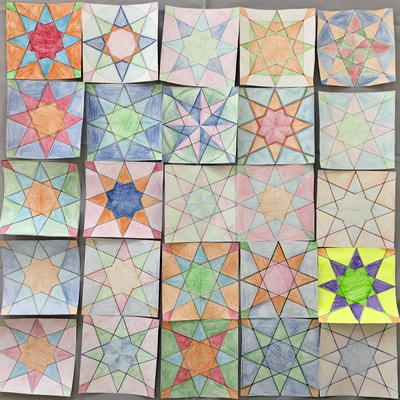
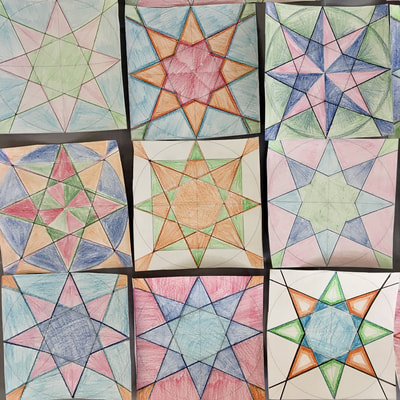
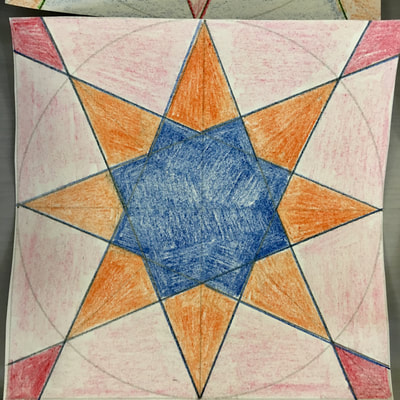
This lesson introduces the basic rules of the ancient tradition of Islamic geometric design. It starts by showing examples of this fascinating art-form, before clearly explaining the basic principles of construction: from the starting circle, to the underlying grid, through to the tessellation of the final design. Resources provided: a presentation which leads students through a series of step-by-step instructions to create three different 'fourfold' geometric patterns; a supporting inscribed circle template for younger students (or for a 'quick start'), as well as a 3 x 3 inscribed circle grid template for students wishing to extend and tessellate their design. Resources needed: plain paper, pencils, rulers, coloured pencils or pens, pairs of compasses (optional). |
|
The Hyperbolic Paraboloid
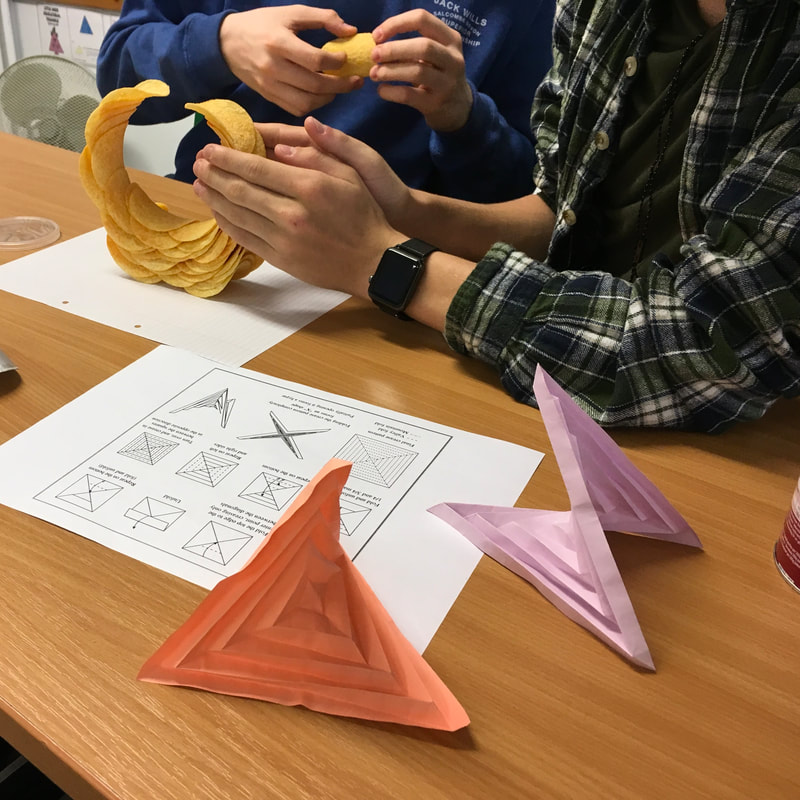
This hands-on lesson introduces the hyperbolic paraboloid via the conic sections and looks at where it occurs in the world around us. Links are then provided to Erik Demaine's instructions for folding a hyperbolic paraboloid structure from paper. You can also opt to do the 'Pringles ring challenge' with your students! And finally, if time, there are links to the Wonder How To instructions for making a Hyperbolic Paraboloid from skewers. Resources provided: a presentation which introduces the hyperbolic paraboloid and provides links to various activities. If you are new to conic sections and the hyperbolic paraboloid it would be best to read the linked blog posts first. Resources needed: paper cut into squares, Pringles (optional), skewers or cocktail sticks, glue and markers (optional). |
I hope you have found something here to try out with your students. I would love to see photos of your students' work if you do. If you post anything on social media, perhaps use the hashtag #mathsart. And do watch this space for new ideas - I have plans for a 'constructing a mandala' lesson, and one on Islamic tiling patterns too... oh, and maybe one on fractals... So much mathematical art, so little time!
